

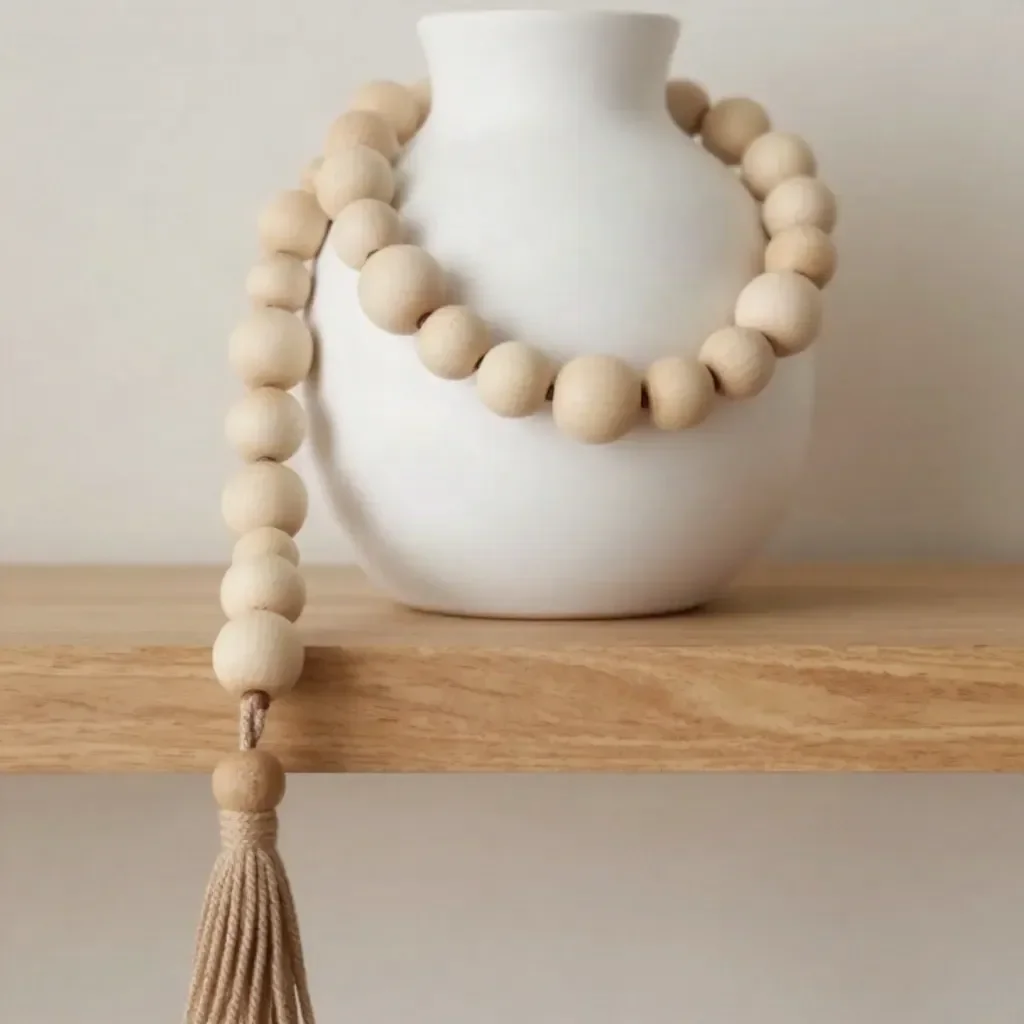
Modern Wood Bead Garland
Create a beautiful and stylish Modern Wood Bead Garland to elevate your home decor! This project is both simple and budget-friendly, making it perfect for those who want to add a touch of warmth to their spaces. Using basic materials like wood beads and cotton cord, you can easily transform these materials into an eye-catching decorative piece that works well on a tray, bookshelf, or even as part of your seasonal decor.
The finished garland offers a rustic yet modern aesthetic, making it a versatile addition to any room or occasion. Whether you’re decorating for a holiday or simply refreshing your living space, this garland provides a textured element that enhances the overall decor.
Why You’ll Love This Project
- Affordable Materials: The supplies for this project are inexpensive and easily accessible.
- Beginner-Friendly Process: With simple steps to follow, this project is perfect for those new to DIY crafts.
- Customizable Finish: You can choose to stain or paint the beads to match your specific color palette.
- Attractive Display Possibilities: The garland can be styled in numerous ways around your home, making it a versatile decoration.
- Seasonal Versatility: This project can be adapted for different seasons and celebrations with interchangeable styles.
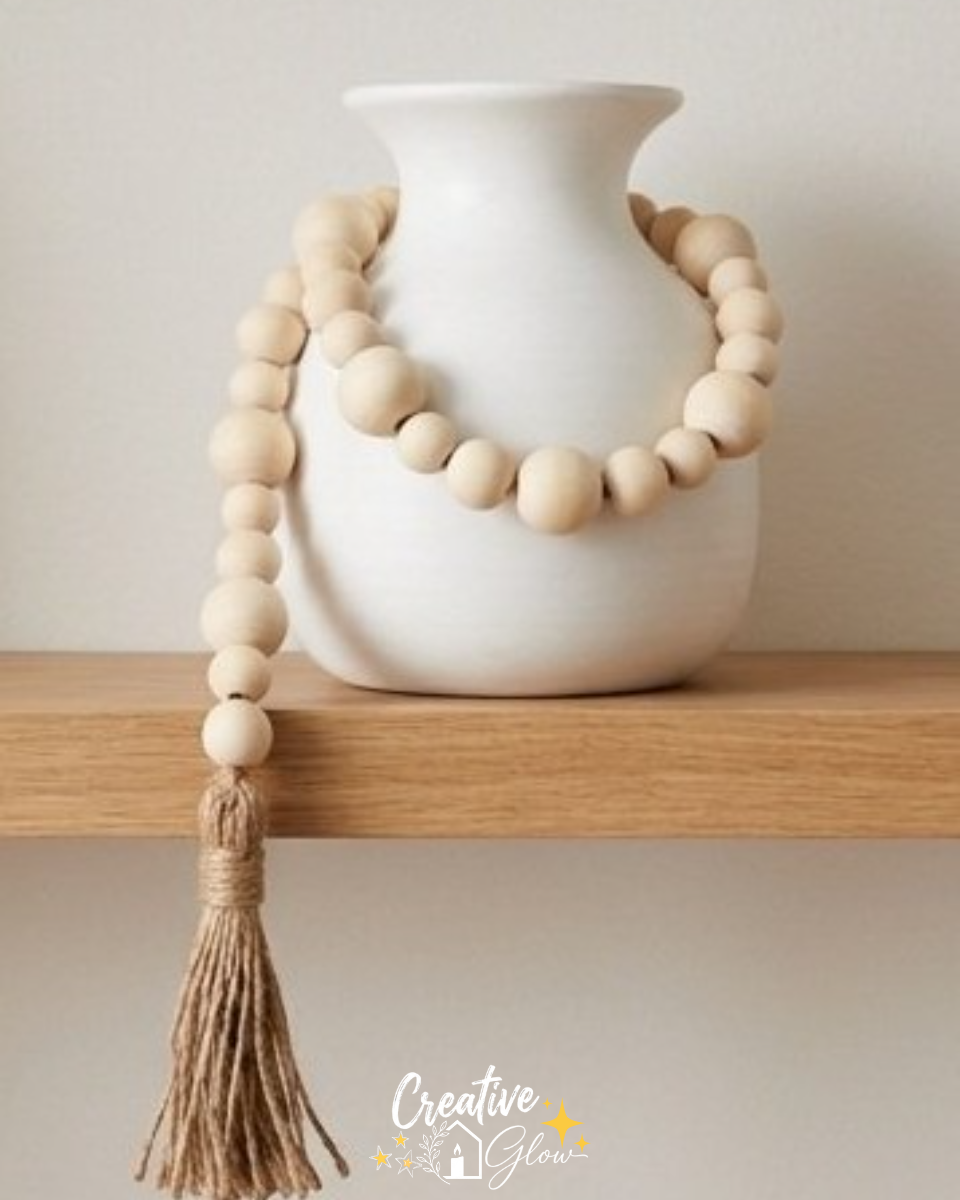
Materials and Supplies
- Unfinished wood beads
- Cotton cord
- Scissors
- Optional wood stain or paint
A Few Notes on Materials
If you wish to customize your garland further, consider selecting wood beads of different sizes or shapes for added interest. For the cord, a natural jute twine can provide a rustic appeal as an alternative to cotton.
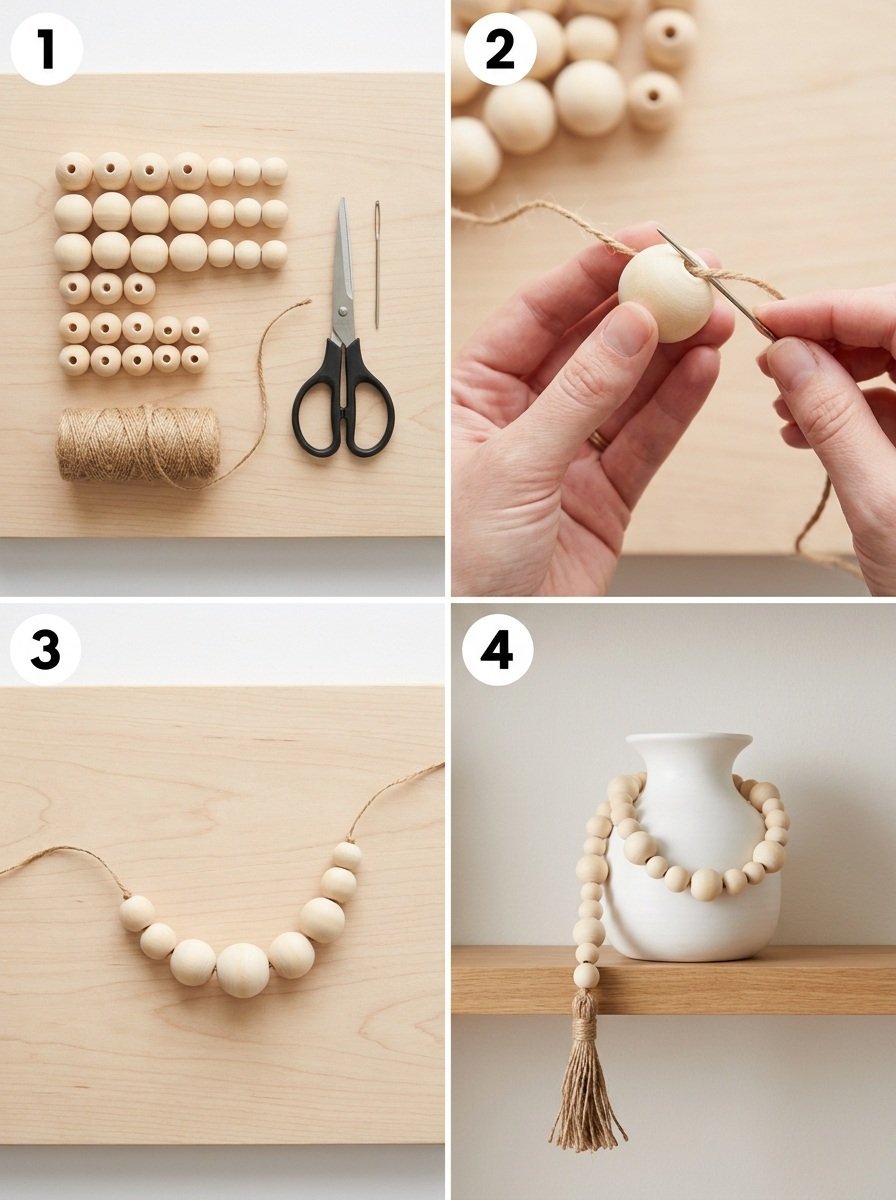
How to Make Modern Wood Bead Garland
Step 1: Finish the Beads (Optional)
If you’d like, you can stain or paint your wood beads to create a polished look. Follow the manufacturer’s instructions for drying times, ensuring the beads are completely dry before proceeding.
Step 2: Cut the Cord
Decide on the desired length of your garland and cut a piece of cotton cord accordingly, leaving a little extra for tying knots at both ends.
Step 3: Thread the Beads
Begin threading your wood beads onto the cord in a simple pattern. You can mix different sizes and colors for visual interest, or create a pattern that suits your style.
Step 4: Knot the Ends
Once you have threaded all your beads, tie a secure knot at both ends of the cord to keep the beads in place. Make sure the knots are tight to prevent any sliding.
Step 5: Add Tassels (Optional)
For a finishing touch, you may want to add simple tassels at either end of the garland. You can create tassels by wrapping more cotton cord around a piece of cardboard and securing it with a knot before trimming the ends.
Tips for a Cleaner, More Polished Finish
- Surface Preparation: If you’re staining or painting the beads, ensure they are sanded down if rough patches are present for a smoother finish.
- Even Paint Application: When applying stain or paint, use even strokes to avoid drips and ensure full coverage.
- Clean Edges: Take your time cutting the cord to ensure it’s even, which helps in creating a neat appearance.
- Allow Finishes to Dry Properly: Always give your beads time to dry completely before moving on to the next step to prevent smudging.
Ways to Customize It
- Color Palette: Choose colors that match your existing decor or seasonal themes for a fresh new look.
- Finish: Consider using metallic paints or bright colors for a bold statement or keeping it natural for a minimalistic vibe.
- Size: Experiment with longer lengths or shorter variations depending on your desired display space.
- Tassel Detailing: Vary the tassel sizes or omit them altogether for a cleaner look.
How to Style and Display It
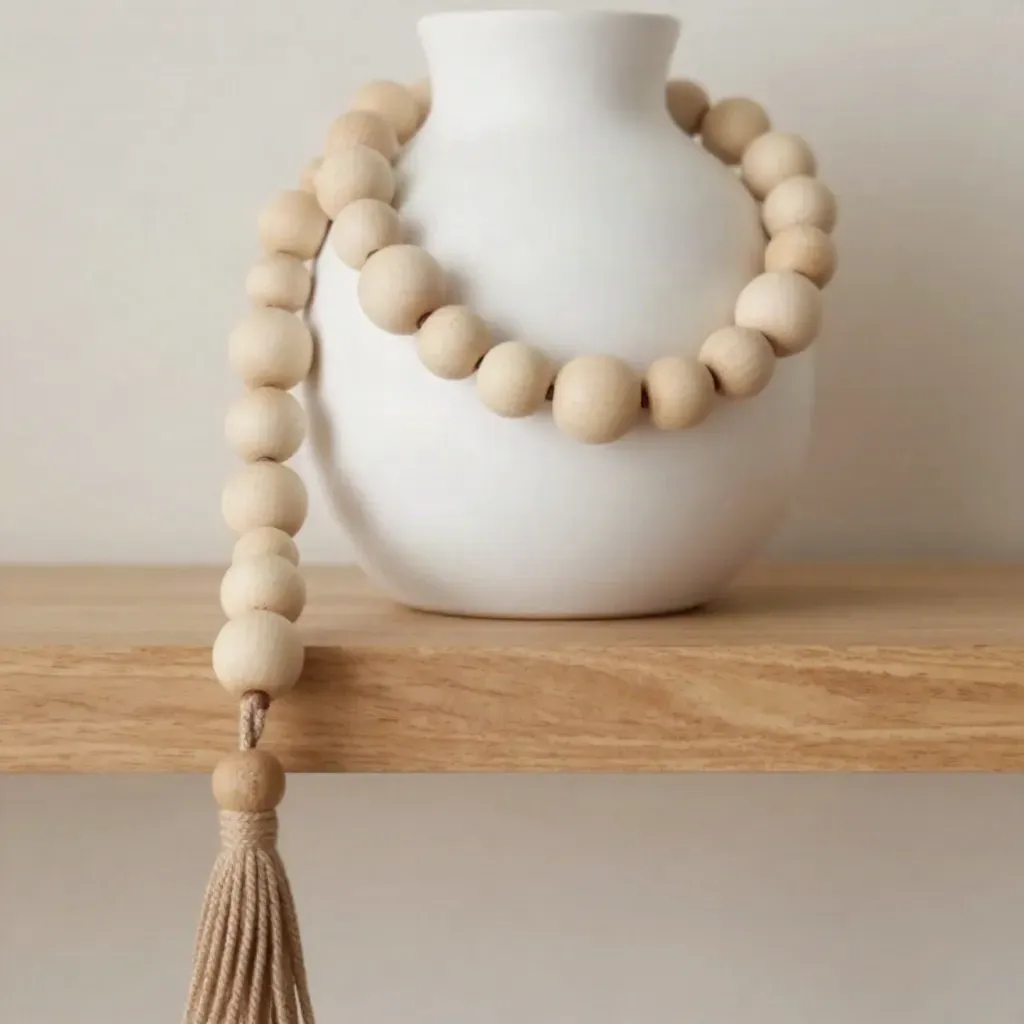
This Modern Wood Bead Garland can be styled in various places around your home. It looks stunning draped over a coffee table, arranged on a mantel, or styled on a tray placed in your entryway. Consider using uneven groupings of decorative objects alongside the garland to create visual interest. Mix it with books, small plants, or candles for a chic display.
Care and Storage
To keep your garland looking fresh, dust it gently with a soft cloth when needed. If it becomes soiled, simply spot clean it with a damp cloth. Avoid submerging the garland in water as it may damage the wood beads or finish.
Frequently Asked Questions
How many beads do I need for my garland?
The amount of beads you’ll need depends on the desired length of your garland. A good rule of thumb is to use about 20 beads for every foot of garland.
What can I use instead of wood beads?
You can also try using other materials like glass or acrylic beads, though they will give a different look and feel to your garland.
Can I use colored cord instead of cotton?
Absolutely! Colored or patterned cords can add another layer of decoration and personality to your garland.
What if my knots come undone?
For extra security, you can add a little drop of hot glue to the knots after tying them to prevent any slipping.
How can I store the garland when not in use?
Gently hanging it up is ideal to prevent tangling, but you can also lay it flat in a box lined with tissue paper to keep it safe.
Conclusion
Making a Modern Wood Bead Garland is a fun and rewarding project that adds a personal touch to your home decor. If you’re looking for stylish options to get started, consider checking out the affordable wood beaded garlands available at Target. Whether you choose to follow the project closely or put your unique twist on it, you’ll find joy in crafting something special for your space.
Print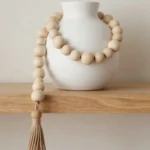
Modern Wood Bead Garland
- Total Time: 10 minutes
- Makes: 1 garland
Description
Create a beautiful and stylish Modern Wood Bead Garland to elevate your home decor with budget-friendly and beginner-friendly steps.
Materials
- Unfinished wood beads
- Cotton cord
- Scissors
- Optional wood stain or paint
Instructions
- Finish the beads if desired by staining or painting them according to manufacturer instructions.
- Cut the cord to your desired length, leaving extra for knots.
- Thread the wood beads onto the cord in a pattern you like.
- Knot the ends of the cord securely to prevent beads from slipping.
- Add optional tassels at each end for a finishing touch.
Notes
You can customize the garland with different bead sizes and colors. For a rustic appeal, use jute twine instead of cotton cord.