

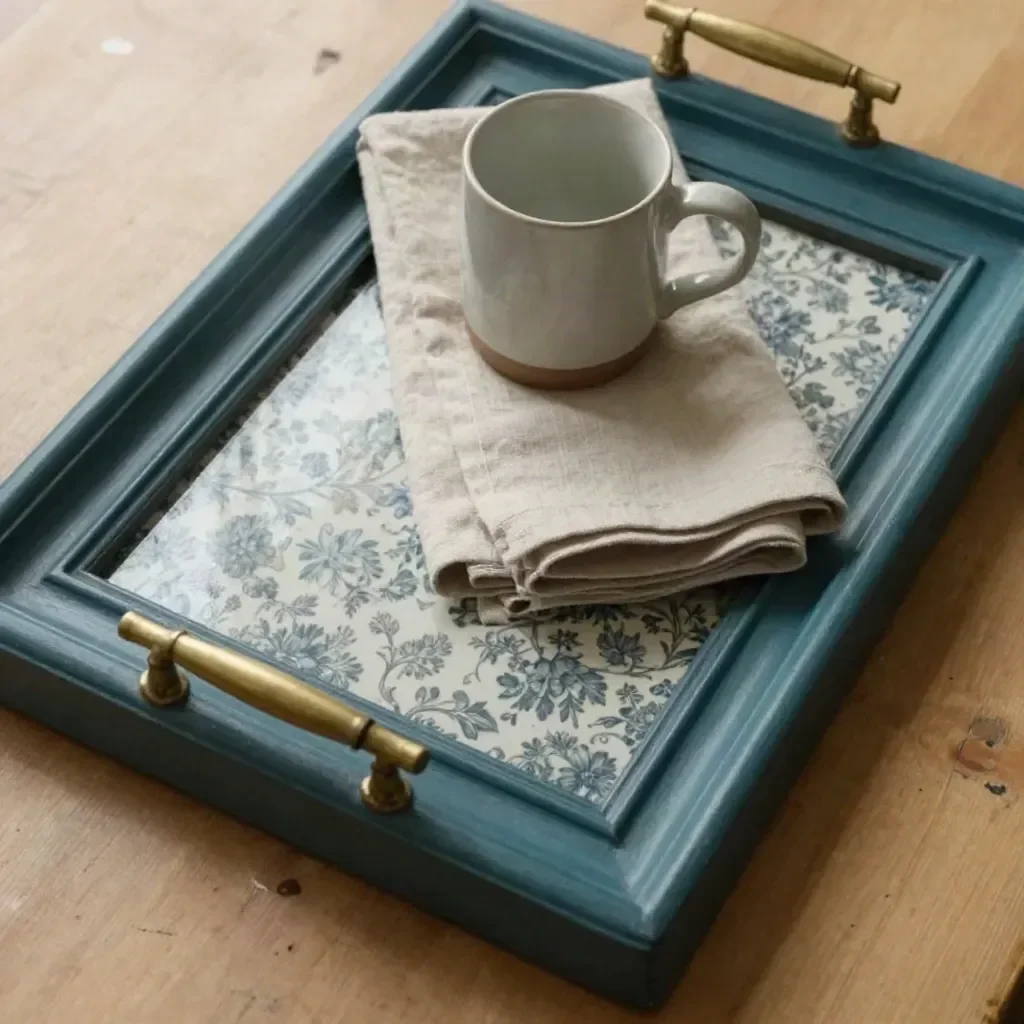
Upcycled Picture Frame Tray
Creating beautiful decor doesn’t have to break the bank or take up a lot of time. One of my favorite ways to give new life to old items is through upcycling, and today I’m excited to guide you through making an upcycled picture frame tray. With just a few simple materials, you can transform an old wood picture frame into a charming and functional piece of home decor.
This project not only helps recycle items you might already have at home, but it also results in a stylish tray that can hold lightweight items. It’s perfect for adding a personal touch to your tabletop or showcasing seasonal decor. Let’s dive in!
Why You’ll Love This Project
- Affordable Materials: Using items you likely already have at home makes this project budget-friendly.
- Beginner-Friendly Process: It’s a simple DIY that doesn’t require advanced skills, perfect for those new to crafting.
- Useful Upcycling: You’ll be giving a second life to an old frame instead of tossing it out.
- Customizable Finish: Choose your favorite decorative paper or fabric to personalize the tray’s look.
- Attractive Display Possibilities: Once completed, the tray can be used in various settings, making it both functional and decorative.
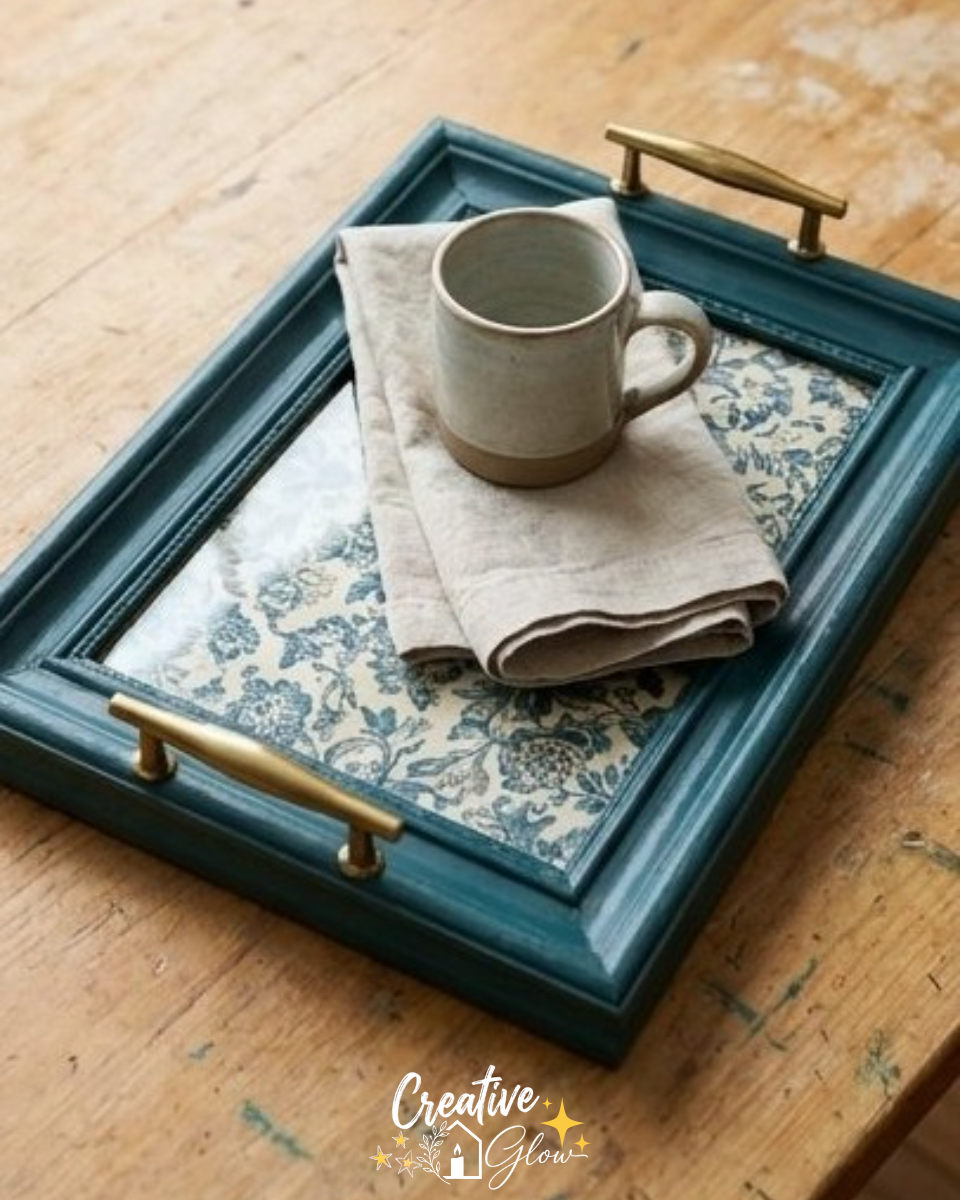
Materials and Supplies
- Old wood picture frame
- Decorative paper or fabric
- Drawer handles
- Screws
- Screwdriver
A few notes on materials: When choosing decorative paper or fabric, consider using materials with colors and patterns that complement your home decor. This will ensure that your tray becomes a cohesive part of your styling scheme.
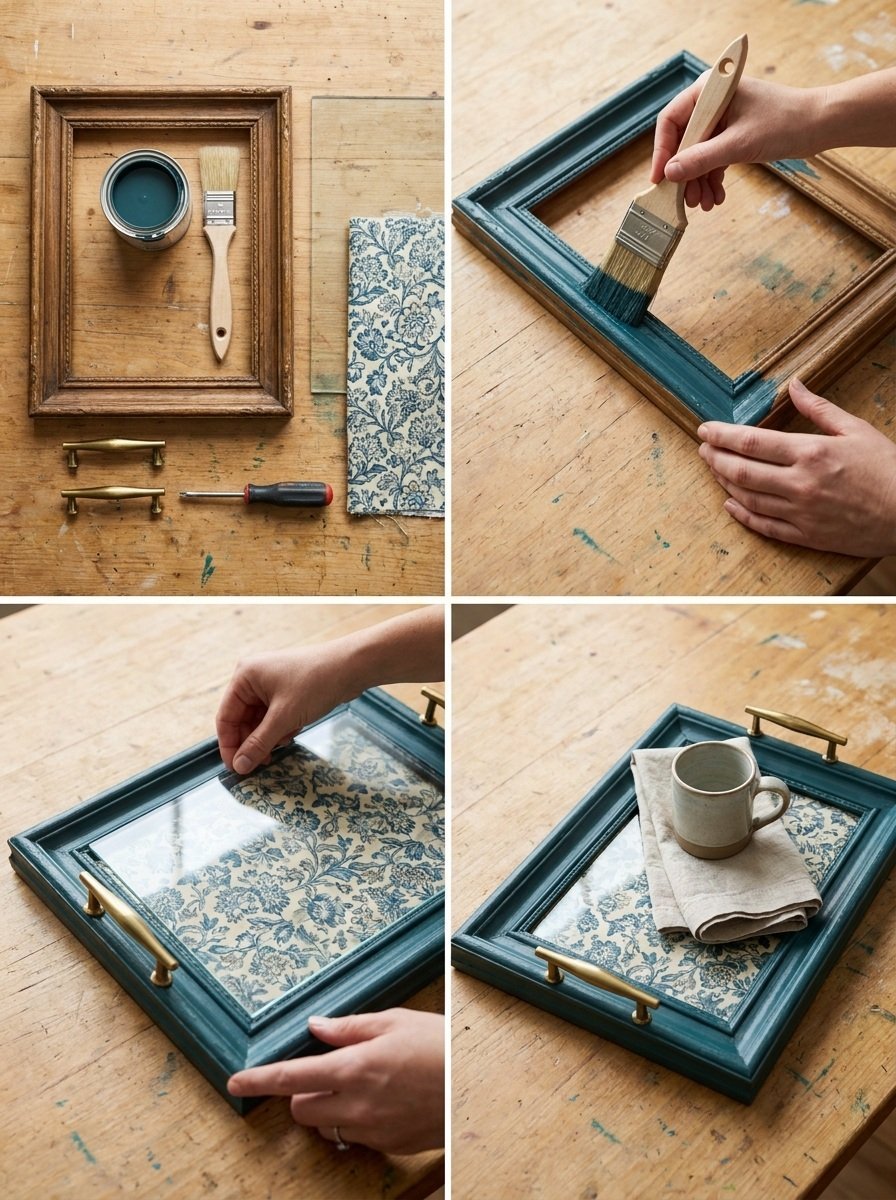
How to Make Upcycled Picture Frame Tray
Step 1: Clean the Frame
Begin by cleaning the old picture frame thoroughly. Make sure to remove any dust or debris that could interfere with the final look.
Step 2: Replace the Artwork
Once the frame is clean, remove the existing artwork and glass. Replace this with your chosen decorative paper or fabric, placing it behind the glass to give your tray a finished appearance.
Step 3: Attach the Handles
Position the drawer handles on opposite sides of the frame. This will help balance the tray and make it easier to carry. Using a screwdriver, secure the handles into place with screws, ensuring they are tightly fastened.
Step 4: Final Touches
After securing the handles, your upcycled picture frame tray is ready to be used! Feel free to add lightweight items like candles, coasters, or decorative stones as you style it.
Tips for a Cleaner, More Polished Finish
- Smooth Edges: Sand any rough edges on the frame to ensure clean lines and a polished look.
- Even Application: If using paint or sealing finishes, apply them evenly for a consistent appearance.
- Choose Quality Materials: Select high-quality decorative papers or fabrics to enhance the overall look of your tray.
Ways to Customize It
- Color Palette: Paint the frame before adding the decorative paper for a unique base color.
- Decorative Details: Consider adding embellishments like stencils, washi tape, or stickers for an extra touch.
- Seasonal Styling: Change the decorative paper according to the seasons or holidays for versatile decor.
How to Style and Display It
This upcycled tray can be placed on a coffee table, console table, or even in the entryway to catch keys or mail. When styling, remember to group decorative items in odd numbers for a balanced look, and vary the heights of the objects for visual interest.
Care and Storage
To keep your tray looking fresh, simply wipe it down with a damp cloth when needed. For seasonal storage, make sure to store it in a cool, dry place to prevent damage.
Frequently Asked Questions
Can I use a plastic frame for this project?
While the project is designed for a wooden frame, you can try a plastic one if it’s sturdy enough. Just ensure it can support the handles.
What type of adhesive can I use for the decorative paper?
You can use craft glue or a spray adhesive to attach the decorative paper securely to the frame.
How do I change the decorative paper later?
You can gently remove the handles and glass, then replace the paper when you want a new look.
What if my frame has a hanging mechanism?
If your frame includes a hanging mechanism, you may need to remove it or ensure it does not interfere with the handles’ placement.
Can I make a larger tray?
Absolutely! Just choose a bigger picture frame and adjust your materials accordingly, keeping the handles and screws in mind.
Is this project suitable for outdoor use?
This project is best suited for indoor use unless you use outdoor-safe materials. Be sure to seal the frame properly if you intend to use it outside.
Conclusion
Creating an upcycled picture frame tray is a fun and straightforward DIY project that adds personal flair to your home decor. It’s a perfect way to recycle old materials and can be easily customized to fit any style. For more inspiration on transforming everyday objects into beautiful decor, check out this article on an old frame becoming a new tray. Happy crafting!