

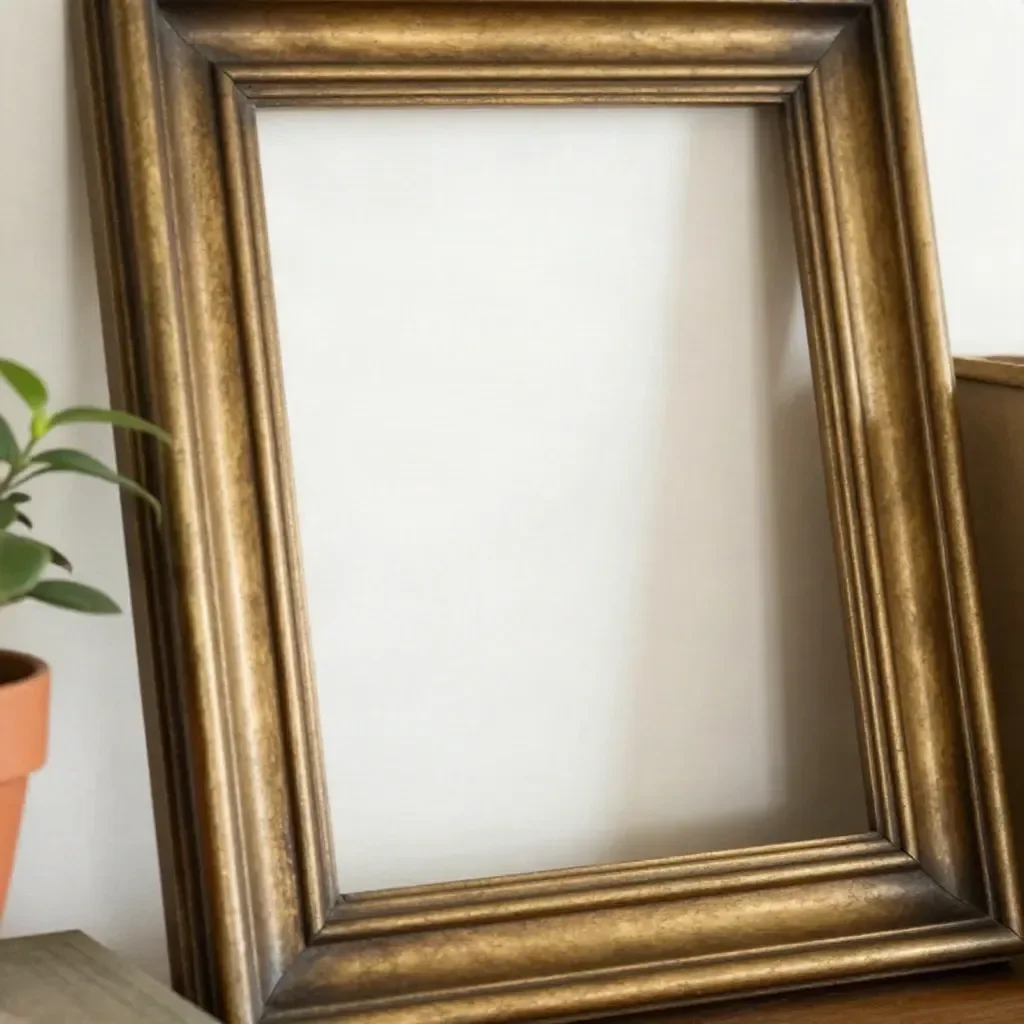
The thrifted frame antique brass makeover is a delightful project that breathes new life into old frames while adding a touch of elegance to your home decor. This DIY project not only transforms a simple picture frame into a stunning decorative piece but also showcases your creativity and style. You’ll love how this makeover can seamlessly blend with various design aesthetics, making it a versatile addition to your space.
Using metallic paint and a touch of finishing wax, you can create a beautiful vintage-inspired look. This process is not only beginner-friendly, but it’s also budget-conscious, allowing you to elevate your decor without breaking the bank.
Why You’ll Love This Project
- Affordable Materials: Most of the supplies can easily be found at home or acquired at a low cost, making it accessible for everyone.
- Beginner-Friendly Process: This project doesn’t require advanced crafting skills, perfect for anyone just starting their DIY journey.
- Useful Upcycling: By transforming an old frame, you’re contributing to sustainability while creating something beautiful.
- Customizable Finish: You can choose different metallic paints and wax finishes to suit your style and home decor.
- Attractive Display Possibilities: The finished frame makes a lovely addition to any shelf, mantel, or wall, showcasing your favorite art or photos.
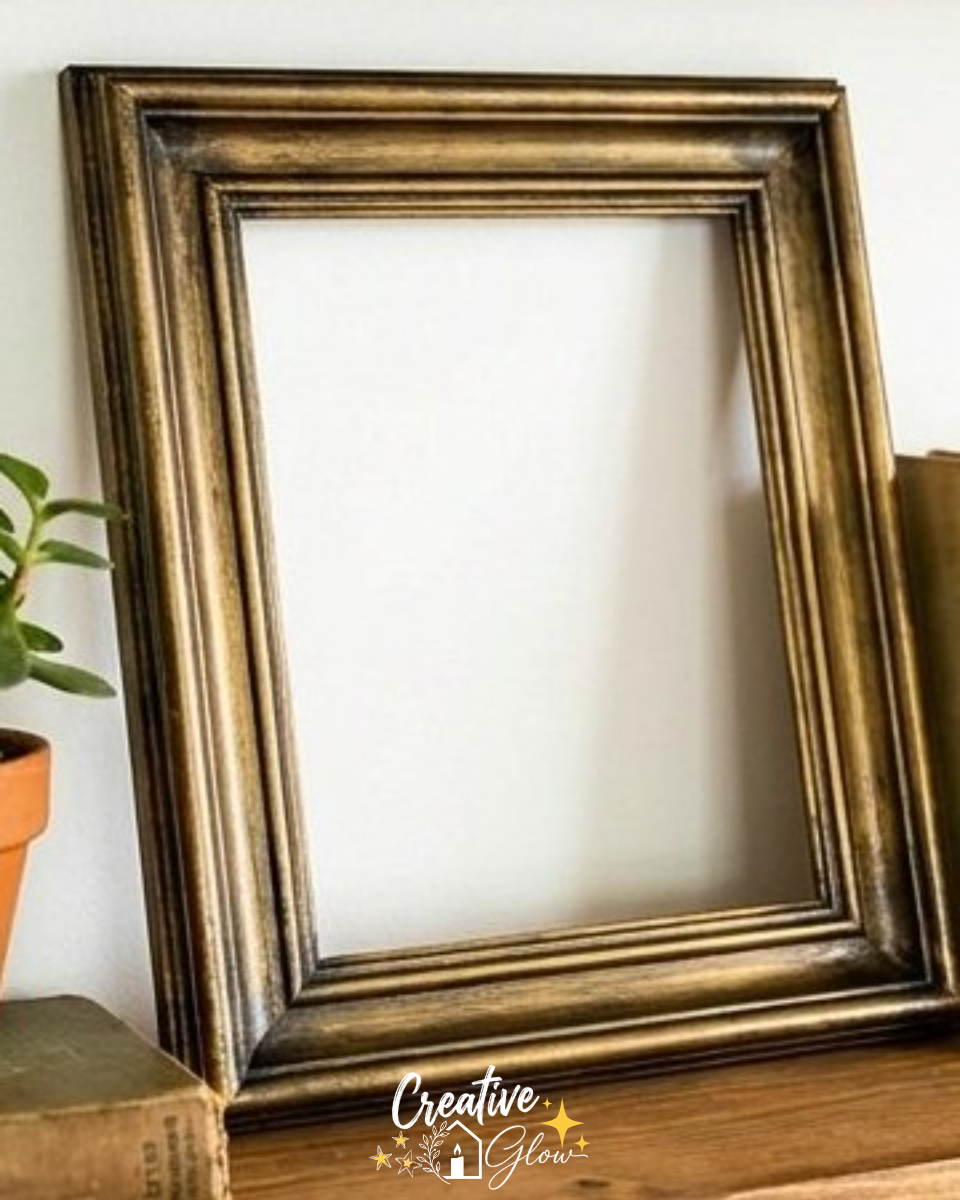
Materials and Supplies
- Old picture frame
- Surface-appropriate primer
- Metallic paint
- Small brush
- Dark finishing wax (optional)
A few notes on materials
When selecting your old picture frame, look for one with interesting details to enhance the vintage appeal. For the metallic paint, a gold or brass finish often works beautifully to evoke that antique look. If you opt for the dark finishing wax, choose a shade that complements your chosen metallic color for added depth.
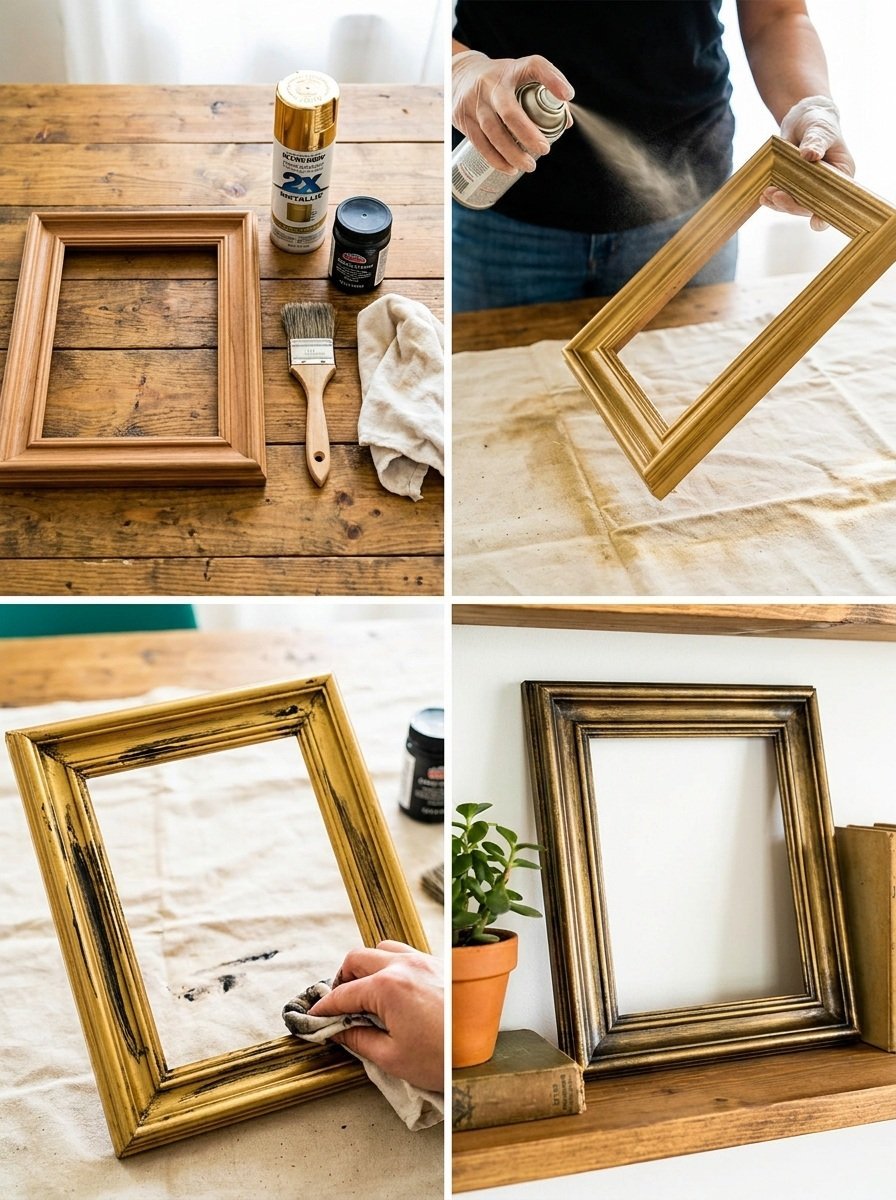
How to Make Thrifted Frame Antique Brass Makeover
Step 1: Clean the Frame
Start by thoroughly cleaning the frame to remove any dust and dirt. Use a soft cloth and, if necessary, some mild soap and water, ensuring it’s completely dry before proceeding.
Step 2: Prepare the Surface
Lightly prepare the surface by gently sanding it or applying a primer if the old paint is glossy or chipping. This will help the new paint adhere better.
Step 3: Apply Metallic Paint
Using your small brush, apply thin layers of metallic paint to the frame. It’s better to build the color gradually than to apply one thick coat, as this helps avoid drips and provides a smooth finish. Allow each layer to dry according to the manufacturer’s instructions before adding the next.
Step 4: Add Finishing Touches
Once you’ve reached your desired metallic finish, you can optionally apply a dark finishing wax. This step adds dimension by highlighting the recesses and giving an aged look. Use a clean cloth to apply the wax sparingly, wiping away any excess.
Tips for a Cleaner, More Polished Finish
- Surface Preparation: Make sure the frame is completely clean and dry before applying any paint or primer.
- Even Paint Application: Use a gentle hand when applying paint; multiple thin coats will yield better results than a single thick layer.
- Allow to Dry Properly: Ensure each layer is adequately dried before moving on to the next to avoid smudging.
Ways to Customize It
- Color Palette: Experiment with different metallic hues such as silver, copper, or even colored metallics to match your decor.
- Finish: Consider using matte or satin finishes to create a different look instead of high-gloss.
- Decorative Details: Embellish with decorative accents like embellishments or stencils for a unique touch.
- Size: Use larger or smaller frames for varying effects or make a gallery wall with multiple sizes.
How to Style and Display It
The final piece can be styled beautifully on a shelf, mantel, or console table. You might consider arranging it near soft lighting to enhance its reflective qualities. For a balanced display, vary the heights of surrounding objects, grouping them in odd numbers for visual interest.
Care and Storage
To keep your newly crafted frame looking its best, dust it regularly with a soft cloth. If you placed it in a location with sunlight, be mindful of fading and consider rotating your displayed art occasionally.
Frequently Asked Questions
What type of metallic paint should I use?
Look for acrylic or spray metallic paints that provide good coverage and a smooth finish.
Can I use any type of frame?
Yes, but frames with interesting details or textures will yield a more striking effect.
How long does the paint take to dry?
Follow the manufacturer’s instructions, as drying times can vary based on paint type and environmental conditions.
Is the dark finishing wax necessary?
No, it’s optional. However, it adds depth and dimension if you want a more antique look.
Can I customize the size of the frame?
Absolutely! You can choose a larger or smaller frame based on your space and personal style.
Conclusion
This thrifted frame antique brass makeover allows you to transform an old piece into an elegant statement for your home. For more inspiring projects, consider exploring other DIY ideas such as making a candle in a similar style. Check out this fantastic tutorial on making a DIY Candle from a Thrifted Brass Canister for more ways to enhance your home decor. Happy crafting!
Print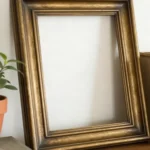
Thrifted Frame Antique Brass Makeover
- Total Time: 60 minutes
- Makes: 1 decorated frame
Description
Transform an old picture frame into a stunning antique brass decorative piece with this fun, beginner-friendly DIY project.
Materials
- Old picture frame
- Surface-appropriate primer
- Metallic paint
- Small brush
- Dark finishing wax (optional)
Instructions
- Clean the Frame
- Prepare the Surface
- Apply Metallic Paint
- Add Finishing Touches
Notes
Ensure the frame is completely clean and dry before starting, and use multiple thin coats of paint for the best finish.