

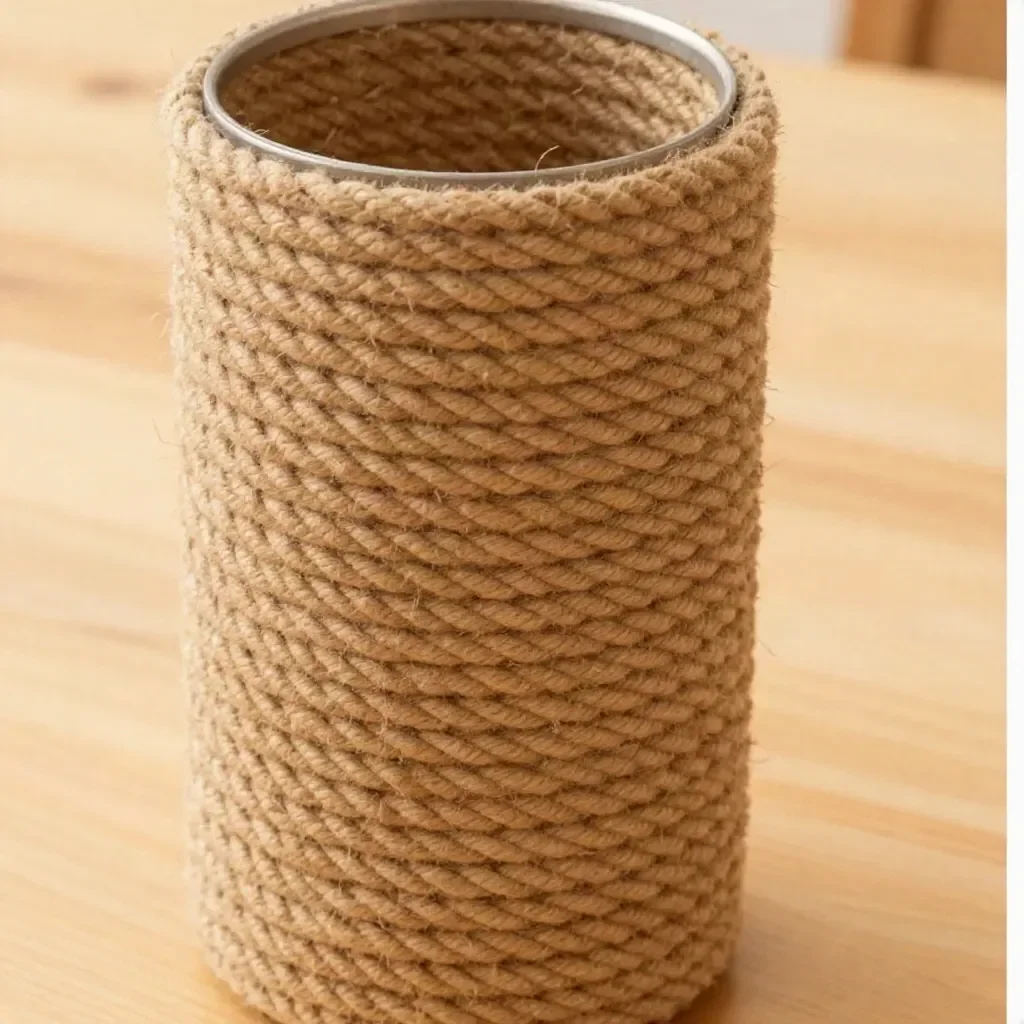
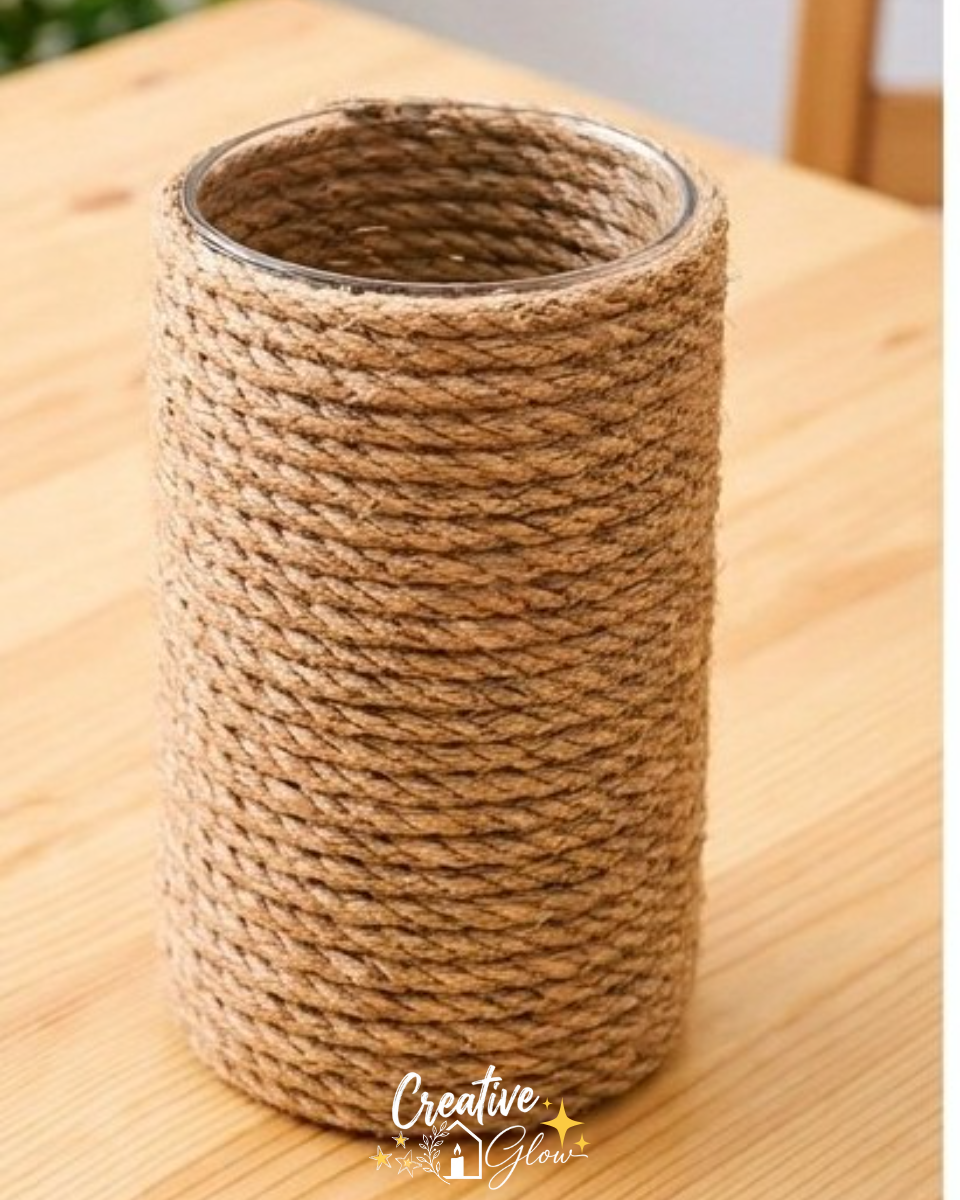
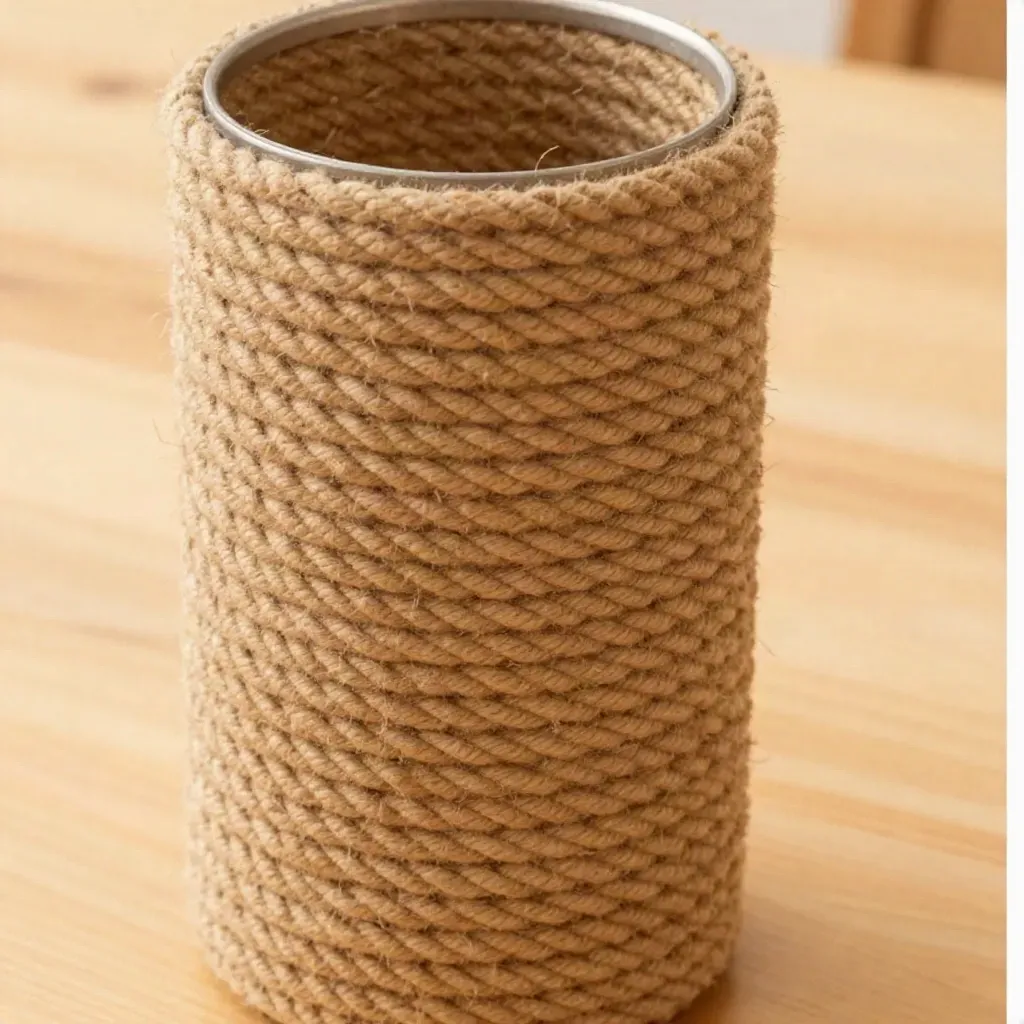
The DIY Rope-Wrapped Glass Vase project is a charming way to add a touch of rustic elegance to your home. Using simple materials like a glass vase and natural cotton rope, you can create a beautiful vessel that is perfect for displaying flowers or as a standalone piece. This project not only enhances your decor but also serves as a thoughtful upcycling project that brings an organic element to your space.
The natural aesthetic of the rope complements the clear glass beautifully, making it a versatile piece that can fit into various decor styles. It’s an easy craft that anyone can tackle, even if you’re new to DIY projects.
Why You’ll Love This Project
- Affordable Materials: The supplies needed for this project are budget-friendly, making it an accessible choice for anyone.
- Beginner-Friendly Process: Step-by-step instructions allow even novice crafters to confidently create this lovely decor item.
- Useful Upcycling: This project is a clever way to repurpose a glass vase and give it new life with a natural touch.
- Customizable Finish: You can easily change the vibe by choosing different colors of rope or varying the wrapping technique.
- Attractive Display Possibilities: This vase can fit seamlessly into any room, adding a personal touch to your decor.
Materials and Supplies
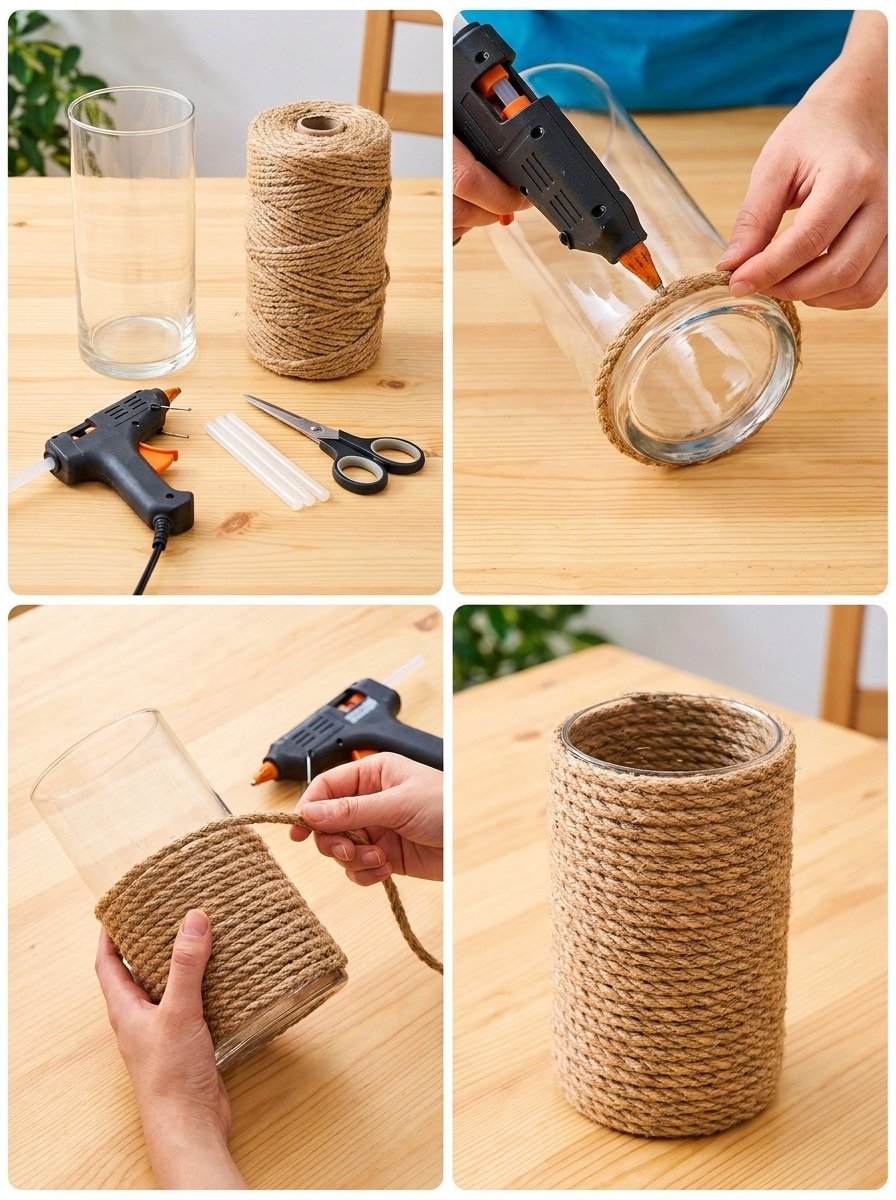
- Glass vase
- Natural cotton rope
- Suitable craft adhesive
- Scissors
A few notes on materials: Choose a rope that complements your decor style. Natural cotton rope provides a rustic look, but you might consider dyed options for a more modern twist!
How to Make DIY Rope-Wrapped Glass Vase
Step 1: Prepare the Vase
Start by cleaning the glass vase thoroughly to remove any dust or residues. This will help the adhesive bond better and ensure a smoother finish.
Step 2: Begin Wrapping the Rope
Position the end of the rope at the base of the vase and apply a small amount of craft adhesive. Begin wrapping the rope around the vase, keeping each layer snug against the previous one.
Step 3: Secure Each Layer
As you wrap, periodically add small amounts of adhesive to secure the rope in place. This will keep your project looking neat and ensure that everything stays in position.
Step 4: Finish the Top
Once you reach the desired height, cut the rope and finish the edges neatly. Make sure to apply a little more adhesive to secure the end of the rope so it doesn’t unravel.
Step 5: Let it Cure
Allow the adhesive to cure according to the manufacturer’s instructions. This will ensure that your beautiful vase remains intact and ready for display.
Tips for a Cleaner, More Polished Finish
- Use even tension: Keep the rope snug but not too tight to avoid buckling.
- Clean edges: Cut the rope at an angle to help it fit neatly against the vase.
- Check for gaps: Occasionally pause to check your work and fill in any gaps with more adhesive or rope.
- Let the layers dry: If you’re wrapping multiple layers, consider letting each section dry before continuing.
Ways to Customize It
- Different rope colors: Experiment with dyed or patterned rope to match your decor.
- Variations in height: Use vases of different sizes or stack multiple vases for a unique display.
- Add embellishments: Consider adding beads, shells, or other natural elements to enhance the design.
- Seasonal themes: Decorate with seasonal motifs to keep the piece feeling fresh throughout the year.
How to Style and Display It
This rope-wrapped vase can be styled in various spaces within your home. Place it on a console table for a welcoming entryway touch, or perhaps on a dining table as a simple centerpiece. It also looks lovely on a mantel or a shelf, where its natural texture can complement other decorative elements. Remember to arrange it with varying heights and complementary objects for an appealing composition.
Care and Storage
To clean your vase, gently wipe it with a damp cloth, avoiding excess moisture on the rope. For long-term storage, keep it in a dry location to maintain the integrity of the adhesive and rope.
Frequently Asked Questions
1. What type of adhesive works best?
A strong craft adhesive that dries clear is recommended for the best results.
2. Can I use a different type of rope?
Absolutely! You can experiment with different textures and colors of rope to achieve various looks.
3. How do I clean the glass vase?
Wipe it gently with a damp cloth. Avoid soaking it in water, as this can weaken the adhesive.
4. How can I ensure that the rope stays in place?
Make sure to apply adhesive as you wrap and keep the tension even throughout the process.
5. Is this project suitable for kids?
While it’s a beginner-friendly project, adult supervision is advised due to the use of scissors and adhesive.
6. How long does the adhesive take to cure?
Follow the manufacturer’s instructions for curing times, as this can vary between products.
Conclusion
Creating your own DIY rope-wrapped glass vase is a rewarding project that enhances your home decor in a stylish and budget-friendly way. For more inspiration and detailed guidance on similar projects, check out this helpful tutorial on rope-wrapped vases. Enjoy your crafting!