

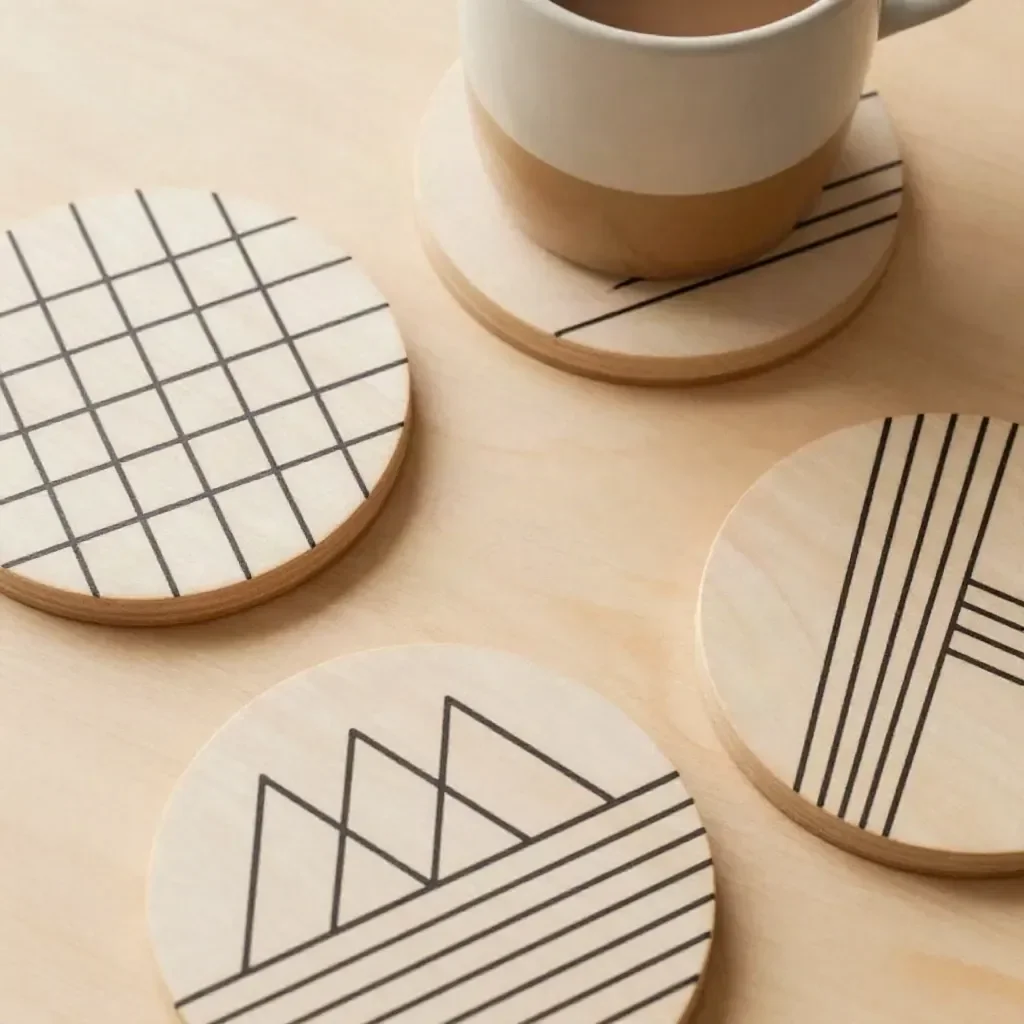
DIY Wood Coasters with Minimal Line Designs
Creating your own set of DIY wood coasters is a simple yet rewarding project that can add a personal touch to your home. This project transforms plain unfinished wood coasters into stylish and functional decor by incorporating minimal line designs that complement any style. Plus, it’s a fantastic way to utilize basic art materials and unleash your creativity.
The finished coasters not only serve a practical purpose by protecting your surfaces, but they also become a decorative feature that reflects your personal taste. Whether you’re looking to spruce up your coffee table or searching for a thoughtful gift, these coasters are both charming and budget-friendly.
Why You’ll Love This Project
- Affordable Materials: These coasters require minimal and inexpensive supplies, making it easy to stay within budget.
- Beginner-Friendly Process: This project is perfect for beginners, as it requires basic skills and no complicated techniques.
- Customizable Finish: You can easily adapt the designs and colors to match your home decor or personal style.
- Attractive Display Possibilities: The sleek designs will look great in any room, making them versatile for various spaces.
- Seasonal Versatility: Update your coasters with different color palettes or designs to reflect seasonal changes or upcoming holidays.
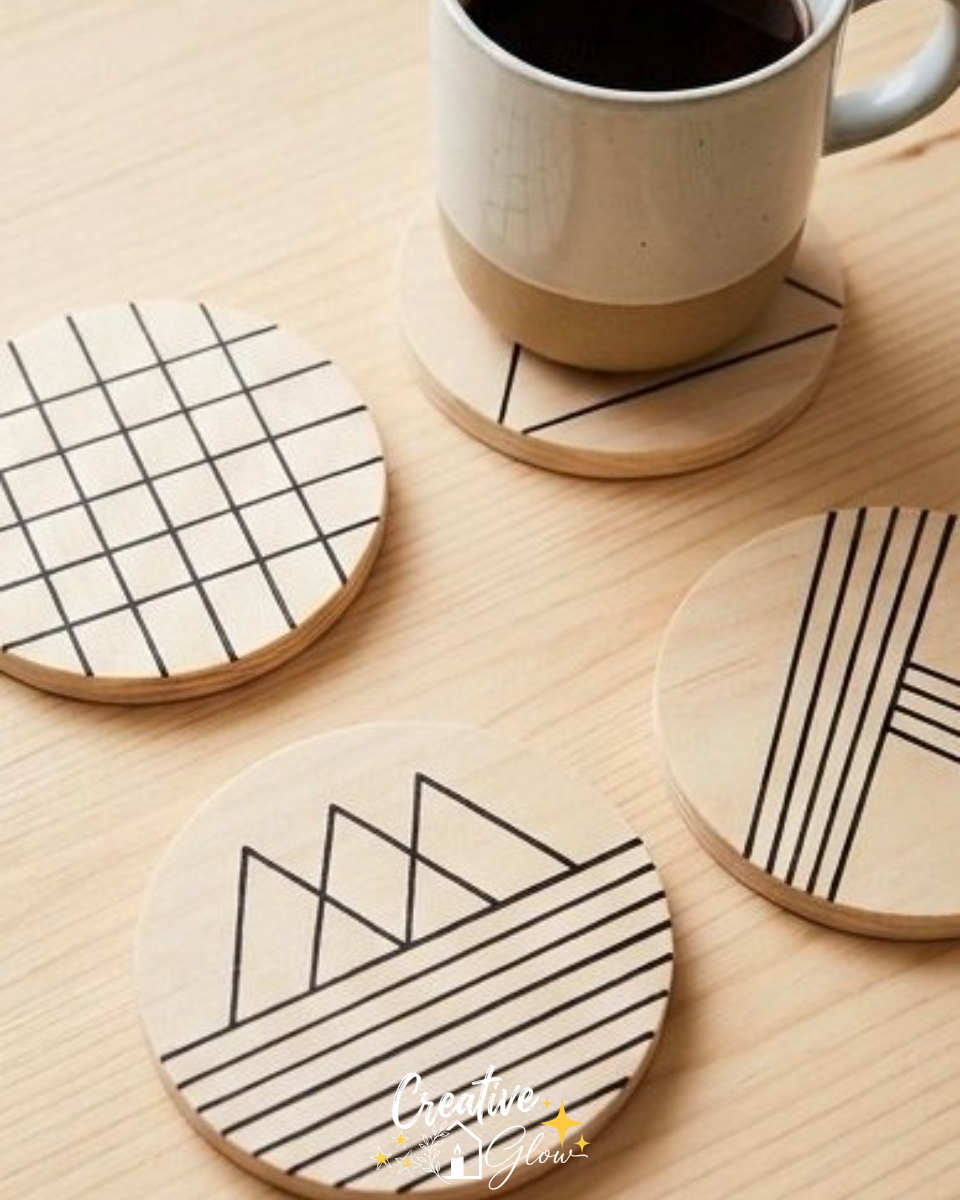
Materials and Supplies
- Unfinished wood coasters
- Fine paint marker or acrylic paint
- Ruler
- Optional suitable sealer
A few notes on materials
When selecting a paint, acrylic paint works well for beginners and is easily available at craft stores. Fine paint markers can also deliver precision for detailed designs without the need for brushes. If you want to protect your coasters after painting, be sure to use a sealer that is compatible with your chosen paint.
How to Make DIY Wood Coasters with Minimal Line Designs
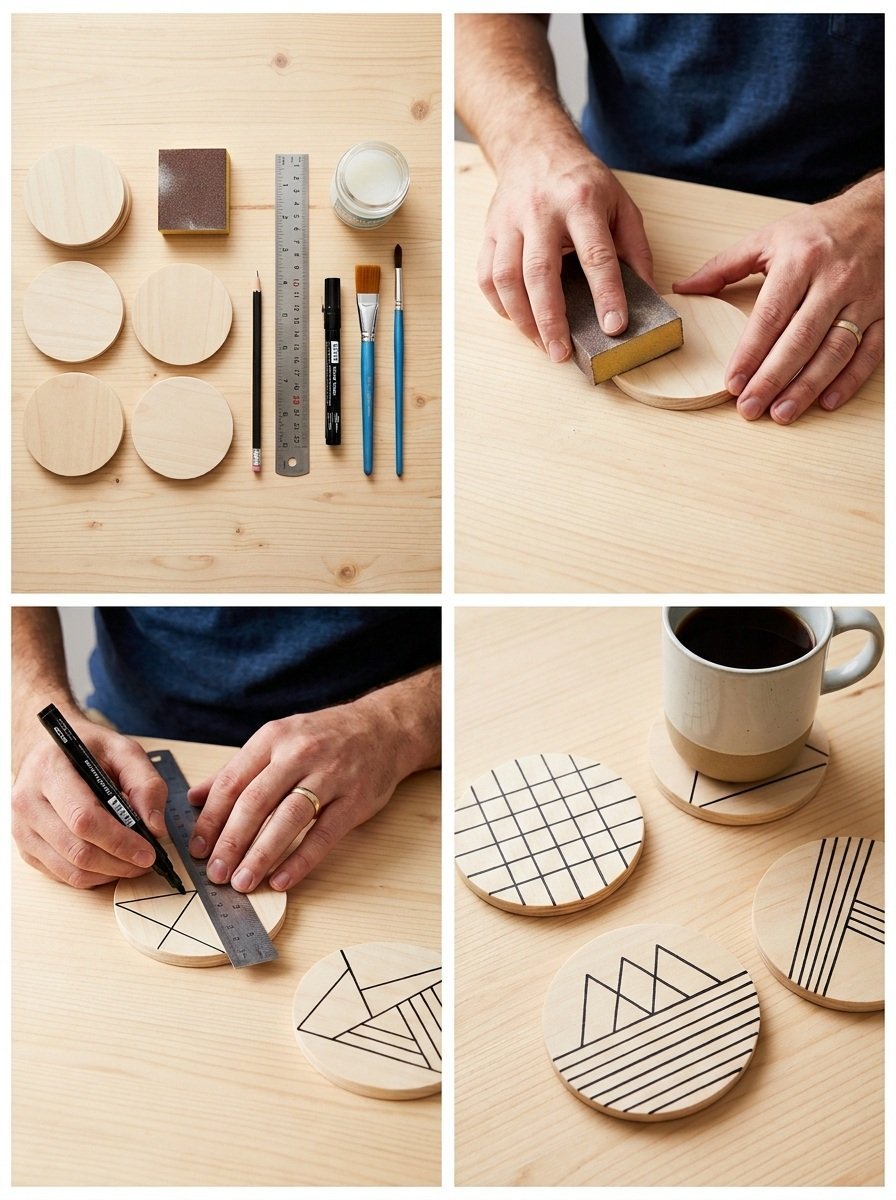
Step 1: Smooth the Coasters
Begin by lightly smoothing the surface of your wood coasters if they feel rough. This prepares them for painting and ensures a cleaner finish.
Step 2: Plan Your Design
Take a ruler to help plan simple geometric shapes or lines. Think about the patterns you enjoy and how they will fit on the coaster surface. Sketch these designs lightly with a pencil if you’d like a guide.
Step 3: Paint the Designs
Using a fine paint marker or a small brush with acrylic paint, carefully add your chosen designs to the coasters. Take your time to create clean lines and shapes. If you’re using paint, make sure not to overload the brush to avoid drips.
Step 4: Let Them Dry
After painting, let your coasters dry completely. Follow the manufacturer’s instructions for drying times, especially if you used paint. This ensures that your designs set correctly.
Step 5: Seal Your Coasters (Optional)
If desired, apply a suitable sealer to the coasters. This will help protect your artwork and extend the lifespan of your coasters, especially if they will come into contact with moisture.
Tips for a Cleaner, More Polished Finish
- Ensure the coasters are clean and free of dust before starting.
- Use painter’s tape for straight lines and crisp edges.
- Allow paint to dry between layers if creating more complex designs to avoid smudging.
- Experiment with color combinations for added visual interest.
- Practice your design on a scrap piece of wood if you’re unsure.
Ways to Customize It
- Explore different color palettes that match your decor.
- Experiment with varying shapes, such as circles, triangles, or abstract forms.
- Use stencils for more intricate designs or patterns.
- Add personalization by writing initials or meaningful quotes.
- Group different designs together for a themed set.
How to Style and Display It
Once your coasters are complete, consider displaying them on your coffee table, entryway console, or dining table. They can also make a lovely addition to a seasonal vignette. To enhance your display, vary object heights by pairing your coasters with books or flowers, ensuring that you balance decorative pieces with functional items.
Care and Storage
To maintain the beauty of your coasters, wipe them down with a damp cloth for cleaning. If you’ve sealed them properly, they should resist moisture. For seasonal storage, stack them in a cool, dry place to prevent warping.
Frequently Asked Questions
Can I use any type of wood for the coasters?
While you can use various types of wood, unfinished wood that hasn’t been treated or stained is best for this project.
What kind of paint should I use?
Acrylic paint and fine paint markers are recommended for their ease of use and quick drying times.
How do I ensure the paint doesn’t smudge?
Allow ample drying time between layers of paint and avoid touching the design until it’s fully set.
Can I create more complex designs?
Absolutely! Feel free to experiment with shapes and patterns as you become more comfortable with the process.
How do I store my coasters?
Store them flat in a cool, dry place to avoid warping, and stack them neatly to conserve space.
Conclusion
Making your own DIY wood coasters with minimal line designs is not only a practical project but also a delightful way to express creativity. For more ideas on similar projects, check out these wood burned coasters that can inspire your next crafting session. Happy crafting!
Print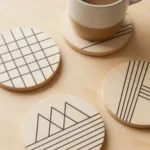
DIY Wood Coasters with Minimal Line Designs
- Total Time: 15 minutes
- Makes: 4 coasters
Description
Transform plain wood coasters into stylish decor with minimal line designs. Perfect for beginners and customizable for any style.
Materials
- Unfinished wood coasters
- Fine paint marker or acrylic paint
- Ruler
- Optional suitable sealer
Instructions
- Smooth the coasters lightly to prepare them for painting.
- Plan your design using a ruler and sketch lightly with a pencil.
- Paint your chosen designs carefully using a fine paint marker or small brush.
- Let the coasters dry completely according to the manufacturer’s instructions.
- Seal your coasters with a suitable sealer if desired.
Notes
Use painter’s tape for straight lines and allow paint to dry between layers. Be sure to clean the coasters before starting.