

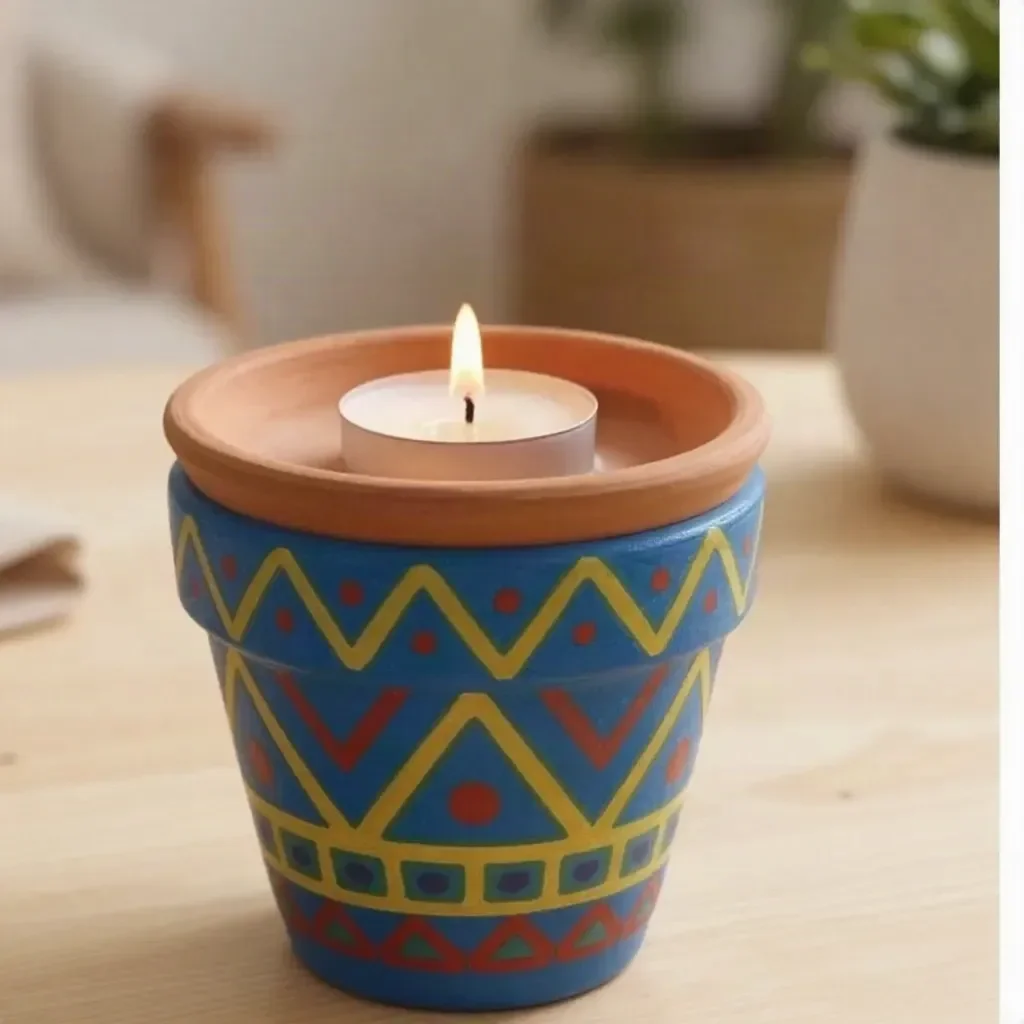
DIY Painted Terracotta Candle Holder
Creating a DIY Painted Terracotta Candle Holder is a delightful way to add a personal touch to your home decor. This project transforms a simple terracotta pot into an elegant candle holder that can brighten up any space. By using acrylic paint and a bit of creativity, you can customize your holder to match your style or the season.
What I love about this project is its versatility; you can use various paint colors and patterns to suit your taste. It’s an easy and budget-friendly way to incorporate a warm, inviting glow into your decor.
Why You’ll Love This Project
Affordable Materials: The materials needed are inexpensive and easy to find, making this a great budget-friendly project.
Beginner-Friendly Process: This project is straightforward and doesn’t require advanced crafting skills, perfect for those new to DIY.
Customizable Finish: You can choose any color scheme or pattern you like, allowing for a personalized touch that fits your decor style.
Attractive Display Possibilities: The finished candle holder looks great on a bookshelf, mantel, or dining table, providing an inviting atmosphere.
Seasonal Versatility: Switch up the colors and designs to reflect different seasons or holidays, making this a year-round project.
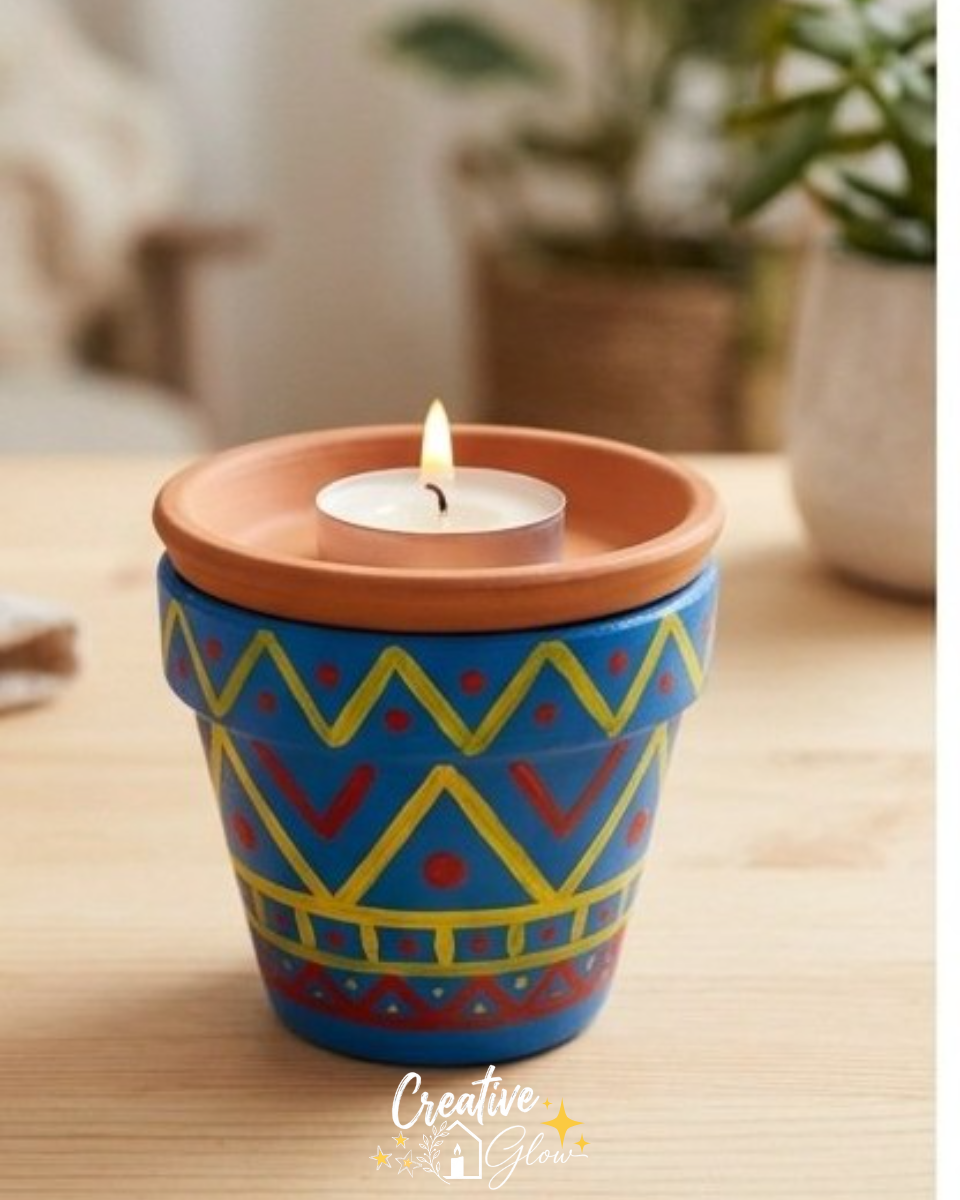
Materials and Supplies
- Plain terracotta candle holder
- Acrylic paint suitable for decor
- Brush
- Painter’s tape
- LED candle
A Few Notes on Materials
When selecting your acrylic paint, ensure it is suitable for decor to achieve a more durable finish. You can also experiment with different brush sizes depending on the detail you want in your design.
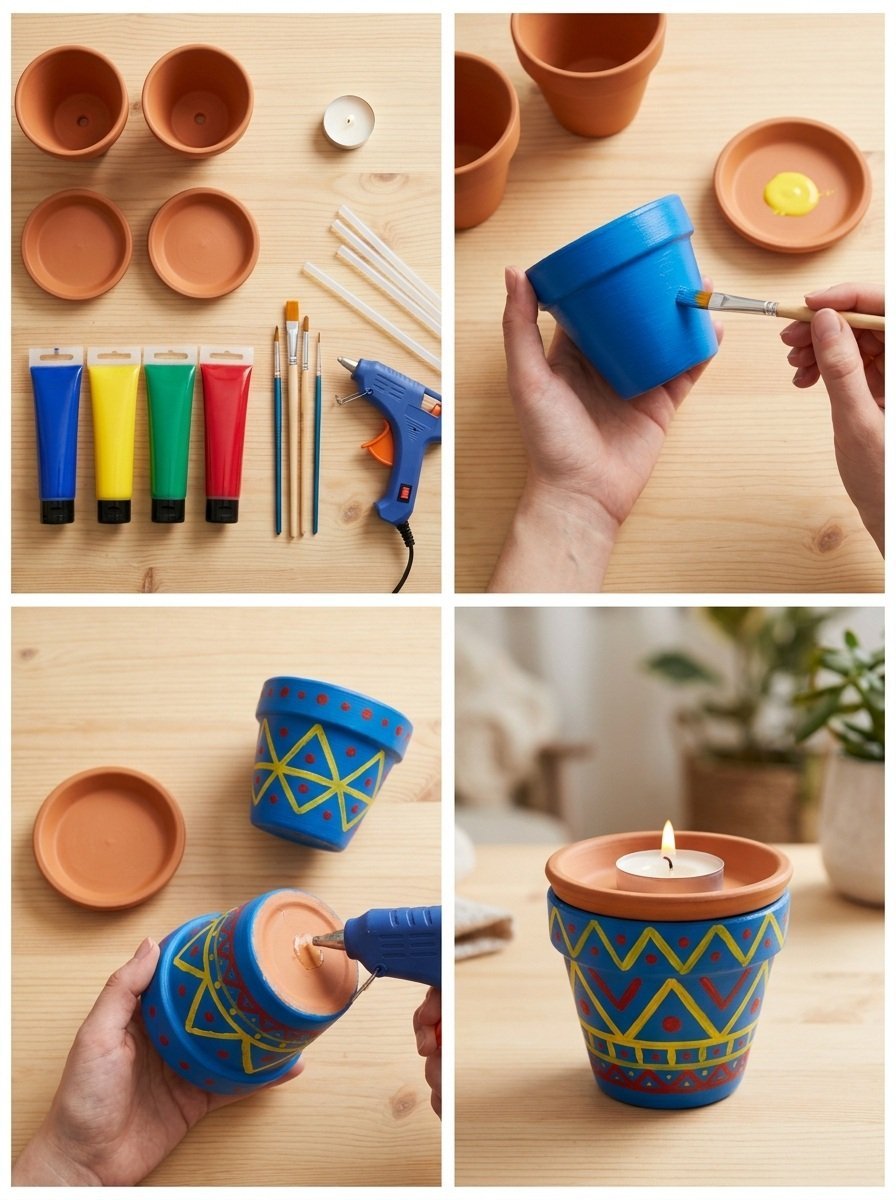
How to Make DIY Painted Terracotta Candle Holder
Step 1: Clean the Holder
Start by thoroughly cleaning the terracotta candle holder to remove any dust or debris. A clean surface helps the paint adhere better.
Step 2: Tape the Design
Use painter’s tape to create a simple geometric pattern on the holder. This can be straight lines, triangles, or any other shapes you find appealing. Make sure the tape is pressed down firmly to prevent paint from seeping underneath.
Step 3: Paint the Holder
Using your brush and acrylic paint, apply thin coats over the exposed parts of the pot. It’s best to start with a lighter hand to avoid drips and allow each layer to dry before adding more paint.
Step 4: Remove the Tape
Once the paint is completely dry, carefully peel back the tape to reveal your design. Take your time to ensure clean edges.
Step 5: Style with an LED Candle
Finally, place an LED candle into the holder. This not only provides a safe lighting option but also showcases your beautifully painted pot.
Tips for a Cleaner, More Polished Finish
- Make sure your brush strokes are even to prevent uneven surfaces.
- For cleaner edges, consider applying multiple light coats of paint rather than one heavy coat.
- Allow each layer of paint sufficient time to dry before applying the next.
Ways to Customize It
- Experiment with a monochromatic theme using different shades of the same color.
- Try adding a textured finish with sponges or by flicking paint for a speckled effect.
- Use different patterns, such as stripes, polka dots, or floral designs, to suit your style.
How to Style and Display It
You can display your finished candle holder in various spots around your home. A console table or entryway is perfect for creating a welcoming atmosphere. Alternatively, it looks stunning on a dining table as part of a centerpiece. When decorating, consider grouping multiple holders at varying heights for a cohesive display, and remember to balance your arrangement with other decorative elements.
Care and Storage
To maintain your painted holder, gently wipe it clean with a damp cloth. Avoid using harsh chemicals that might damage the paint finish. If you’re storing it for a season, place it in a dry area away from direct sunlight to prevent fading.
Frequently Asked Questions
Can I use regular paint instead of acrylic paint?
While you can use regular paint, acrylic paint is specifically designed for decor and is more durable.
How long should I let the paint dry before removing the tape?
It’s best to let the paint dry according to the manufacturer’s instructions, usually a few hours.
What if I don’t have painter’s tape?
You can use regular masking tape or even washi tape, but make sure it adheres well to the surface.
Can I use this project outdoors?
Yes, but make sure to use outdoor-rated acrylic paint for durability against elements like rain and UV light.
How can I enhance the candle holder for seasonal decor?
Consider changing the colors based on the season or adding embellishments such as ribbon or seasonal motifs.
Is this project safe for traditional candles?
It’s safer to use an LED candle to avoid direct contact between the flame and the terracotta pot.
Conclusion
Creating a DIY Painted Terracotta Candle Holder is a simple and rewarding way to enhance your home decor. With the right materials and a bit of creativity, you can make a beautiful piece that reflects your personal style. For a detailed visual guide, check out this tutorial.
Print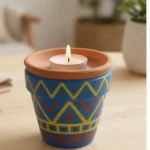
DIY Painted Terracotta Candle Holder
- Total Time: 15 minutes
- Makes: 1 candle holder
Description
Transform a simple terracotta pot into an elegant candle holder using acrylic paint and creativity.
Materials
- Plain terracotta candle holder
- Acrylic paint suitable for decor
- Brush
- Painter’s tape
- LED candle
Instructions
- Clean the holder
- Tape the design
- Paint the holder
- Remove the tape
- Style with an LED candle
Notes
For best results, use durable acrylic paint and allow each layer to dry before adding more. Clean with a damp cloth and store away from direct sunlight.