

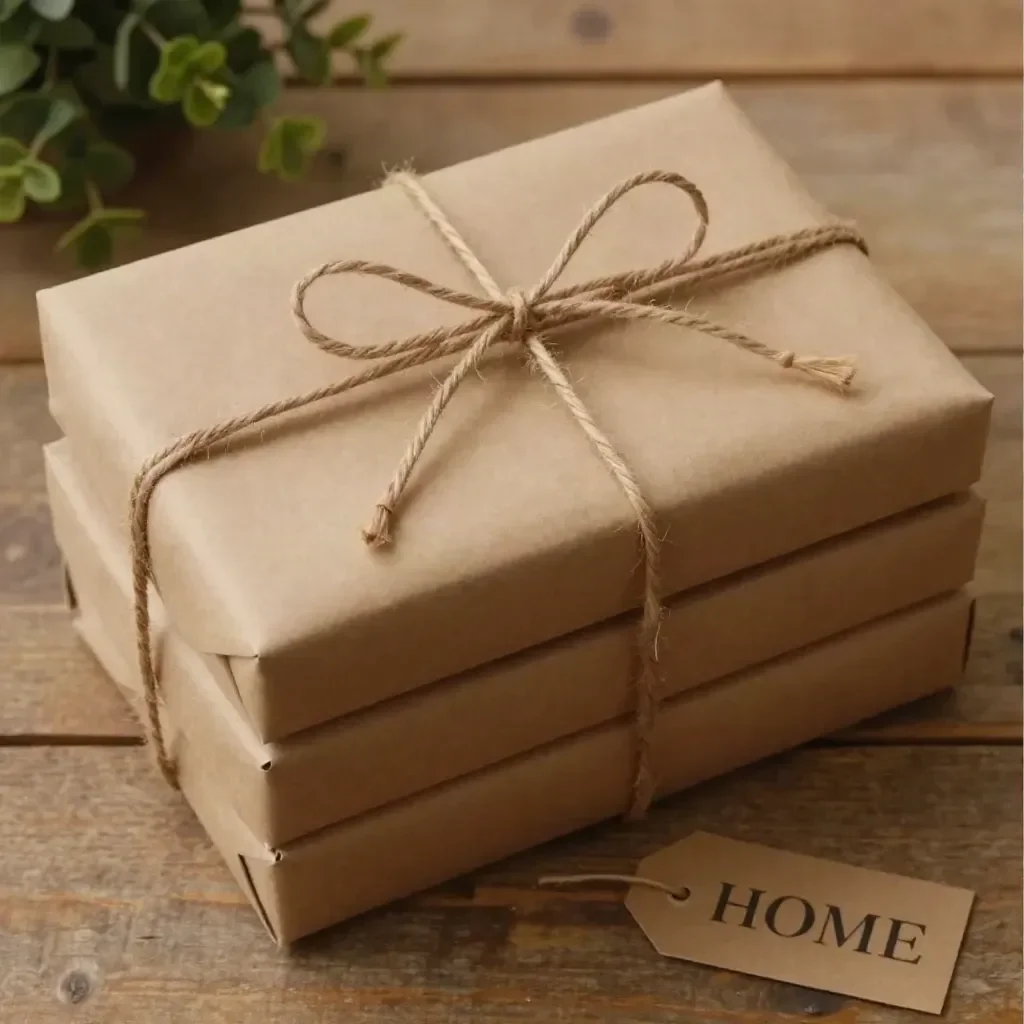
DIY Decorative Book Stack
Creating a decorative book stack is a simple yet elegant way to elevate your home decor. This project utilizes old hardcover books, allowing you to give a new life to items that might otherwise sit untouched. With just a few materials and minimal effort, you’ll craft a lovely addition that can enhance any room.
Whether you choose to paint the covers or keep them as is, a decorative book stack can add depth and character to your space. It’s a fantastic upcycling project that is not only budget-friendly but also allows for personal touches.
Why You’ll Love This Project
- Affordable Materials: Using old books means you’re sourcing materials at little to no cost.
- Beginner-Friendly Process: The steps are straightforward, making it perfect for anyone new to DIY projects.
- Customizable Finish: You can personalize your book covers with paint or decorative lettering to match your aesthetic.
- Attractive Display Possibilities: Stack your books on a shelf, a coffee table, or even a bedside table for added charm.
- Seasonal Versatility: Easily update the look for different seasons by changing the ribbon or twine used in the accent.
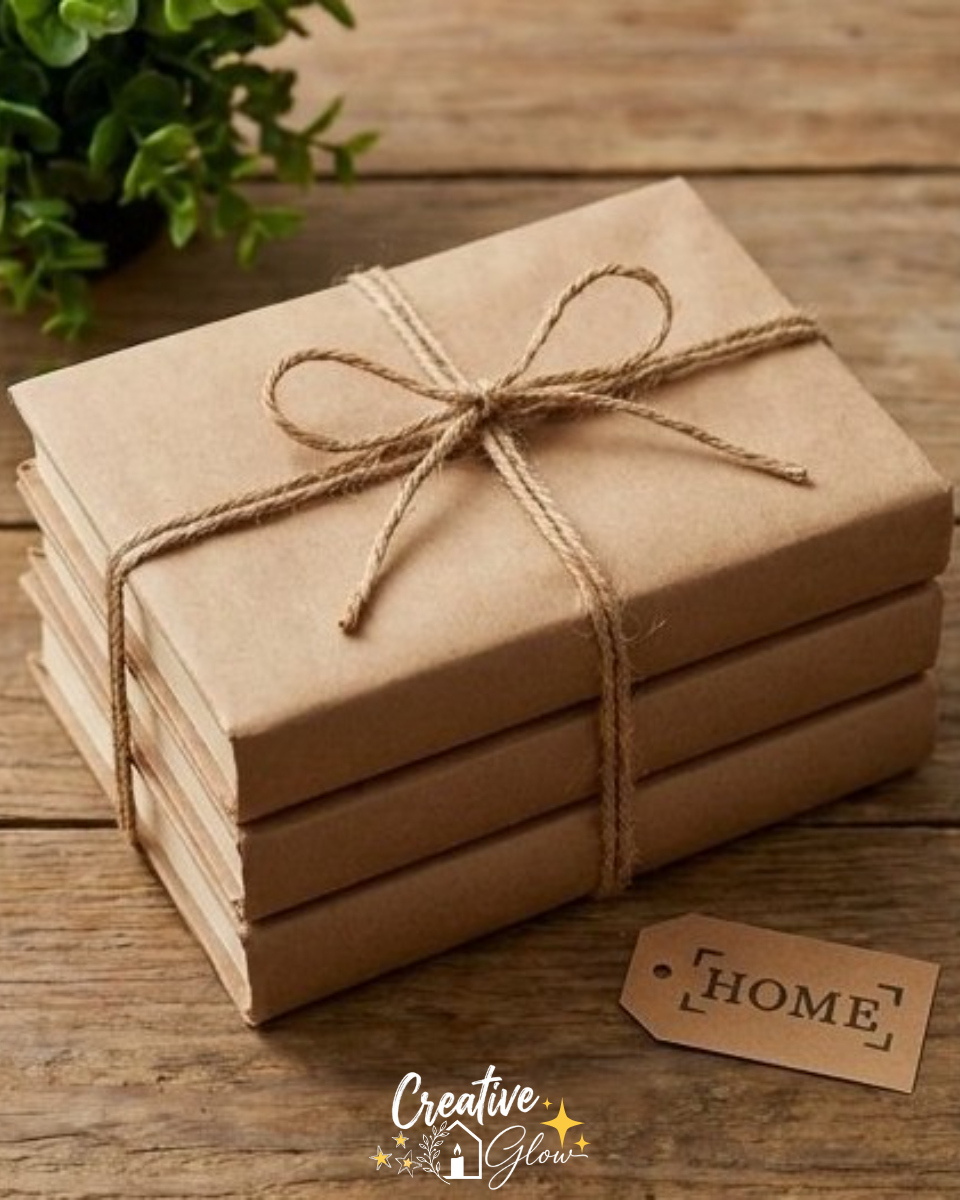
Materials and Supplies
- Old hardcover books
- Removable paper covers or paint (as needed)
- Letter stamps (optional)
- Ribbon or twine
A few notes on materials
When selecting books for your stack, try to choose ones with similar sizes for a cohesive look. If you opt for paint, I recommend a neutral shade that complements your existing decor.
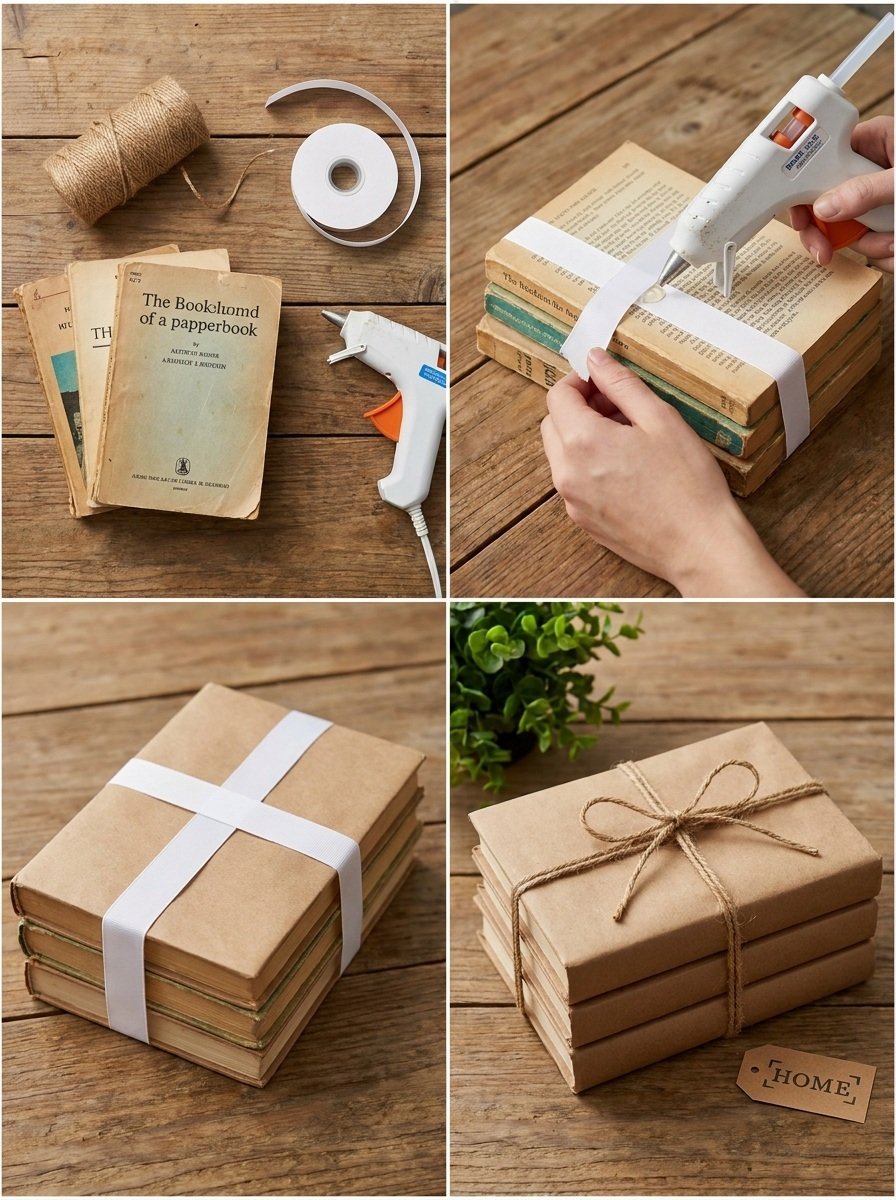
How to Make DIY Decorative Book Stack
Step 1: Prepare Your Books
Select 2–3 similarly sized hardcover books. You want them to stack neatly, so consider their dimensions as you choose.
Step 2: Treat the Covers
Give the covers a coordinated treatment. This could involve applying removable paper covers or painting them with a color that works with your room’s palette. If you’re using paint, ensure it’s fully dried before moving on.
Step 3: Add Lettering (Optional)
If you wish, you can add some minimal lettering to the covers using letter stamps. This step adds a personal touch but is completely optional, so feel free to skip it if you prefer a cleaner look.
Step 4: Stack the Books
Arrange your books in a stack once the covers are ready. I find that stacking the largest book on the bottom creates stability.
Step 5: Finish with Ribbon or Twine
Wrap a restrained ribbon or twine around the stack to finish it off. This not only keeps the books together but also adds an additional decorative element.
Tips for a Cleaner, More Polished Finish
- Surface Preparation: Clean the book covers well if painting; any dust or grease can affect adhesion.
- Even Paint Application: Use even strokes when painting to avoid uneven patches.
- Clean Edges: If using removable covers, ensure they are applied neatly and without wrinkles.
- Balanced Placement: Position the ribbon or twine in the center for symmetry.
- Allow Finishes to Dry Properly: Follow the product manufacturer’s instructions regarding drying times to ensure durability.
Ways to Customize It
- Color Palette: Experiment with different colors for the covers depending on the season or occasion.
- Size Variation: Use books of varying sizes for a more eclectic look.
- Decorative Details: Consider adding a small decorative item on top of your stack, like a scented candle or a small succulent.
- Arrangement: Try laying the books flat or standing them upright, depending on your display space.
- Seasonal Styling: Update the ribbon or twine with seasonal colors to keep your decor fresh.
How to Style and Display It
The finished decorative book stack can be styled in a variety of spaces. Here are some ideas:
- Bookshelf: Place your stack on a shelf surrounded by other decorative elements to create a cohesive display.
- Coffee Table: A stack can serve as a stylish centerpiece on a coffee table. Pair it with coasters or a tray for functional decor.
- Entryway Table: Consider displaying your book stack in an entryway to create a welcoming atmosphere.
- Bedroom: Stack them on a nightstand for a decorative touch that offers reading material.
When styling, remember to vary object heights and group items in odd numbers for visual balance.
Care and Storage
This project doesn’t require extensive care. Simply dust off the books occasionally to keep them looking fresh. If you need to store them, wrap them in a soft cloth to prevent dust accumulation.
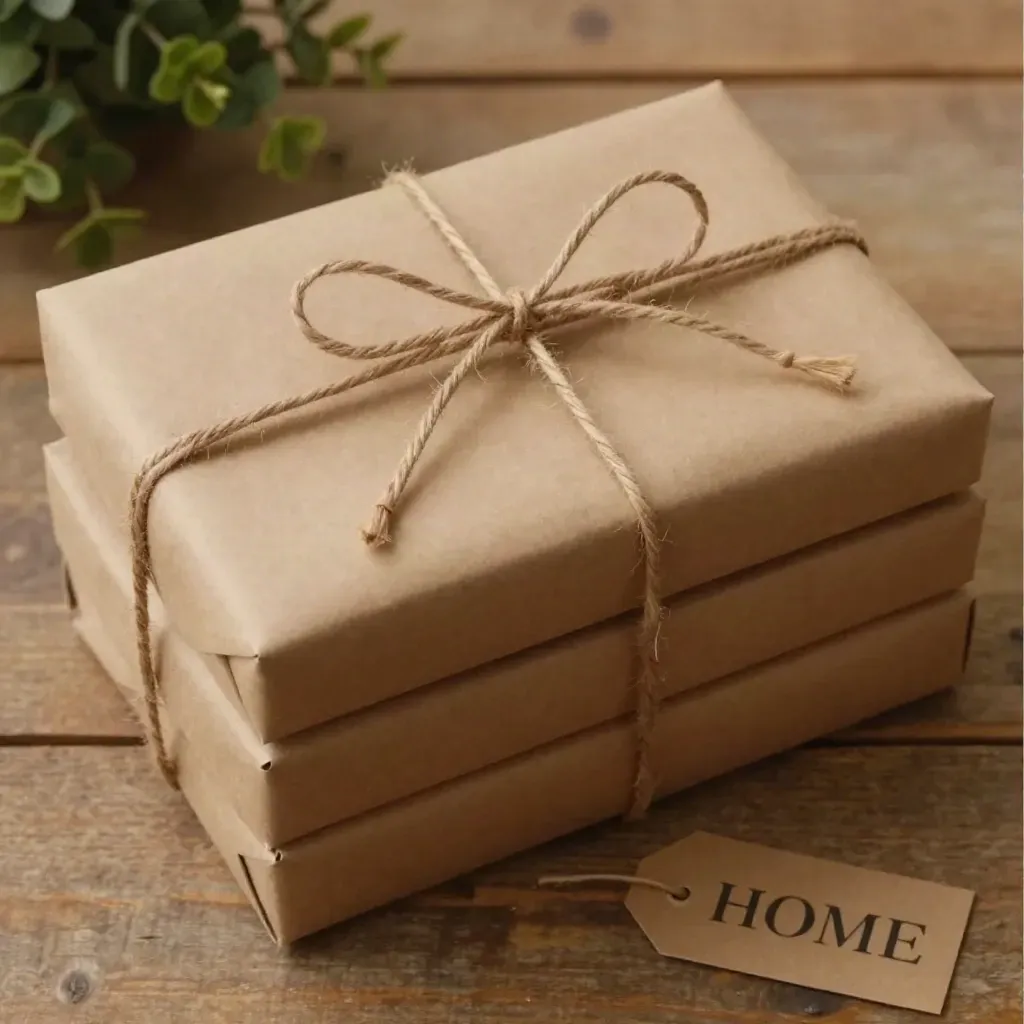
Frequently Asked Questions
1. What type of paint works best for book covers?
Lightweight, non-toxic acrylic paints work well. They adhere nicely and provide a smooth finish.
2. Can I use any size books for this project?
While you can experiment, it’s best to stick with similarly sized books for stability and aesthetic appeal.
3. How do I attach the ribbon or twine?
Simply wrap it around the stack several times and tie it in a bow or a simple knot to secure it.
4. Can I use this method for softcover books?
Yes, although the finished look may differ slightly due to the flexibility of softcovers. Hardcover books will give a more structured stack.
5. How can I customize the lettering?
You can use stickers, stamps, or even handwrite the letters for a unique touch.
6. What if I want to change my decor seasonally?
You can easily swap out the ribbon and paint colors to reflect seasonal themes or holidays.
Conclusion
This DIY Decorative Book Stack project is a great way to express your creativity while making something beautiful for your home. For further inspiration on this type of project, check out this detailed guide on creating decorative book stacks. Happy crafting!
Print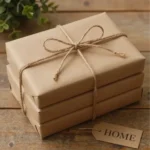
DIY Decorative Book Stack
- Total Time: 15 minutes
- Makes: 1 decorative book stack
Description
Craft a decorative book stack using old hardcover books for an elegant and personalized touch to your home decor.
Materials
- Old hardcover books
- Removable paper covers or paint (as needed)
- Letter stamps (optional)
- Ribbon or twine
Instructions
- Select 2–3 similarly sized hardcover books for stacking.
- Give the covers a coordinated treatment such as removable paper covers or paint.
- Add optional lettering to the covers using letter stamps.
- Arrange your books in a stack with the largest book on the bottom.
- Wrap a ribbon or twine around the stack to secure it and add decoration.
Notes
For a cleaner finish, ensure surfaces are prepped, paint application is even, and decorative elements are neatly applied.