


Holiday Window Decor | Christmas Holiday
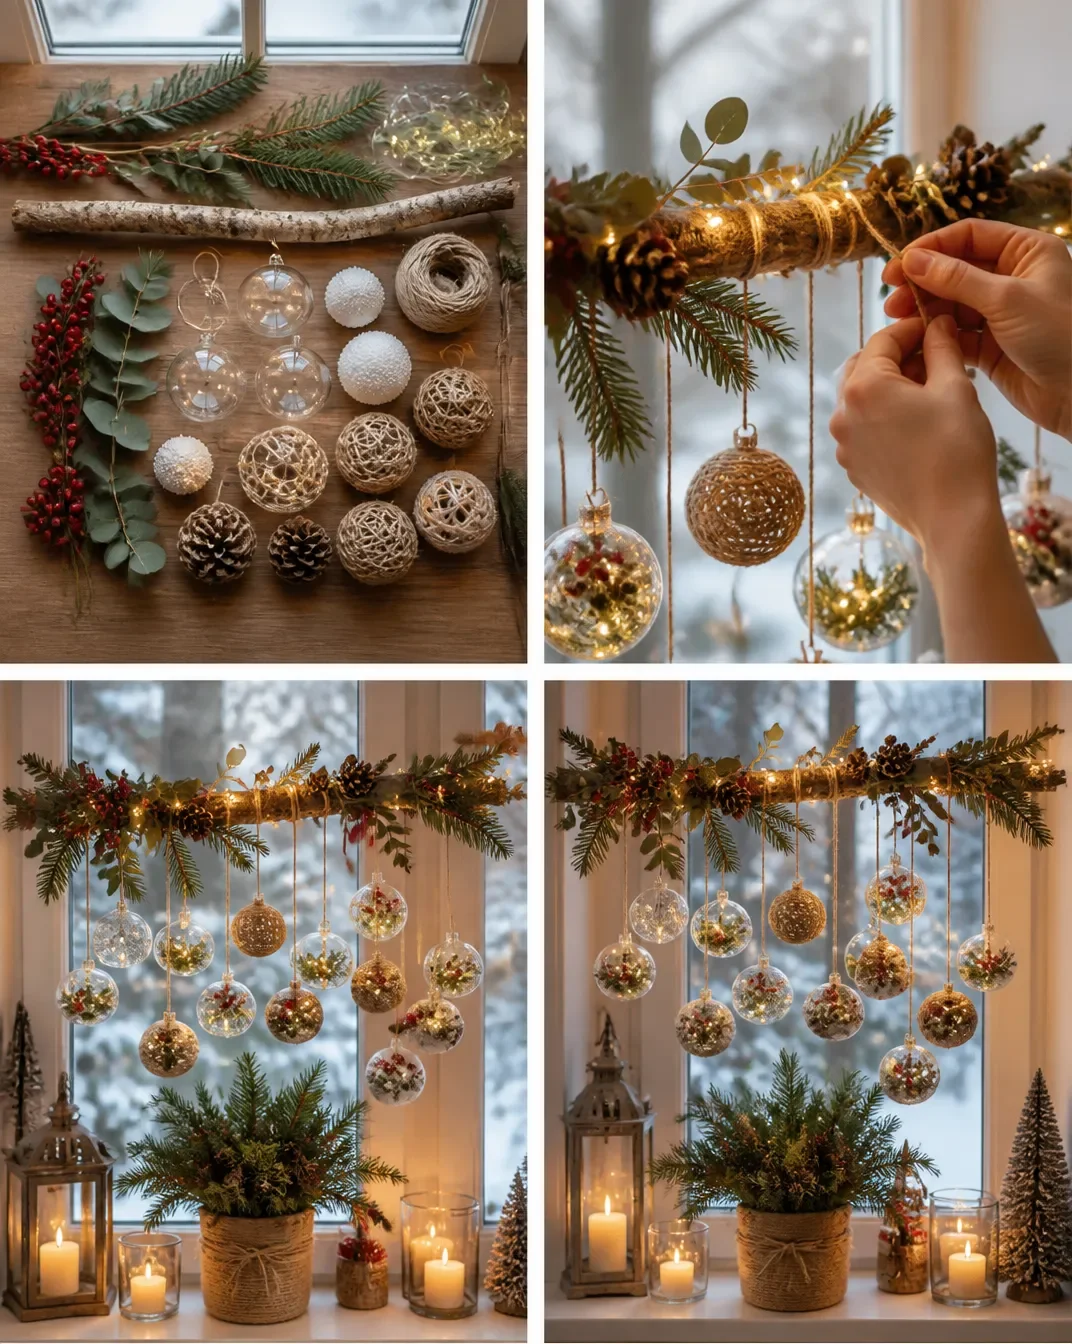
Get ready to brighten up your home this festive season with a delightful DIY craft! This holiday window decor project is not only enjoyable but also a wonderful way to showcase your creativity. You’ll love filling your windows with colorful and festive designs that bring a cheerful ambiance to your space. You may also find Crystal Glass Firework Ornament Christmas Decor useful.
Why You’ll Love This Project
- Simple and Fun: Perfect for crafters of all skill levels, this project is straightforward and enjoyable to create.
- Personal Touch: You’ll be able to customize your designs to reflect your personal style, making your decor unique.
- Budget-Friendly: Using materials you likely already have, it’s a cost-effective way to add festive charm to your home.
- Family-Friendly: A great opportunity to involve the kids in crafting and ensemble fun memories together.

You may also find Diy Clear Glue Flower Suncatchers Window Decor 2 useful.
Materials You’ll Need
- Clear glue
- Colorful paper
- Scissors
- A ruler
- Pencil
- Optional: glitter or sequins for extra sparkle
How to Make Holiday Window Decor | Christmas Holiday
Prepare Your Workspace: Clear a clean area on a table where you can lay out your materials. Make sure to cover the surface to protect it from glue spills if needed. You may also find Diy Clear Glue Flower Suncatchers Window Decor useful.
Measure and Cut: Using a ruler and pencil, draw shapes on your colorful paper that you’d like to create for your window decor. These could be stars, trees, or any Christmas-themed shapes. Cut them out carefully with scissors.
Create the Glue Design: Apply clear glue in fun, intricate designs on a sheet of wax paper. Here, you could mimic snowflakes, wreaths, or any festive patterns you prefer. Remember to think outside the box!
Add Sparkle: If you want to give your designs an extra festive touch, sprinkle glitter or sequins over the wet glue while it’s still tacky.
Let It Dry: Allow your glue designs to dry completely. This may take a few hours, so patience is key.
Display Your Decor: Once dry, peel the glued designs from the wax paper and stick them directly onto your clean window. The transparent nature of the glue will allow the sunshine to come through beautifully!

Helpful Tips
- Mess Control: To minimize mess, lay down newspaper or a drop cloth on your workspace.
- Drying Time: Ensure the glue is thoroughly dry before peeling the designs off to avoid tearing.
- Storage: If you make extras, store them flat in a dry, safe place for future holiday seasons.
Creative Variations
Feel free to adjust your designs with different colors, patterns, or shapes to suit your home’s decor or to create a theme. You might also consider using festive fabric scraps for a textured element or even watercolor paints for a unique artistic effect.
Making It With Kids
If crafting with children, ensure adult supervision when using scissors. Let them explore different shapes and colors! This provides an excellent opportunity for them to express their creativity while bonding through crafting.
How to Display, Use, or Gift It
Once finished, your lovely window decor will add a festive touch to your home, creating a cheerful environment for everyone who visits. Alternatively, these creations make excellent homemade gifts for loved ones to spread the holiday spirit.
Frequently Asked Questions
1. What type of glue works best for this project?
Clear glue works best, as it dries transparent and holds shapes well.
2. Can I use other materials besides paper?
Absolutely! Fabric, lightweight cardboard, or even old holiday cards can also work beautifully.
3. How can I make the designs more colorful?
Using colored paper and adding paint or markers can enhance the vibrancy of your decor.
4. Is this project suitable for small children?
While children can participate, ensure an adult is present to help with cutting and managing supplies.
Conclusion
This holiday window decor project is a fantastic way to express your holiday spirit while involving the whole family in a creative exercise. For even more inspiration, you can find various decorations and supplies available at Window Christmas Decor – Amazon.com. Enjoy crafting this festive season!
Print
Holiday Window Decor
- Total Time: 195 minutes
- Makes: Varies
Description
A delightful DIY project to create colorful and festive window decor for the holiday season.
Materials
- Clear glue
- Colorful paper
- Scissors
- A ruler
- Pencil
- Optional: glitter or sequins
Instructions
- Prepare your workspace: Clear a clean area and cover it to protect from glue spills.
- Measure and cut colorful paper into shapes like stars or trees using a ruler and pencil.
- Create the glue design on wax paper with fun patterns like snowflakes and wreaths.
- Add sparkle by sprinkling glitter or sequins on wet glue.
- Let it dry completely, which may take a few hours.
- Display your decor by peeling the designs off and sticking them to your window.
Notes
Ensure the glue is thoroughly dry to avoid tearing. Store extras flat for future use.