

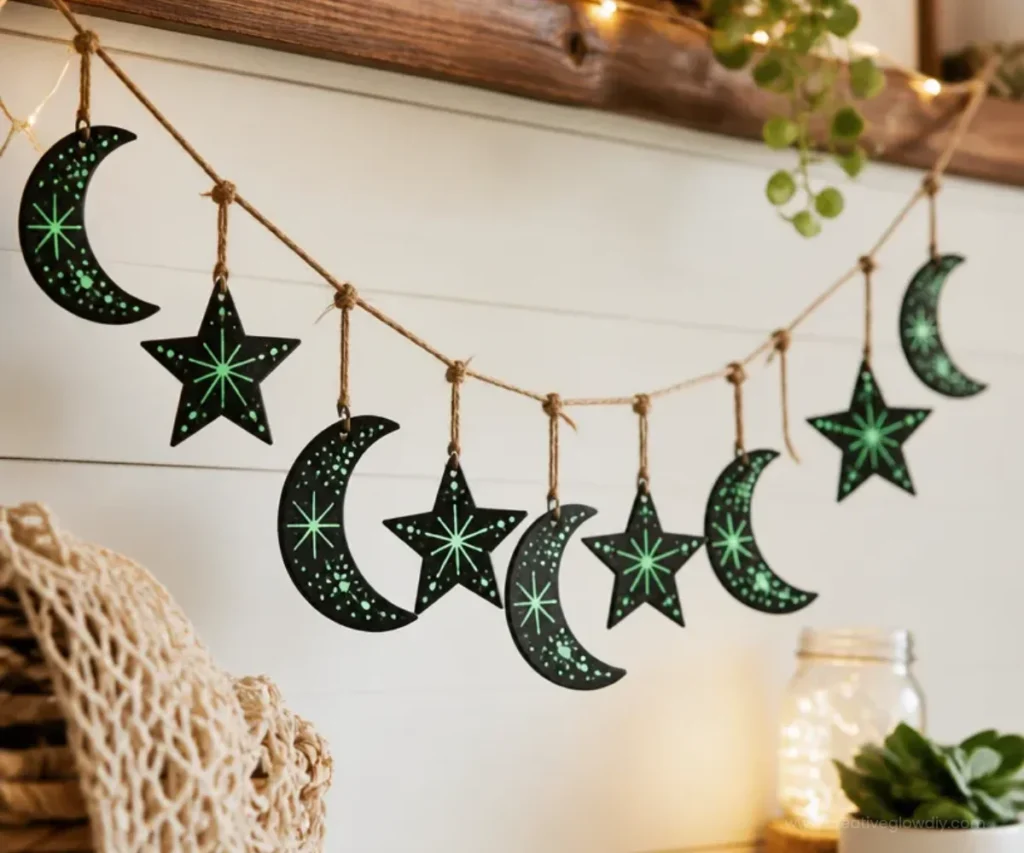
DIY Midnight Star Garland
Creating a beautiful garland is a fantastic way to add some starry whimsy to your space. The DIY Midnight Star Garland allows you to craft a stunning decorative piece that can be used for various occasions or simply as eye-catching home decor. Not only is this project rewarding, but it also provides you with a chance to express your creativity by choosing colors and designs that match your style. You might want to start by exploring some other creative projects like the Dollar Store Starfish Decor for inspiration!
Why You’ll Love This Project
- Budget-Friendly: This project uses simple materials that are easy to find and very affordable.
- Flexible Design: You can easily customize your garland by changing colors, sizes, or shapes to suit any decor.
- Fun Crafting Activity: Whether you’re crafting alone or with loved ones, this project is enjoyable and fulfilling.
- Versatile Decor: Once finished, the garland can be used for holidays, parties, or as year-round decor.
- Great Gifts: A handmade garland makes a thoughtful and unique gift for your friends or family.
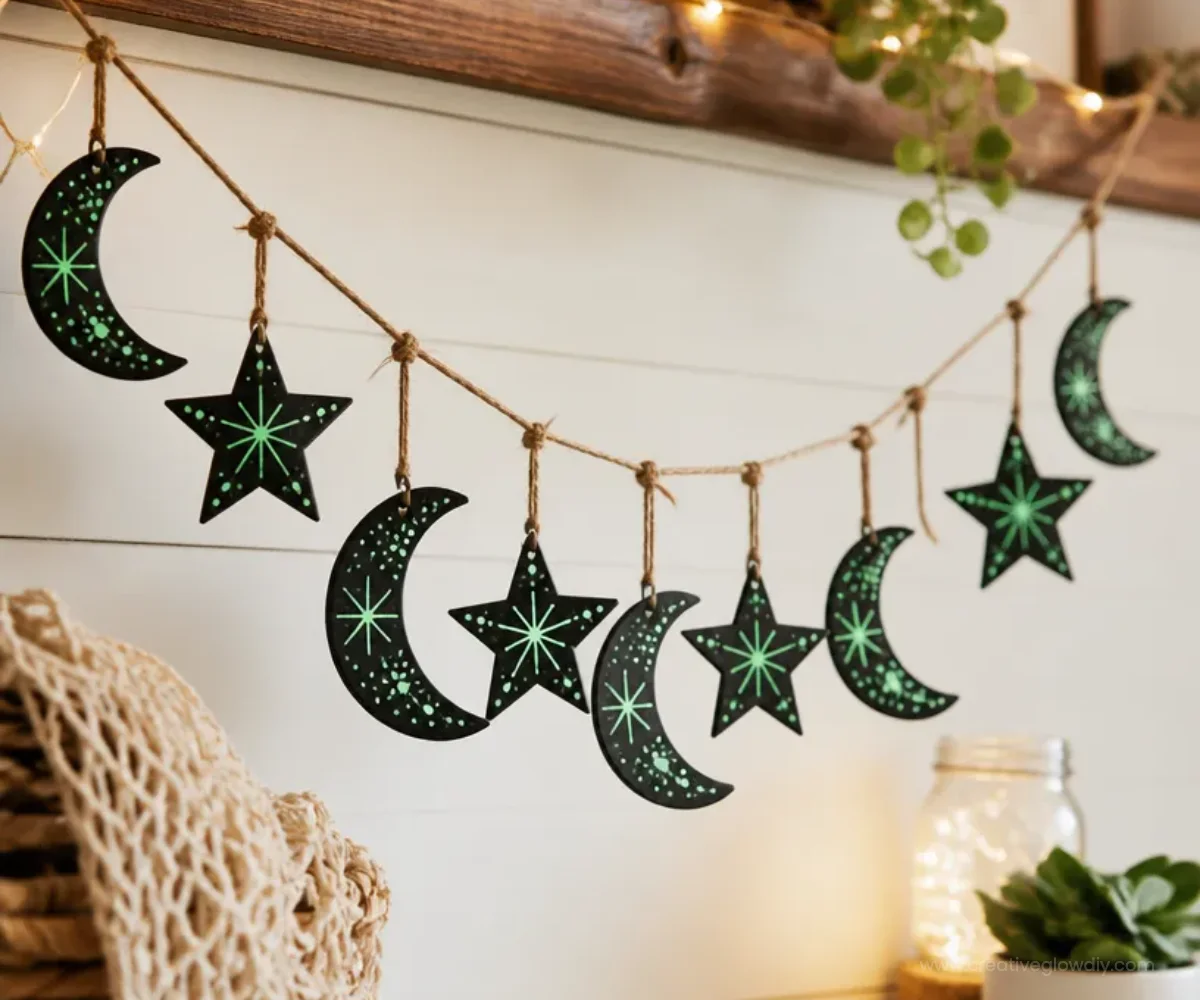
You may also find Diy Dollar Store Starfish Crystal Beach Decor 2 useful.
Materials You’ll Need
- Star-shaped cutouts (foam or cardstock)
- Twine or string
- Paint (in colors of your choice)
- Glitter (optional)
- Scissors
- Hot glue gun
How to Make DIY Midnight Star Garland
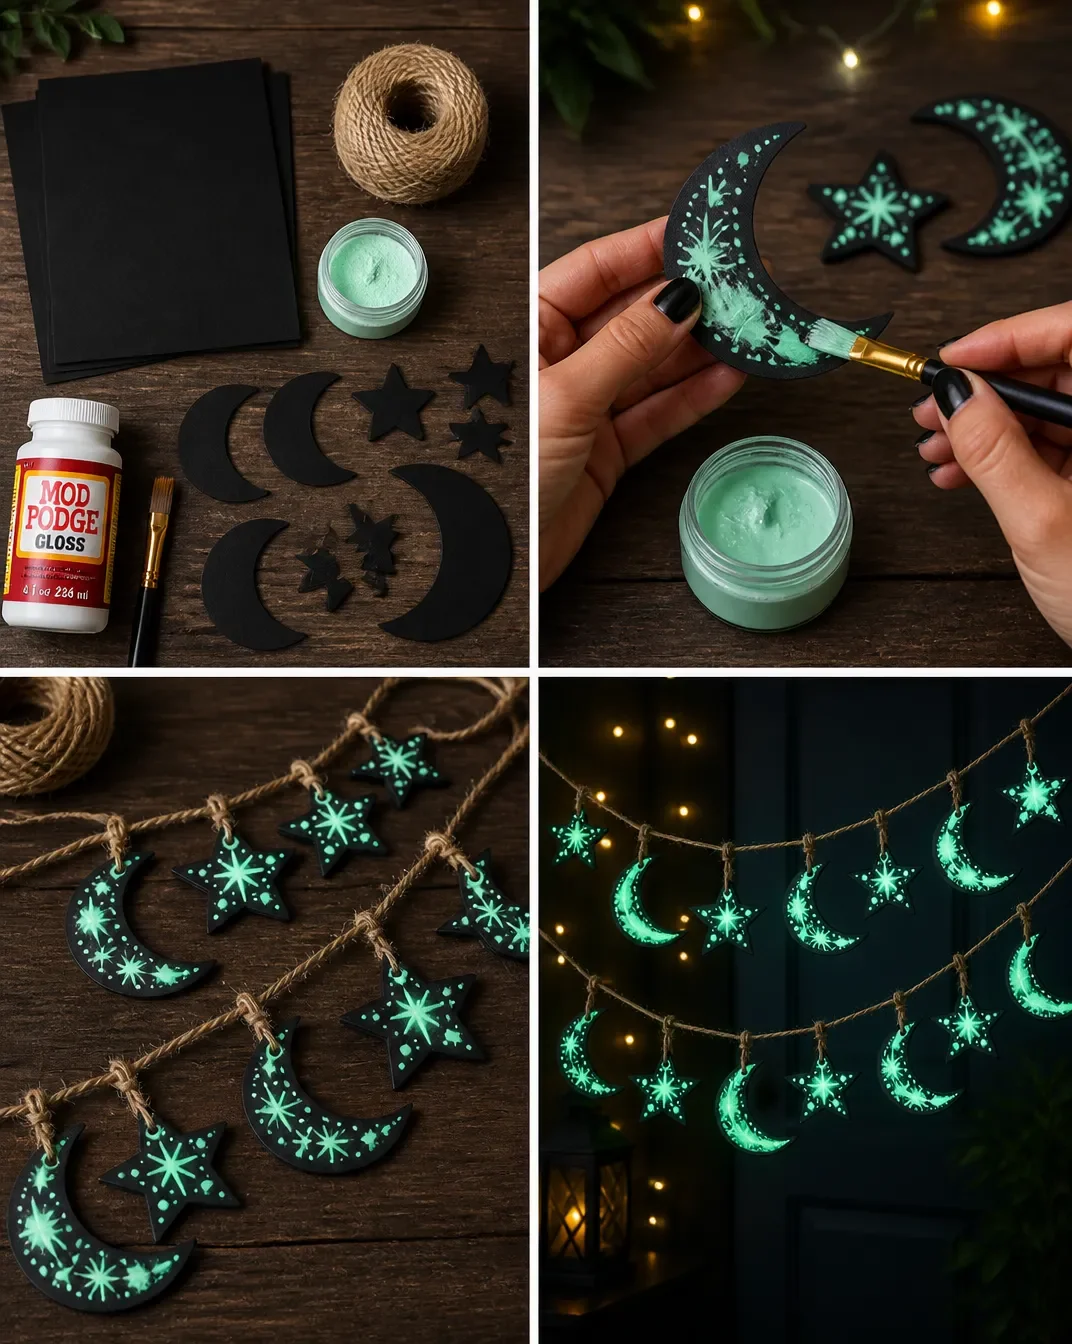
- Cut Out Stars: Using your star-shaped templates, trace and cut out your stars from foam or cardstock. Aim for a variety of sizes for a more dynamic look.
- Decorate Stars: Paint or color your stars in the shades you’ve selected. You can also add glitter to give them a sparkling effect.
- Prepare Your Twine: Measure the length of twine or string you’d like for your garland, allowing for some extra length for hanging.
- Attach Stars: Once your stars are dry, use the hot glue gun to attach them at even intervals along the twine.
- Hang: Choose your display area and hang your star garland. You can drape it across a mantel, hang it on a wall, or over a doorway.
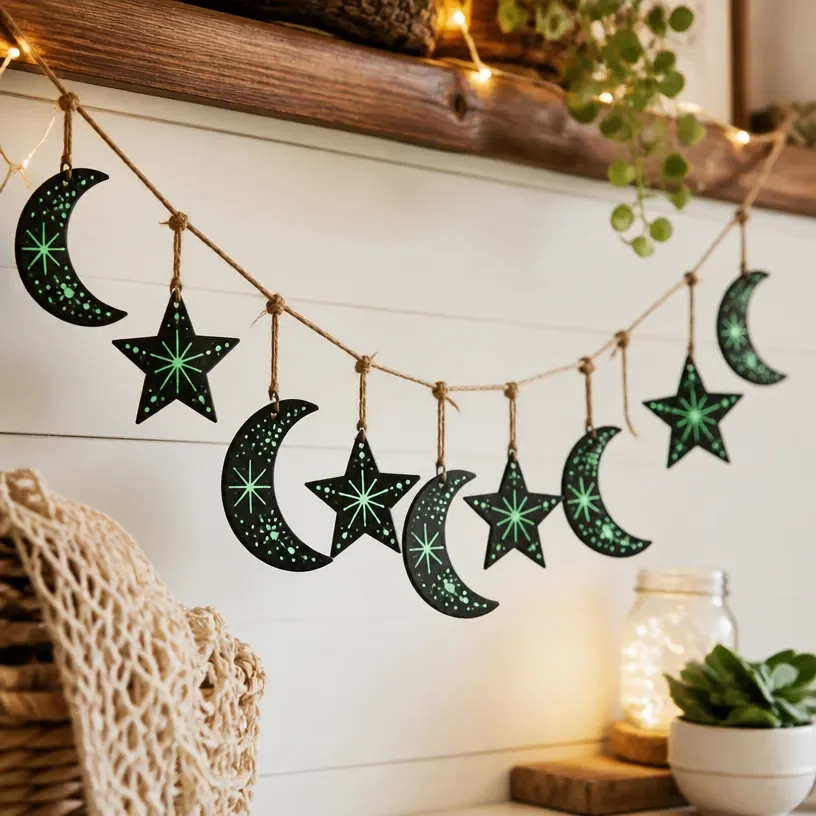
Helpful Tips
- When using the hot glue gun, be cautious as the glue can get very hot. If crafting with kids, adult supervision is essential.
- For added visual interest, try alternating the sizes and colors of the stars along the garland for a whimsical appearance.
- To make the stars more durable, consider sealing them with a clear spray sealant.
Creative Variations
- Seasonal Themes: Change the color palette for different seasons or holidays, like pastels for spring or deep hues for fall.
- Add Lights: Incorporate fairy lights into your garland for a nighttime twinkle effect.
- Bespoke Sizes: Create stars in different dimensions to give more depth to your hanging display.
Making It With Kids
This project is perfect for a family craft day! Just ensure that adult supervision is present, especially when using scissors and the hot glue gun. Allow children to express their creativity through colors and patterns. Each star they make could tell a little story or represent a special memory. You may also find Diy Modern Wood Bead Garland useful.
How to Display, Use, or Gift It
Once completed, your garland can enhance a room, serve as party decor, or become a lovely gift when wrapped carefully. Consider including a note about how you made each star if you give it to someone special!
Frequently Asked Questions
What material is best for the star cutouts?
Foam works well as it is sturdy, but cardstock can also be used for a lightweight option.
Can I use a different adhesive?
Yes! If you are concerned about using a hot glue gun, fabric glue or double-sided tape can also work.
How long will my garland last?
If stored properly, your garland can last for years. Avoid too much sun exposure to prevent fading.
Can I make this garland for outdoor use?
Yes, just use waterproof materials and seal any painted surfaces to protect from the elements.
What sizes should the stars be?
A variety of sizes will make your garland more visually appealing. Consider using a mix of small, medium, and large stars.
Conclusion
Creating your own garland can be an enjoyable and fulfilling project, perfect for brightening any space. To see a different decorative idea that incorporates a similar design ethos, check out the Starry garland (New Horizons) – Animal Crossing Wiki – Nookipedia. Happy crafting!
Print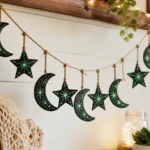
DIY Midnight Star Garland
- Total Time: 30 minutes
- Makes: 1 garland
Description
Craft a stunning midnight star garland to add whimsical decor to any space.
Materials
- Star-shaped cutouts (foam or cardstock)
- Twine or string
- Paint (in colors of your choice)
- Glitter (optional)
- Scissors
- Hot glue gun
Instructions
- Cut out stars using your templates from foam or cardstock.
- Decorate stars with paint or glitter.
- Prepare your twine by measuring the desired length.
- Attach stars to the twine with a hot glue gun.
- Hang your star garland in your chosen display area.
Notes
Be cautious with the hot glue gun and supervise children while crafting. Consider sealing stars with clear spray sealant for durability.