

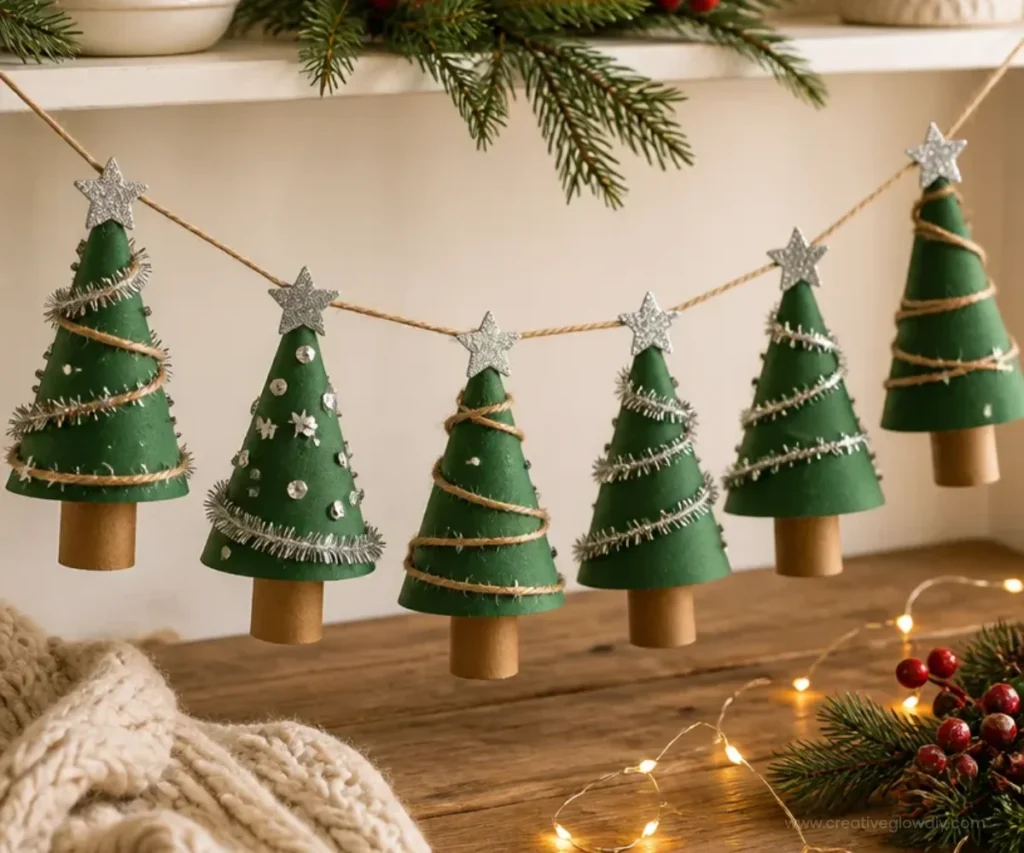
Homemade Ornaments | Crafting with Toilet Paper Rolls, Christmas Crafts for Adults
Creating festive decorations can be a delightful way to bring the holiday spirit into your home. With just a few toilet paper rolls, you can make beautiful ornaments that will brighten up your Christmas tree or serve as thoughtful gifts for friends and family. This craft not only allows for creativity but also helps in upcycling materials you may already have at home. You may also find Diy Faux Glass Heart Craft Home Decor 2 useful.
Why You’ll Love This Project
- Budget-Friendly: Using toilet paper rolls makes this craft very inexpensive and easy to access.
- Customizable Designs: You can personalize your ornaments in countless ways think colors, patterns, and embellishments!
- Sustainable Crafting: This project promotes upcycling, turning what could be waste into beautiful holiday decor.
- Fun for Everyone: Crafting with toilet paper rolls is a great activity to involve friends and family in, making for quality bonding time.
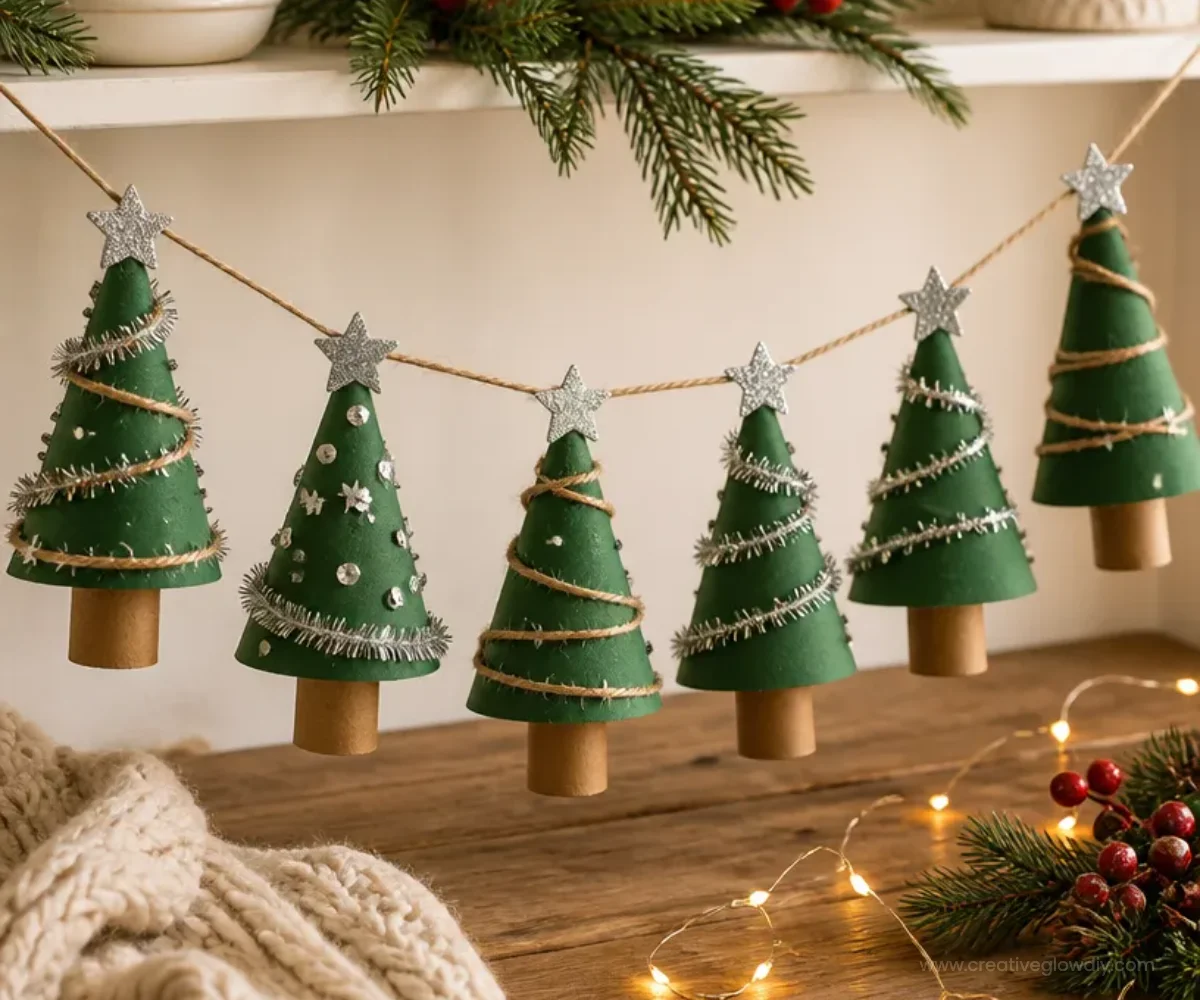
You may also find Diy Wall Art Toilet Paper Rolls Home Decor Ideas 2 useful.
Materials You’ll Need
- Toilet paper rolls
- Scissors
- Glue or hot glue gun
- Paint (acrylic preferred)
- Glitter or decorative items (such as sequins, beads, and ribbons)
- String or twine for hanging
- Paintbrush
How to Make Homemade Ornaments | Crafting with Toilet Paper Rolls
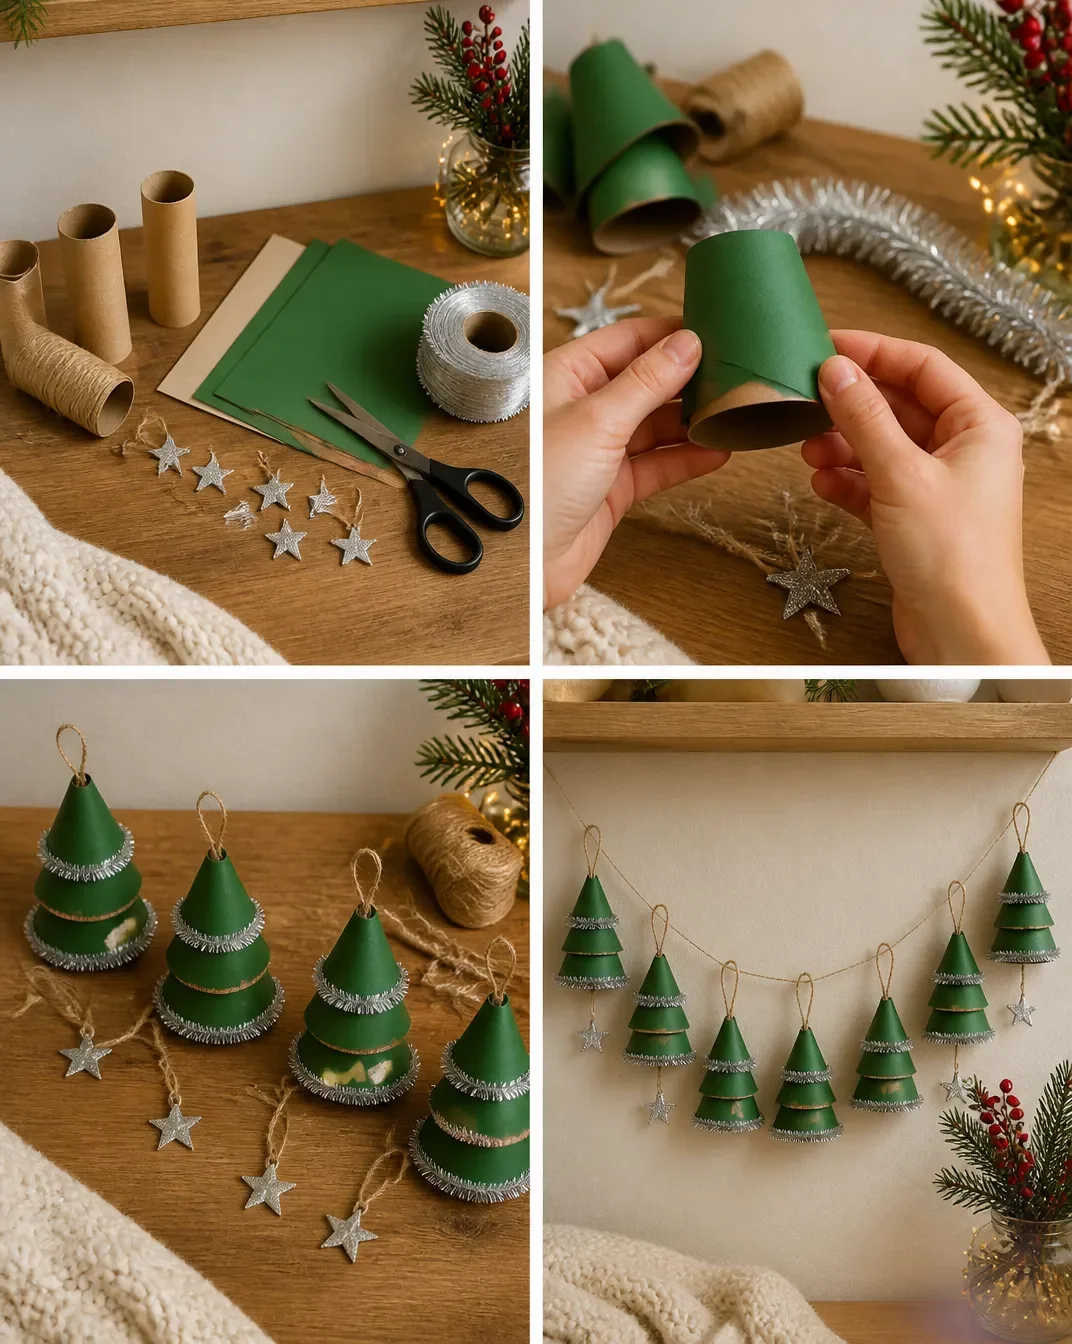
Prepare the Rolls: Cut the toilet paper rolls into 1-inch wide rings. You can create more traditional circle ornaments or vary the width for different designs. You may also find Dragonfly Paper Roll Wall Art Handmade Decor 2 useful.
Shape Your Ornament: You can leave the rings as they are for a simple look or squeeze the rings into different shapes, such as stars or hearts. For added structure, overlap or glue multiple rolls together.
Paint and Decorate: Using a paintbrush, add a base coat of paint to your rings. Once dry, let your creative juices flow as you sprinkle glitter or attach decorative items. The finished product will pop with color and charm!
Add a Hanging Mechanism: Cut a piece of string or twine, and glue one end into the top of your ornament. Make sure it’s secured well so your ornament can hang nicely.
Display Your Creations: Once everything is dry and set, hang your new ornaments on the tree, or use them as table decorations to spread festive cheer.

Helpful Tips
- Cutting Technique: Ensure you use sharp scissors for clean cuts, especially if the rolls are thicker.
- Hot Glue Caution: If using a hot glue gun, be careful! It can get very hot; make sure to supervise if younger kids are participating.
- Mess Management: Lay down newspaper or a craft mat to catch any spills from paint or glitter, making cleanup easier afterward.
Creative Variations
- Colorful Patterns: Experiment with multiple colors for each ornament. Use a sponge for painting to create a textured feel.
- Holiday Themes: Adapt your decorations for different holidays by changing the shapes (e.g., leaves for Thanksgiving) and colors.
- Personal Touches: Write names or dates on the ornaments to create meaningful gifts that commemorate special occasions.
Making It With Kids
This project is excellent for kids, but be sure to use age-appropriate tools. Scissors should always be handled with care, and if using hot glue, adult supervision is essential. Engage with them by discussing design ideas and colors; it can be a collaborative masterpiece!
How to Display, Use, or Gift It
Apart from featuring on your Christmas tree, these ornaments can make wonderful gifts for family and friends. Consider packaging them in a festive box or tying them with a bow for an added touch of cheer. You can also hang them around the house as part of your winter decor, or even attach them to gift tags for presents.
Frequently Asked Questions
Can I use different materials besides toilet paper rolls?
Absolutely! You can use paper towel rolls or any cylindrical cardboard structures that you find around the house.
How do I hang the ornaments?
Adding a string loop is a simple method. Just make sure it’s securely fastened to avoid falling off.
What type of paint works best?
Acrylic paint is recommended as it dries quickly and adheres well to cardboard.
Can I use other embellishments?
Yes! You can get creative with various materials like buttons, fabric scraps, or foliage for a unique look.
How can I store these ornaments after the holidays?
Wrap them carefully in tissue paper and store them in a box to keep them safe until next year.
Conclusion
Crafting ornaments from toilet paper rolls is a creative and sustainable way to celebrate the holidays. If you’re looking for more DIY ideas, you might enjoy this project for making a Christmas star from toilet paper rolls at ConfettiCo. Happy crafting!
Print
Homemade Ornaments from Toilet Paper Rolls
- Total Time: 15 minutes
- Makes: 10 ornaments
Description
Create beautiful and festive ornaments using recycled toilet paper rolls, perfect for adding a personal touch to your Christmas decorations.
Materials
- Toilet paper rolls
- Scissors
- Glue or hot glue gun
- Acrylic paint
- Glitter or decorative items (sequins, beads, ribbons)
- String or twine for hanging
- Paintbrush
Instructions
- Prepare the rolls: Cut the toilet paper rolls into 1-inch wide rings.
- Shape your ornament: Leave the rings as they are or squeeze them into different shapes.
- Paint and decorate: Apply a base coat of paint and add glitter or decorative items once dry.
- Add a hanging mechanism: Glue a piece of string or twine into the top of your ornament.
- Display your creations: Hang your ornaments on the tree or use them for table decorations.
Notes
Ensure you use sharp scissors for clean cuts. Supervise children with the hot glue gun.