

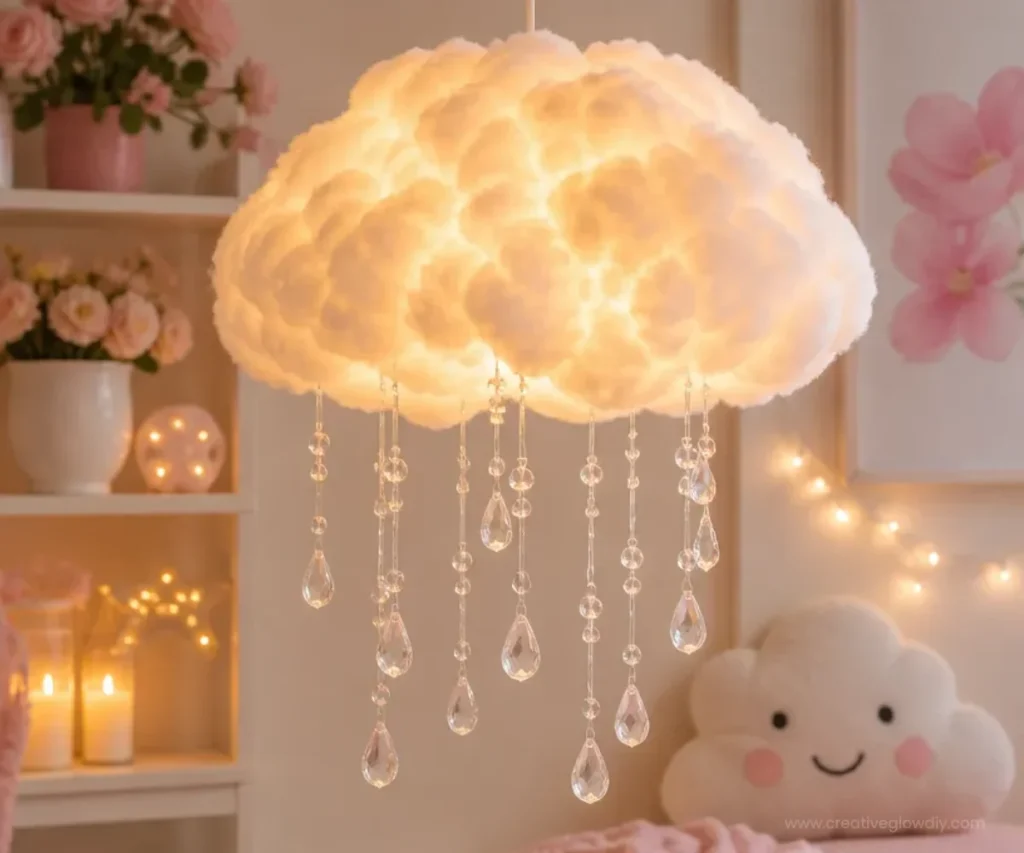
Raindrop Cloud Lamp with Lights DIY | Cloud Lamps for Kids, Balloon Lamp Ideas, Cloud Decor Ideas
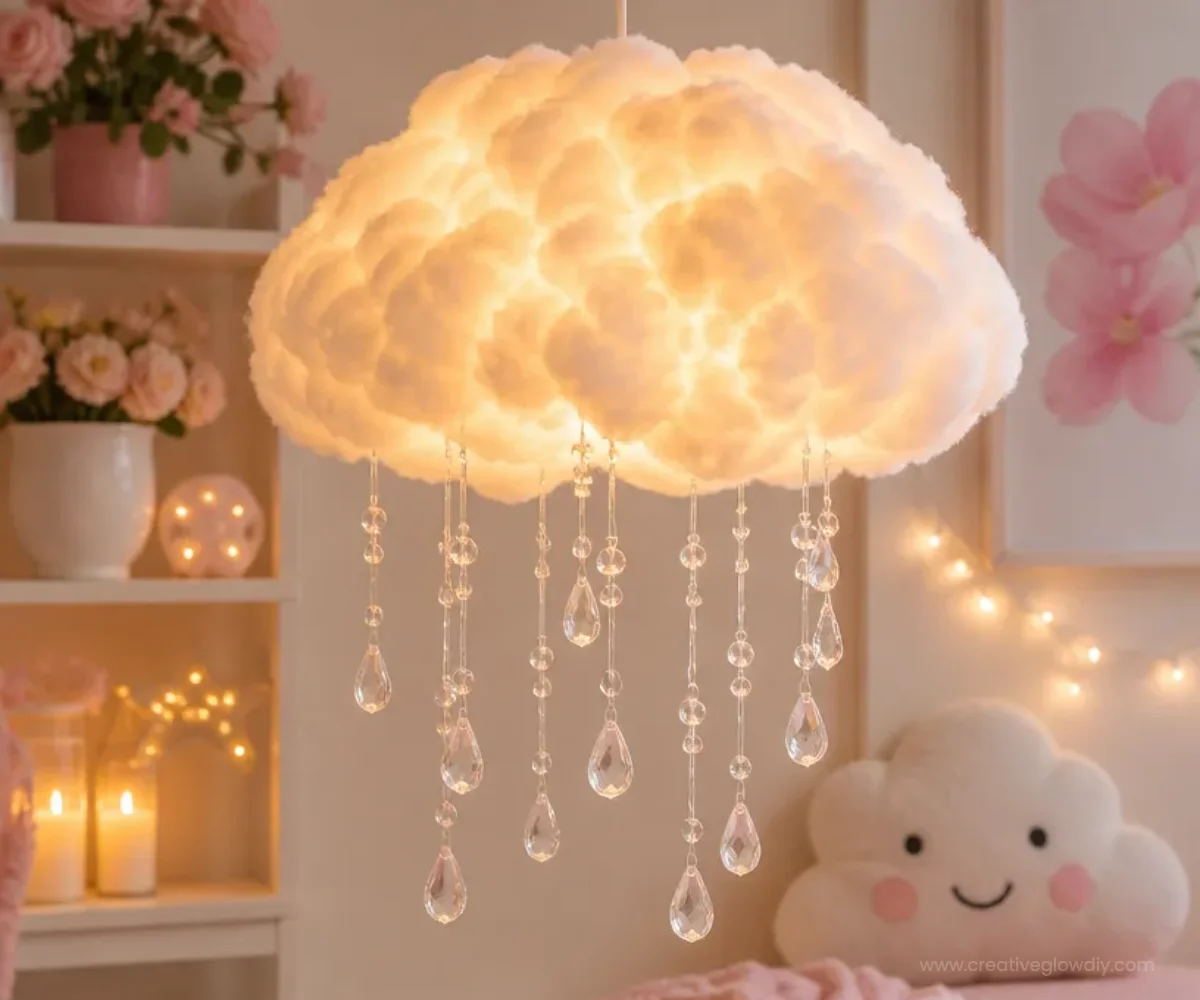
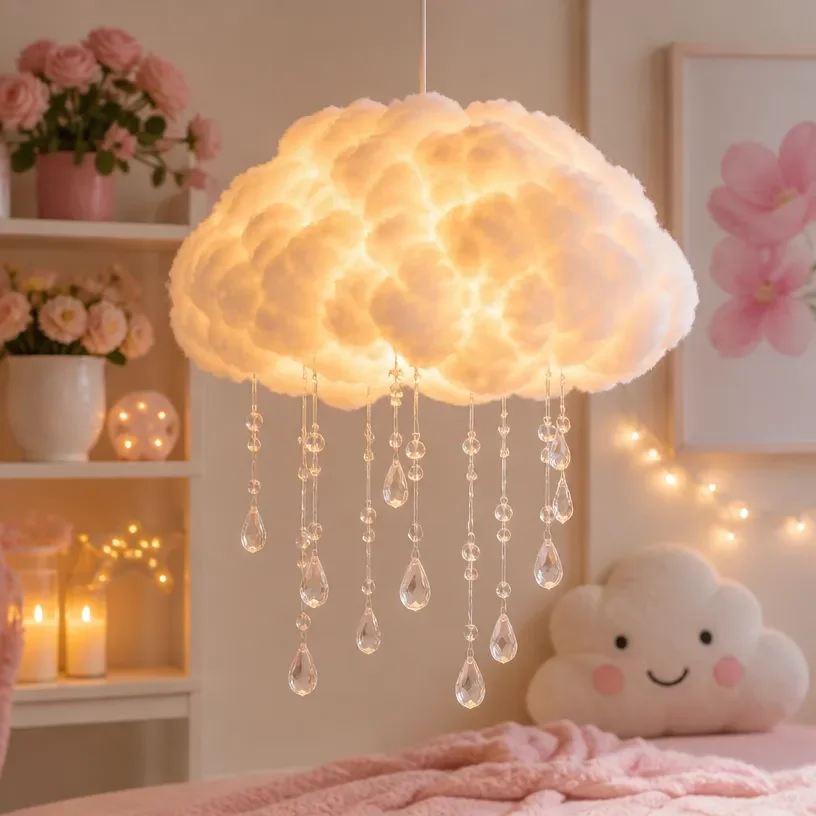
Creating a whimsical raindrop cloud lamp is a delightful project that adds cozy charm to any child’s room. This fun DIY not only serves as a captivating night light, but it also allows you to unleash your creativity. With a few simple materials, you can craft a soft lighting fixture that transforms the atmosphere and sparks joy! You may also find Cloud Glow Lamp Soft Led Night Light Home Decor 2 useful.
Why You’ll Love This Project
Unique and Adorable Design: This cloud lamp adds a touch of magic to your home decor, making any space feel welcoming and imaginative. You may also find Cloud Glow Lamp Soft Led Night Light Home Decor useful.
Budget-Friendly Craft: Utilizing materials you might already have at home, this project is both economical and enjoyable. You may also find Diy Cloud Glow Lamp Soft Led Night Light useful.
Engagement for Kids: Children will love having a hand in the creation of their own night light, which can encourage creativity and a sense of ownership.
Perfect for Any Room: The soft glow makes it a versatile addition to bedrooms, playrooms, or nurseries, creating a calming environment.
Materials You’ll Need
To create your raindrop cloud lamp, gather the following materials:
- Cotton batting or white pillows
- LED fairy lights
- A balloon
- Clear glue
- Scissors
- A bowl for shaping
- Optional: Paints or decorations for personal touches
How to Make Raindrop Cloud Lamp with Lights DIY
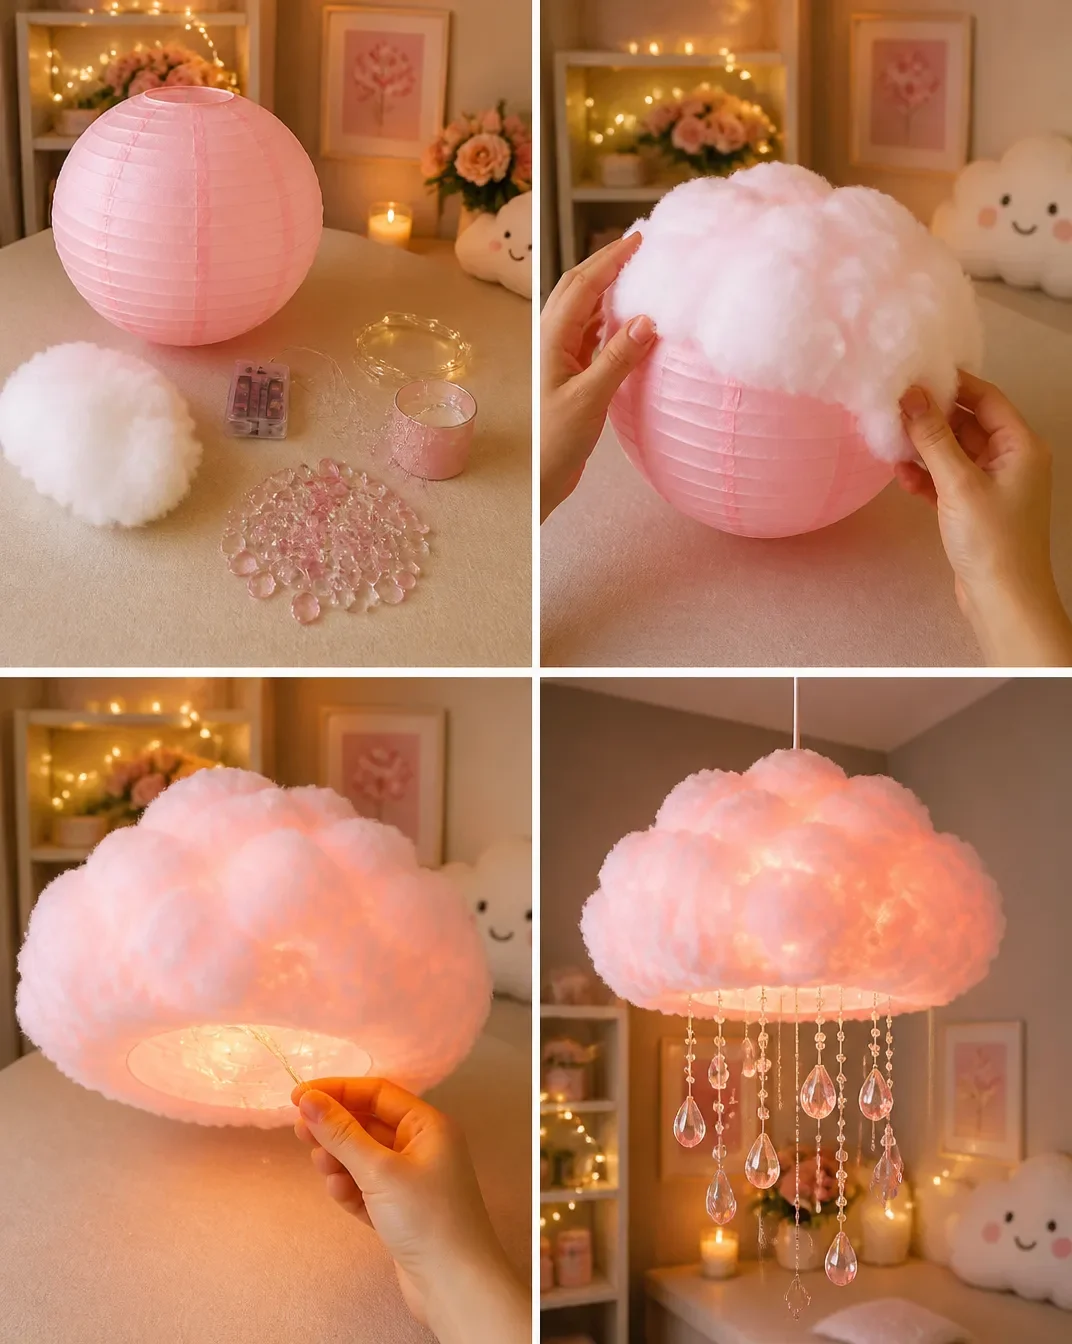
Prepare the Balloon: Inflate the balloon to your desired size, and tie it securely. This will be the base shape for your cloud.
Create the Cloud Shape: In a bowl, mix the clear glue with cotton batting until it is thoroughly covered. Begin applying the glued cotton around the balloon in a fluffy, cloud-like manner, ensuring to leave a small opening for the lights.
Dry the Cloud: Let the cotton-covered balloon dry completely. This may take several hours or overnight, based on humidity levels.
Pop the Balloon: Once the cotton is dry and sturdy, carefully deflate and pop the balloon, removing it from inside the cloud shape.
Install the Lights: Take your LED fairy lights and gently place them inside the cloud, ensuring that the battery pack remains outside or accessible for easy switching.
Display Your New Lamp: Decide where you’d like to hang or place your new cloud lamp. It can be a whimsical ceiling decor piece or a charming night light on a bedside table.
Helpful Tips
- Choosing Lights: Opt for soft white or colored fairy lights that align with your design vision for the cloud.
- Mix Textures: Consider combining cotton batting with other textures or colors to create a more unique cloud effect.
- Child Safety: When crafting with children, supervise their use of scissors and any hot glue, ensuring they have a safe space to explore their creativity.
Creative Variations
- Personalized Touches: Use fabric paints or additional embellishments to decorate the outside of the cloud for a unique appearance.
- Seasonal Decor: Adapt the lamp for different holidays by changing the color of the lights or adding relevant decorations, like stars for winter or flowers for spring.
- Bigger Clouds: Scale up the size of your balloon to create a larger or multi-cloud fixture for an eye-catching centerpiece.
Making It With Kids
This project is perfect for crafting with kids! Ensure adult supervision during potentially hazardous steps, such as popping the balloon or using scissors. Encourage them to express their ideas, whether it’s the colors they want to use or how fluffy they want their cloud to look!
How to Display, Use, or Gift It
Once completed, your cloud lamp can serve as a cozy night light, perfect for easing children to sleep. If you’re looking for a creative gift, this lamp makes a truly unique present that showcases your handiwork and thoughtfulness.
Frequently Asked Questions
1. How long does it take for the glue to dry?
Typically, allowing at least 4-6 hours or overnight will ensure adequate drying time.
2. Can I use regular bulbs instead of LED lights?
It’s best to use LED lights, as they stay cool to the touch and are safer for prolonged use.
3. What if my cloud doesn’t hold its shape?
Reinforce your cloud with additional layers of cotton batting and glue for a sturdier structure.
4. How can I make it look fluffy?
Layering cotton in different textures and thicknesses will enhance the cloud’s fluffy appearance.
5. Is it suitable for outdoor use?
This lamp is best meant for indoor use, as outdoor elements could damage the materials.
Conclusion
Now that you know how to create a charming raindrop cloud lamp, it’s time to gather your materials and get crafting! This project not only makes a lovely addition to any child’s room but could also be a great unexpected gift. For inspiration on clouds of all shapes and sizes, consider exploring Inflatable Light Clouds with Multiple Colors. Happy crafting!
Print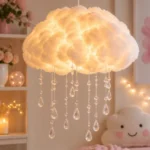
Raindrop Cloud Lamp with Lights DIY
- Total Time: 30 minutes
- Makes: 1 cloud lamp
Description
Create a whimsical raindrop cloud lamp that adds cozy charm to any child’s room with this fun DIY project.
Materials
- Cotton batting or white pillows
- LED fairy lights
- A balloon
- Clear glue
- Scissors
- A bowl for shaping
- Optional: Paints or decorations for personal touches
Instructions
- Prepare the Balloon: Inflate the balloon to your desired size, and tie it securely.
- Create the Cloud Shape: In a bowl, mix the clear glue with cotton batting until it is thoroughly covered, then apply it around the balloon.
- Dry the Cloud: Let the cotton-covered balloon dry completely, which may take several hours or overnight.
- Pop the Balloon: Carefully deflate and pop the balloon, removing it from inside the cloud shape.
- Install the Lights: Place your LED fairy lights inside the cloud, ensuring the battery pack stays outside.
- Display Your New Lamp: Decide where to hang or place your new cloud lamp for optimal decor.
Notes
Ensure adult supervision when crafting with kids, especially during potentially hazardous steps.