

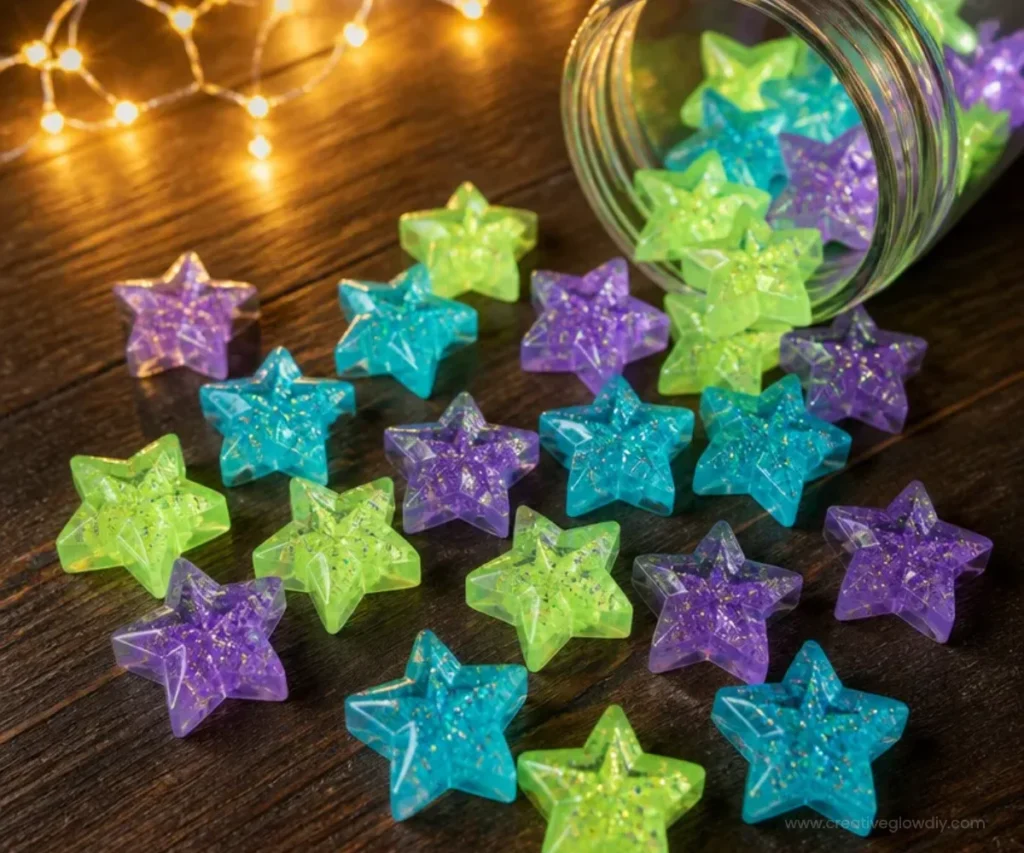
DIY Glow-in-the-Dark Stars ⭐🌙✨
Creating light-up decorations can bring a whimsical touch to any space, especially when they glow in the dark! In this DIY project, you’ll be making your own glow-in-the-dark stars that can be displayed anywhere to brighten up your surroundings, day or night. This is a delightful craft that not only involves creativity but also adds a special glow to your rooms. You may also find All Season Diy Floating Flower Bowl Centerpiece useful.
Why You’ll Love This Project
- Fun for All Ages: This craft is easy enough for kids to enjoy while still providing a fun challenge for adults.
- Personalized Decor: You can make stars in different sizes and colors to suit your home’s style.
- Perfect for Parties: Use these stars to enhance party atmospheres or even as enchanting decorations for events like birthday celebrations.
- Simple Materials: All you need are a few basic supplies, making it budget-friendly.
- Upcycling Opportunity: If you choose to use recycled materials, this project becomes an eco-friendly craft as well!

You may also find Cute Mini Bottle Cap Characters Diy Craft Idea useful.
Materials You’ll Need
- Glow-in-the-dark paint
- Cardstock or thick paper
- Star-shaped templates (you can create your own or find them online)
- Paintbrushes
- Scissors
- Adhesive (glue or tape)
How to Make DIY Glow-in-the-Dark Stars ⭐🌙✨
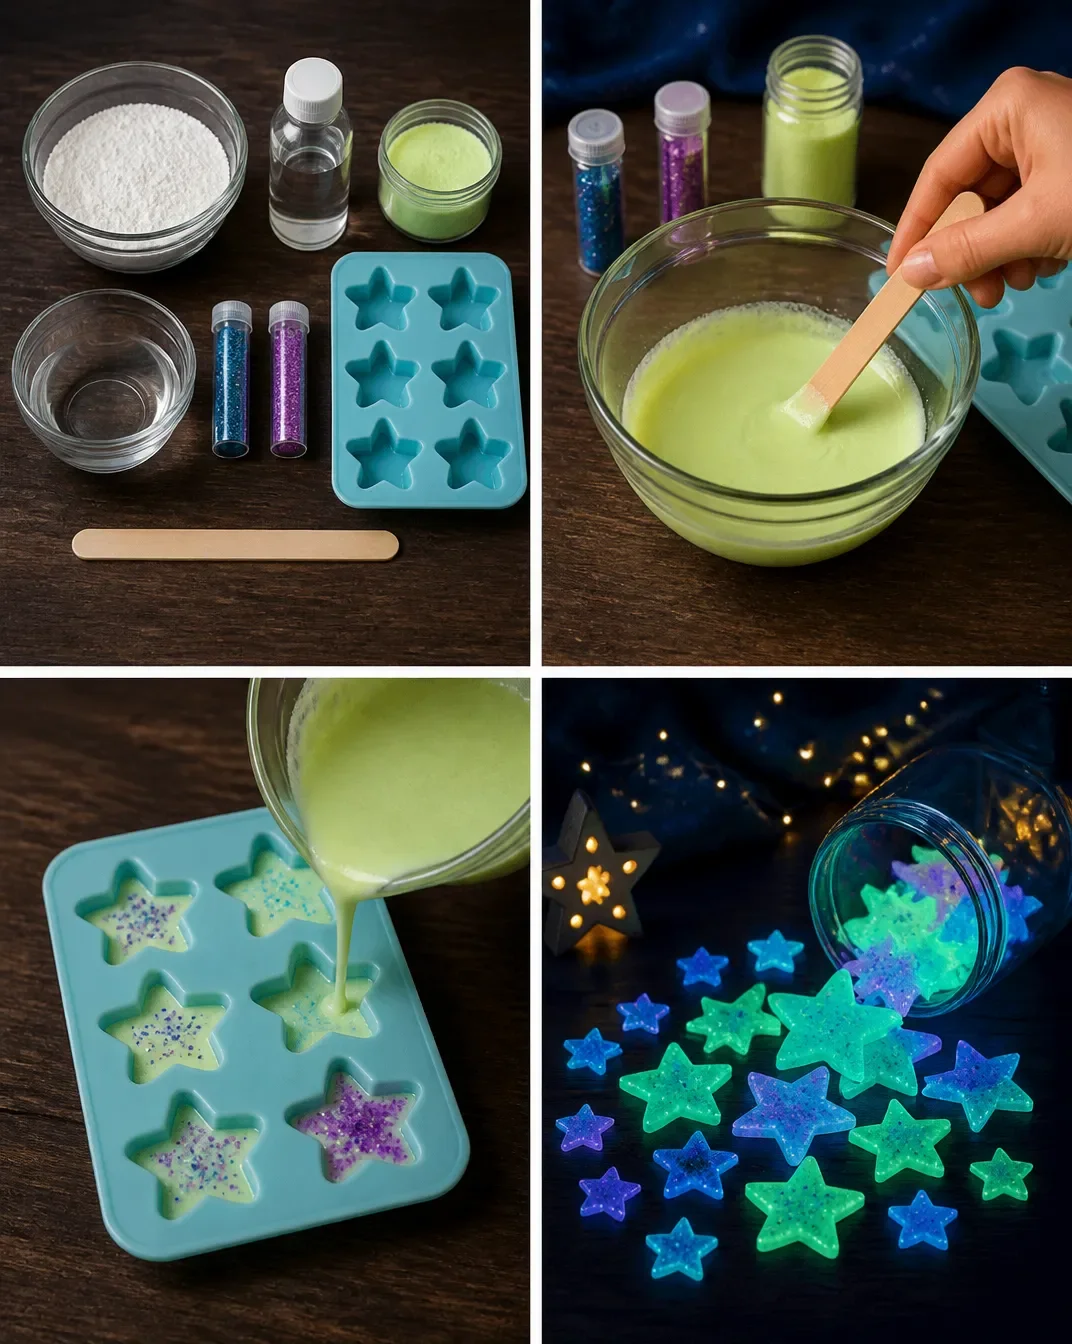
Prepare Your Workspace: Clear a surface where you can spread out your materials. Lay down some newspaper or a protective covering to catch any spills from the glow paint.
Create Star Templates: If you don’t have pre-made templates, draw stars of various sizes on a piece of cardstock, then cut them out to use as your guide.
Paint the Stars: Using your paintbrush, apply a layer of glow-in-the-dark paint to your star templates. Ensure that you cover all areas evenly for a consistent glow effect.
Let Them Dry: Once painted, set the stars aside to dry fully. Depending on the paint, this may take a few hours.
Display the Stars: Once dry, you can easily stick them on walls, ceilings, or even create a magical mobile to hang. For further inspiration, check out this DIY butterfly mobile that also features floating designs!
Helpful Tips
- Layering Paint: For a brighter glow, you can apply multiple layers of paint, allowing each layer to dry before adding the next one.
- Experiment with Shapes: Feel free to experiment and create different shapes aside from stars for a more varied display.
- Avoid Clumping: When painting, make sure not to let the paint pool in corners; this can affect the glow quality.
Creative Variations
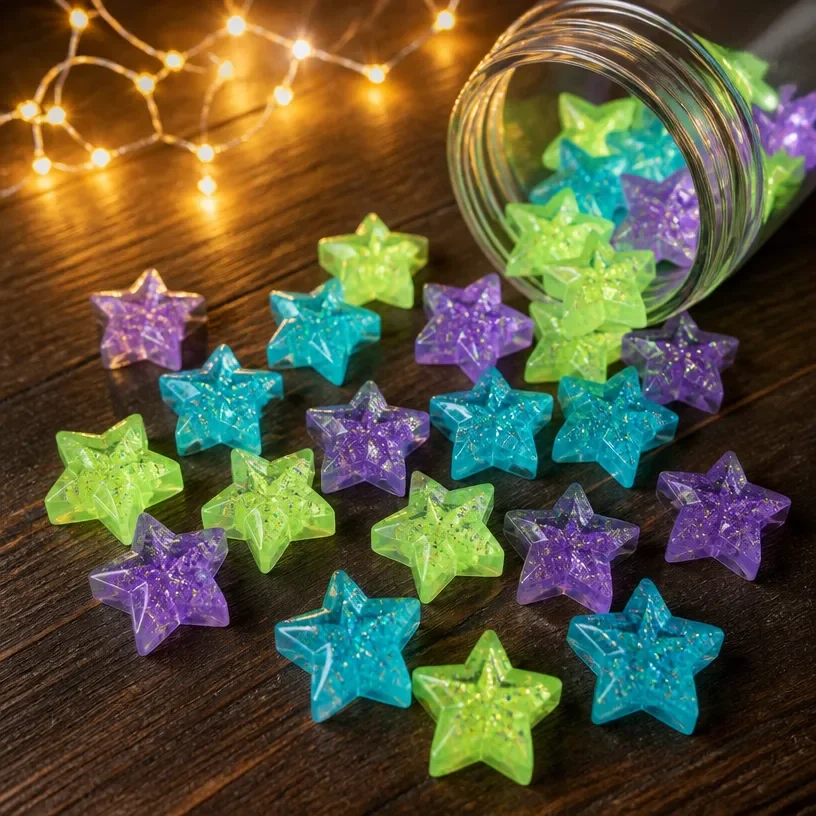
- Different Colors: Use colored glow-in-the-dark paint to make the stars in colors like green, blue, and pink.
- Seasonal Themes: Adapt the size and shapes according to seasons, such as using snowflakes for winter or hearts for Valentine’s Day.
- Glitter Touch: If you wish for a sparkly effect, sprinkle some biodegradable glitter on your stars before the paint dries.
Making It With Kids
This is a fantastic craft to do with children! Make sure to supervise young kids while they use scissors and paint. Discuss the process of making the stars and encourage them to be creative with the colors they choose.
How to Display, Use, or Gift It
The glow-in-the-dark stars can be used in children’s bedrooms for a calming nighttime effect, or around outdoor spaces for summer evening gatherings. They also make thoughtful, personalized gifts for friends and family who appreciate handmade items.
Frequently Asked Questions
1. Can I use regular paint instead of glow-in-the-dark paint?
Regular paint will not provide the same glowing effect, so it’s best to use specifically labeled glow-in-the-dark paint.
2. How long will the glow last?
The duration of the glow depends on the brand of paint used, but most high-quality glow paints will last several hours after exposure to light.
3. Can I wash the stars after displaying them?
It’s best to gently wipe them down with a damp cloth rather than soaking them, as this can affect the glow effect.
4. What if my stars lose their glow over time?
You can refresh the glow by simply exposing them to light again or by adding another layer of glow paint.
5. How can I hang my stars without damaging walls?
Using removable adhesive is an excellent way to attach the stars to surfaces without leaving any marks.
Conclusion
Creating DIY glow-in-the-dark stars is a fun and fulfilling project that enhances your home décor and sparks joy, especially in children’s spaces. Once you’ve crafted your stars, consider using them for themed events or festive decorations. If you’re interested in adding more magic to your crafts, explore supplies like glow-in-the-dark star glitter sequins to create even more dazzling designs!
Print
DIY Glow-in-the-Dark Stars
- Total Time: 195 minutes
- Makes: Multiple stars
Description
Create whimsical glow-in-the-dark stars that brighten any space with this fun DIY project.
Materials
- Glow-in-the-dark paint
- Cardstock or thick paper
- Star-shaped templates
- Paintbrushes
- Scissors
- Adhesive (glue or tape)
Instructions
- Prepare your workspace by clearing a surface and laying down newspaper.
- Create star templates by drawing and cutting out stars from cardstock.
- Paint the stars with a layer of glow-in-the-dark paint evenly.
- Let the stars dry completely, which may take a few hours.
- Display them on walls, ceilings, or as mobiles for a magical effect.
Notes
For a brighter glow, apply multiple layers of paint and allow them to dry between applications.