

Geode Crafts for Kids | Science Art Projects Kids
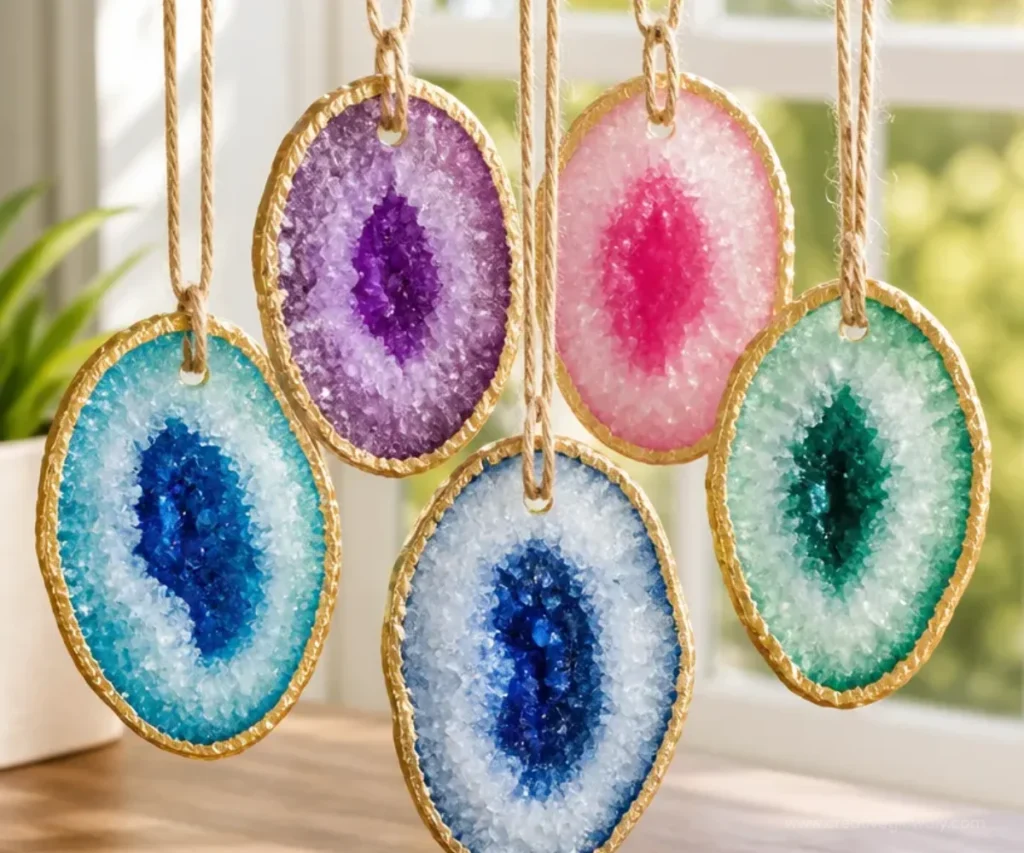
Creating geode crafts is a delightful way for kids to learn about geology while engaging in a creative activity. This project combines science and art, making it not just fun but educational. With simple materials and easy-to-follow steps, children can create stunning geode-like decorations that resemble the real thing. You may also find 3D Flower Wall Art Ideas Home Decor 2 useful.
Why You’ll Love This Project
- Fun Learning Experience: Kids will explore the properties of sugar crystals and how they form in nature.
- Creative Expression: This craft allows for unlimited creativity, as children can choose colors and designs to personalize their geodes.
- Simple and Quick: With minimal preparation and quick drying times, it’s perfect for an afternoon activity.
- Budget-Friendly: Most materials are inexpensive and easy to find, making it a great choice for home or school.
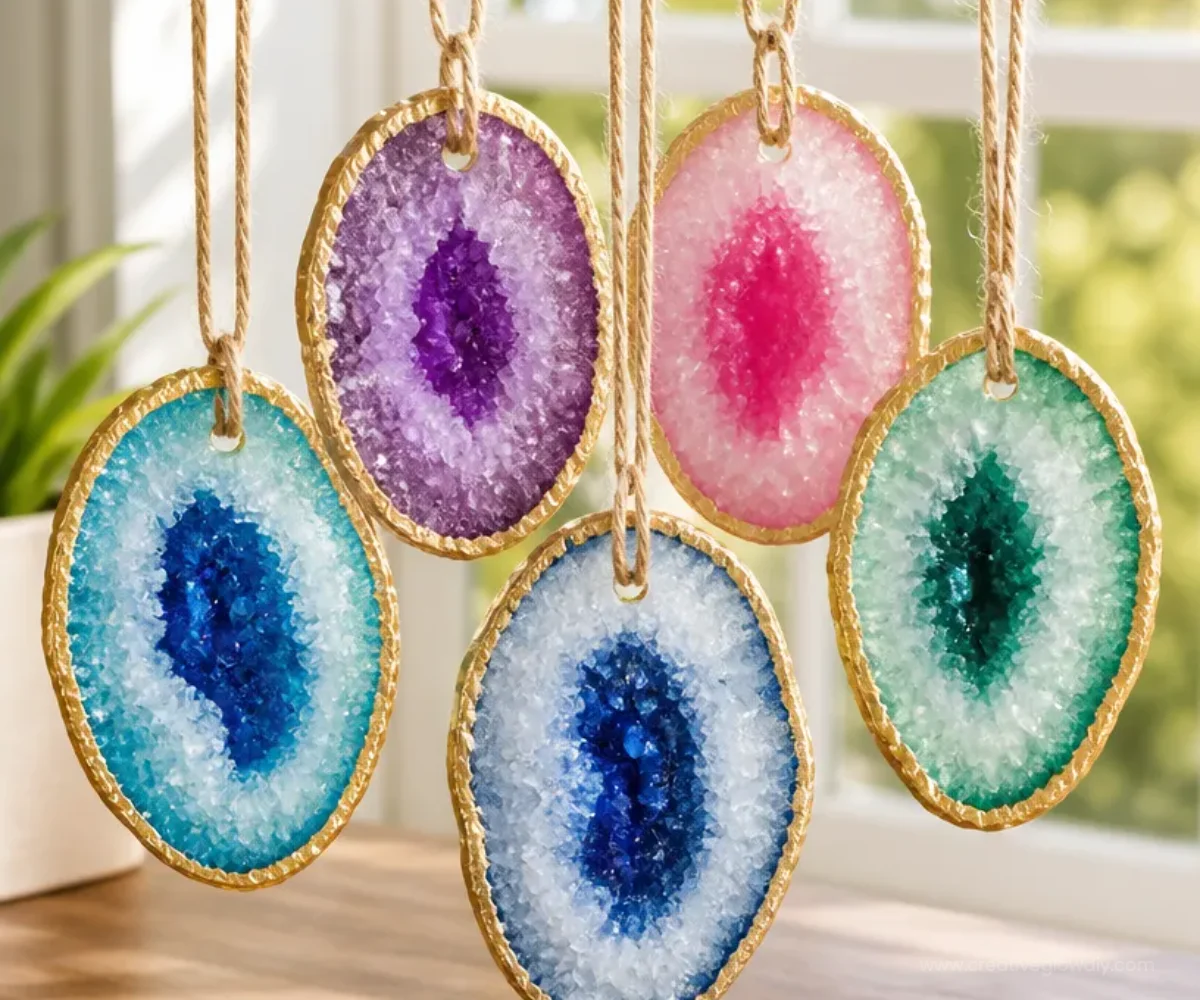
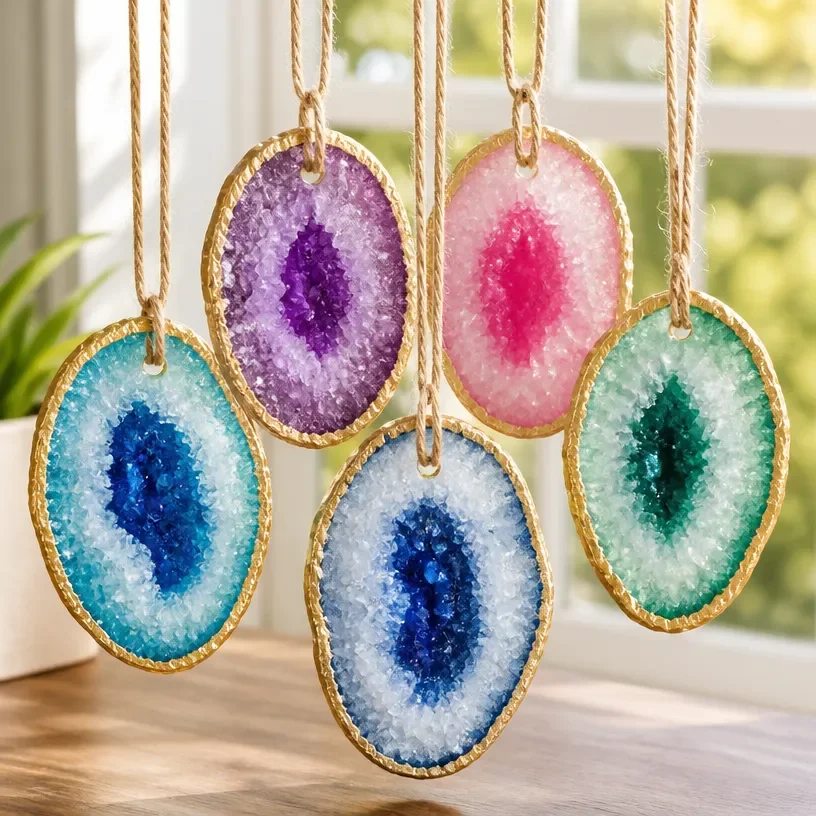
- Decorative Display: The finished products can be used as decorations, gifts, or even as party decor.
You may also find 3D Flower Wall Art Ideas Home Decor useful.
Materials You’ll Need
- Sugar (2 cups)
- Water (1 cup)
- Food coloring (various colors)
- Plastic or glass containers
- Brushes (optional for painting)
- Wax paper or a tray for drying
How to Make Geode Crafts for Kids
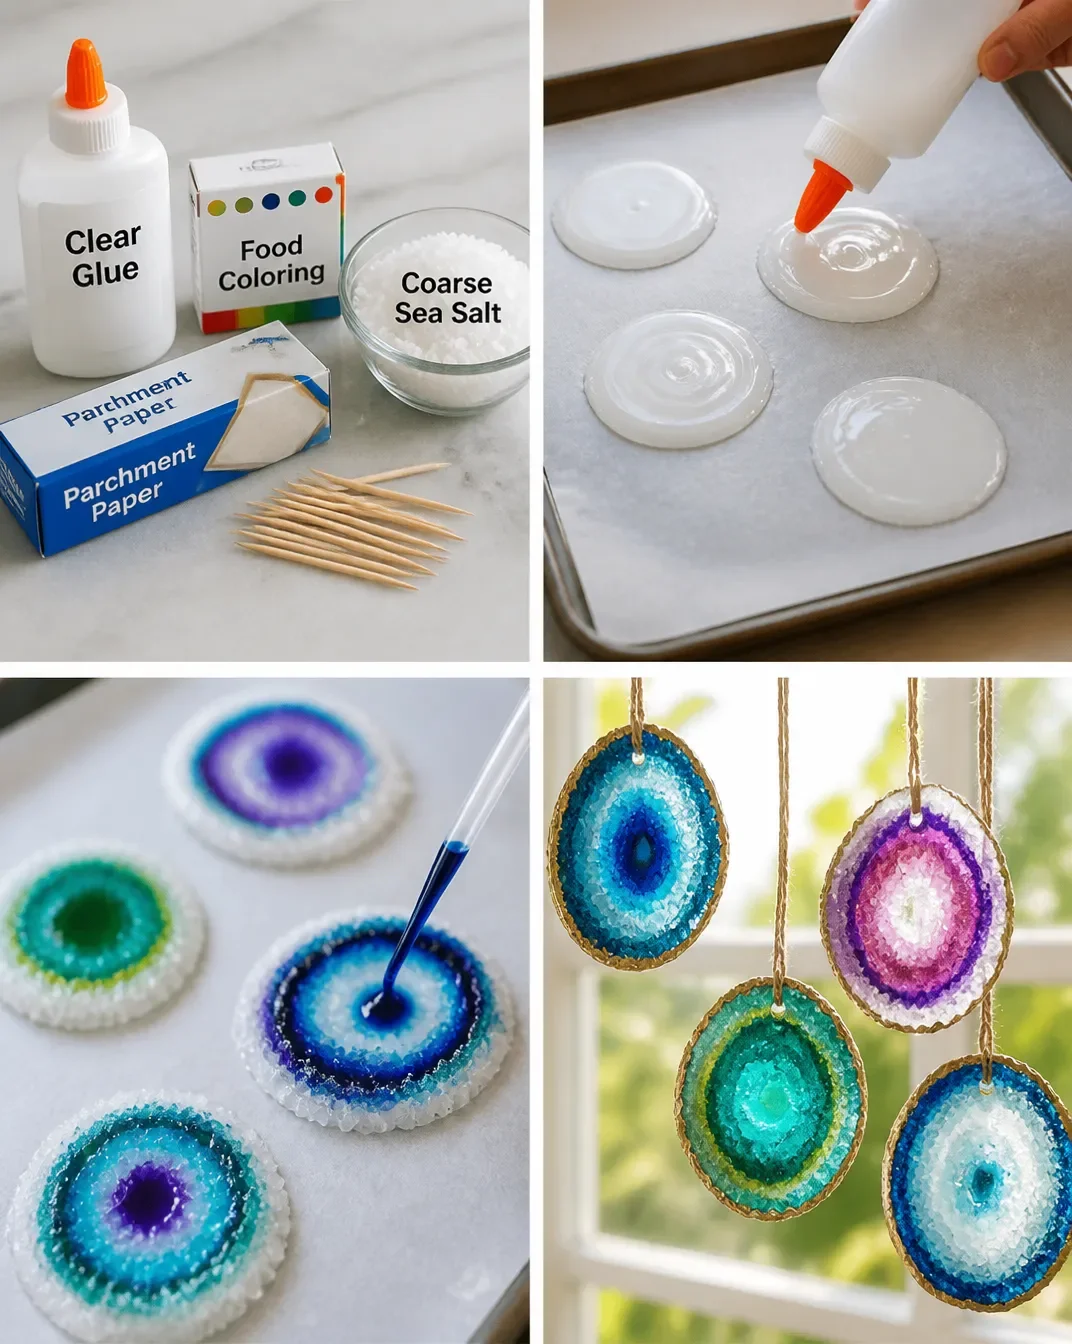
Prepare the Sugar Mixture: In a large pot, combine 2 cups of sugar with 1 cup of water. Heat gently until the sugar dissolves completely. Avoid boiling. You may also find Cornstarch Suncatcher Art Budget Win useful.
Add Color: Once the solution is clear, add several drops of food coloring to create vibrant colors. Stir well to mix.
Pour into Containers: Carefully pour the colored sugar solution into your plastic or glass containers. To create geodes, you may want to leave some areas thicker than others.
Create Crystal Shapes: As the mixture cools, texture can be added using a brush or by tilting the container for different effects.
Let It Dry: Place the containers on a tray lined with wax paper. Allow the geodes to dry for 24 to 48 hours, depending on the thickness of the crystal mixture.
Remove and Display: Carefully remove the geodes from the containers and display them as beautiful art pieces. The dried sugar will resemble real crystals!
Helpful Tips
- Avoid Spills: Work on a surface that is easy to clean, as sugar water can be sticky.
- Use Gloves: To keep your hands clean and uncolored, consider wearing disposable gloves while handling the colored mixtures.
- Experiment with Designs: Encourage kids to explore various shapes by using different containers, including bowls or muffin tins.
Creative Variations
- Color Combinations: Mix colors to mimic natural geodes, such as purple and blue or pink and orange.
- Layering: Pour different colored mixtures on top of each other for a layered effect.
- Glitter or Paint: After drying, kids can add glitter or painted designs to their geodes for extra flair.
Making It With Kids
This project is perfect for children, but ensure that an adult supervises and assists with any hot liquids. Use this opportunity to teach about the crystallization process and to explore the science of geology in a fun way. Encourage kids to narrate their own stories about their geode creations.
How to Display, Use, or Gift It
Once created, these colorful geodes can be easily displayed on windowsills, used as table centerpieces, or gifted to family and friends. They make a cheerful addition to any space!
Frequently Asked Questions
1. What if my geodes don’t dry completely?
If your geodes aren’t fully dried, place them back in a warm area for a few more hours to help them harden.
2. Can I use other types of sugar?
While regular sugar works best, you can experiment with alternatives like powdered or brown sugar, but results may vary.
3. How long do the geodes last?
Dried geodes can last a long time, but keep them away from moisture to prevent melting.
4. Is it safe for small kids?
Yes, this project is safe, but supervision is necessary, especially when handling the hot sugar water.
5. What colors work best?
Bright, bold colors create the most visually appealing geodes, so don’t hesitate to mix and match!
6. Can we make this a group activity?
Absolutely! This craft is great for parties or classroom activities, allowing each child to create their own unique piece.
Conclusion
Engaging children in creative science projects like making geode crafts not only fosters their artistic skills but also helps them understand basic scientific concepts. For even more fun science experiments and supplies, check out Amazon Best Sellers: Best Educational Science Kits.