

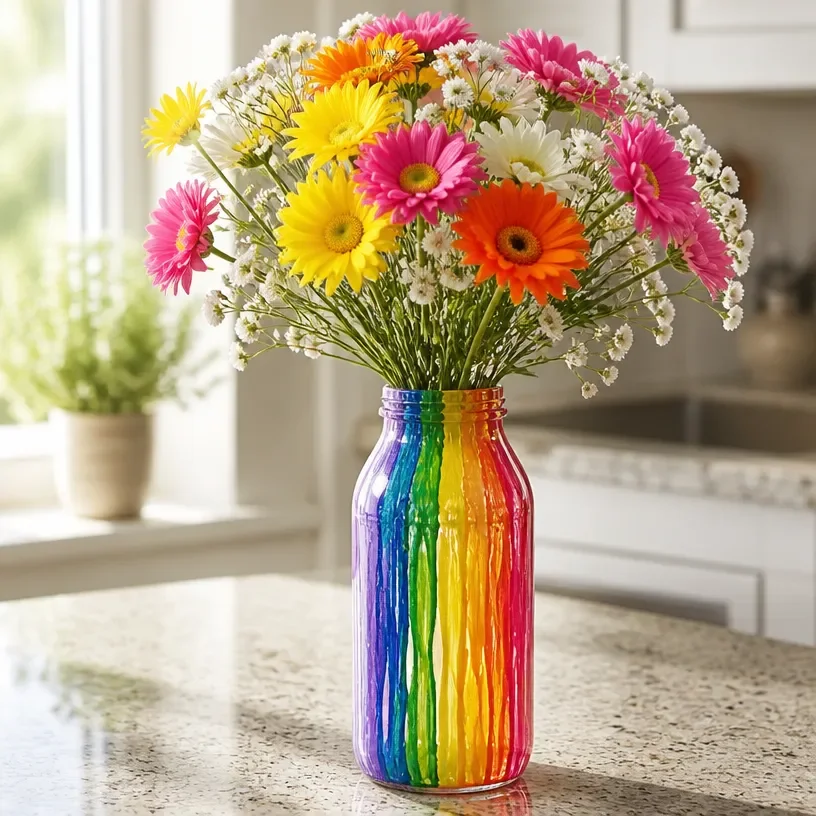
Creating stunning decor doesn’t have to involve expensive materials or complicated techniques. This DIY project focuses on crafting a beautiful rainbow vase made from recycled bottles, using an eco-friendly upcycling approach. Not only is this project an excellent way to repurpose materials you might have on hand, but it also adds a vibrant and stylish touch to any room in your home. You may also find Diy Decorative Book Stack useful.
With just a few supplies and some creative techniques, you’ll transform ordinary bottles into a colorful vase that can be the centerpiece of your decor. This vase works great for seasonal arrangements or as a stand-alone statement piece. You may also find Diy Fluted Glass Vase useful.
Why You’ll Love This Project
- Affordable Materials: Utilizing recycled bottles helps keep costs low while being environmentally friendly.
- Beginner-Friendly Process: The steps to make your rainbow vase are easy to follow, making it accessible for DIYers of all skill levels.
- Customizable Finish: You can choose colors and patterns that best fit your home’s aesthetic.
- Attractive Display Possibilities: This vase can brighten up any shelf, table, or mantel, offering versatile decor options.
You may also find Diy Rope Wrapped Glass Vase useful.
Materials and Supplies
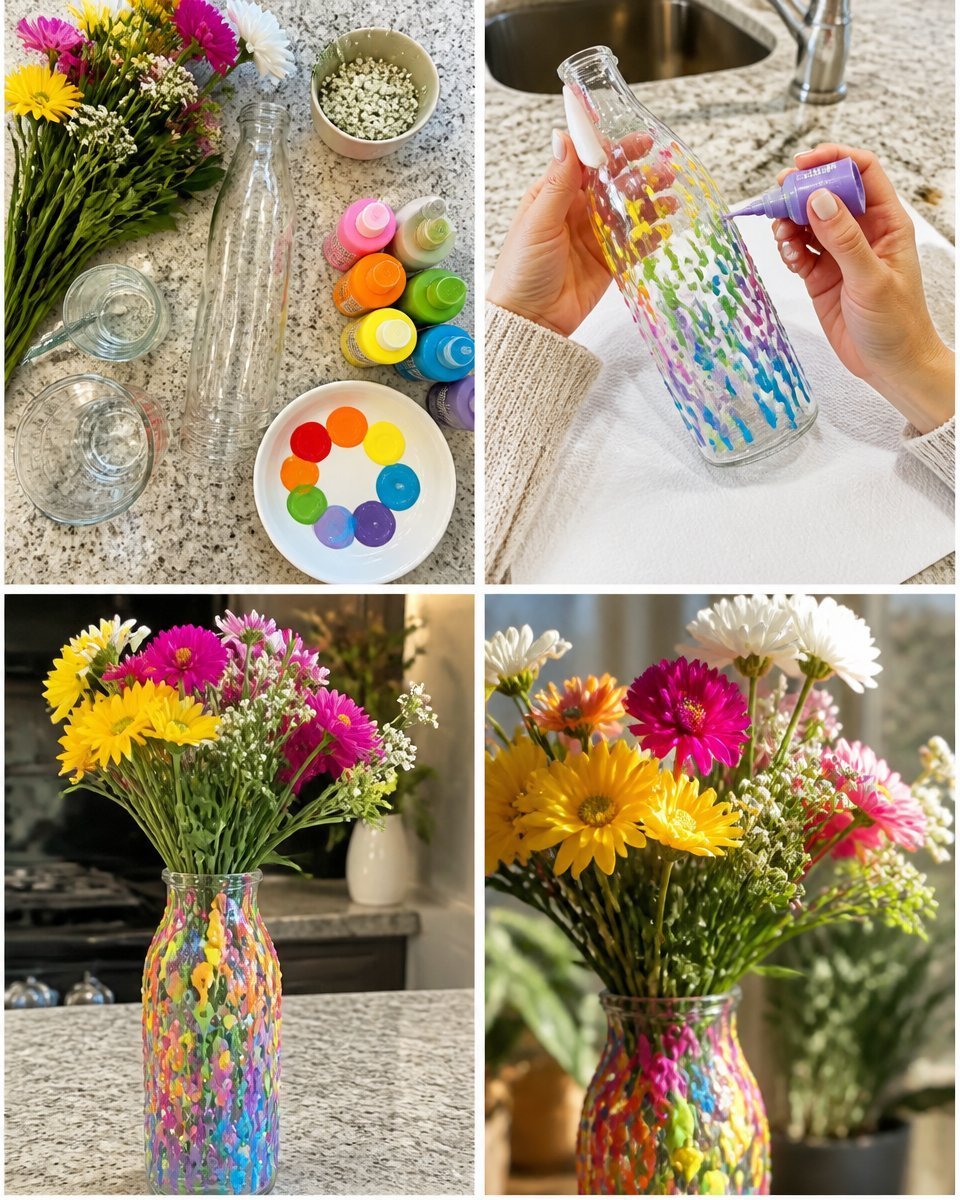
- Assorted recycled glass bottles
- Acrylic paints in various colors
- Paintbrushes (various sizes)
- Sealer (optional for durability)
- Painter’s tape (for clean lines)
- Water for rinsing brushes
A Few Notes on Materials
When selecting your bottles, consider using a mix of sizes and shapes to create visual interest. Make sure the bottles are clean and free of labels for the best painting results.
How to Make Rainbow Vase Made from Recycled Bottles – Eco-Friendly Decor
Step 1: Prepare the Bottles
Start by thoroughly cleaning the bottles with soap and water, removing any labels and adhesive residue. It’s essential for the paint to adhere properly.
Step 2: Plan Your Color Palette
Decide on a color scheme for your rainbow effect. You might opt for classic rainbow hues or a more muted palette to fit your decor style. Lay out the colors as a guide for painting.
Step 3: Tape Off Sections (Optional)
If you want distinct lines between colors, use painter’s tape to mask areas where you want to prevent paint from bleeding. This step can help create a more polished look.
Step 4: Paint the Bottles
Using your paintbrush, begin applying the paint to the bottles. Start with the lightest colors first and gradually work your way to darker shades. Don’t worry about achieving a perfect finish; the handmade quality is part of the charm.
Step 5: Allow to Dry
Once you’ve painted all your bottles, set them aside to dry completely. Refer to the paint manufacturer’s instructions for the recommended drying time.
Step 6: Apply a Sealer (Optional)
If you’d like extra durability, consider applying a sealer once the paint is dry. This will help protect your rainbow vase from scratches and wear.
Tips for a Cleaner, More Polished Finish
- Use thin layers of paint to avoid drips and achieve a smoother finish.
- Consider blending colors at the seams for a gradient effect instead of harsh lines.
- If taping, remove it while the paint is still slightly wet to get cleaner edges.
- Ensure even application by turning the bottle while painting, so all sides are covered.
Ways to Customize It
- Color Variations: Experiment with different shades or pastels to create a softer look or go bold with bright colors.
- Patterns: Add polka dots, stripes, or other designs using stencils for a personalized touch.
- Size and Shape: Use bottles of various heights and diameters for more dynamic displays.
- Seasonal Themes: Swap out color schemes to match different holidays or seasons for year-round decor.
How to Style and Display It
Your finished rainbow vase can be placed nearly anywhere in your home. It looks fantastic on a mantel or as part of a centerpiece on a dining table. Try grouping it with other decorative elements for a curated display on a console table. When styling, remember to vary the heights and shapes of surrounding objects, creating a balanced look that draws the eye.
Care and Storage
To keep your vase looking its best, gently clean it with a soft cloth. Avoid using harsh chemicals, which can damage the paint. If you plan to store the vase seasonally, wrap it in protective material to prevent chipping or scratching.
Frequently Asked Questions
What type of paint works best for this project?
Acrylic paints are recommended as they adhere well to glass and are available in a wide array of colors.
Can I use plastic bottles instead?
While plastic can be painted, the visual effect and durability may differ compared to glass. If reusing plastic, choose bottles that offer a desirable shape.
How long does the paint take to dry?
Follow the manufacturer’s instructions for drying times. Generally, acrylic paint dries quickly, usually within an hour.
What if I don’t have painter’s tape?
You can freehand the designs, or use a steady hand for clean lines. If you prefer distinct color bands, consider using removable tape.
How can I incorporate seasonal decorations with the vase?
You can fill the vase with seasonal flowers or festive elements like pine branches at Christmas, colorful eggs during Easter, or dried leaves in the fall.
Is this project suitable for kids?
This project can be a fun activity with children, though adult supervision is recommended when using paint and cleaning materials.
Conclusion
Making a rainbow vase from recycled bottles is not only a delightful craft project but also a significant step towards eco-friendly decor. This fun and colorful vase can brighten your space while allowing you to express your creativity. If you’re considering more decorative options, check out the selection at Wholesale Glass Vases | Priest International | Dallas Fort Worth for inspiration and supplies.
Print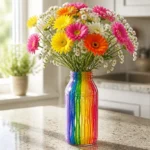
DIY Rainbow Vase Made from Recycled Bottles
- Total Time: 60 minutes
- Makes: 1 vase
Description
Craft a beautiful rainbow vase using recycled bottles and eco-friendly materials. A perfect decor project for any skill level.
Materials
- Assorted recycled glass bottles
- Acrylic paints in various colors
- Paintbrushes (various sizes)
- Sealer (optional for durability)
- Painter’s tape (for clean lines)
- Water for rinsing brushes
Instructions
- Prepare the bottles by cleaning them thoroughly with soap and water.
- Plan your color palette for a harmonious rainbow effect.
- Tape off sections if you want distinct lines between colors (optional).
- Paint the bottles starting with light colors and moving to darker shades.
- Allow the painted bottles to dry completely as per the paint manufacturer’s instructions.
- Apply a sealer for extra durability once the paint is dry (optional).
Notes
Consider using various sizes and shapes of bottles for visual interest. Use thin layers of paint to avoid drips.