

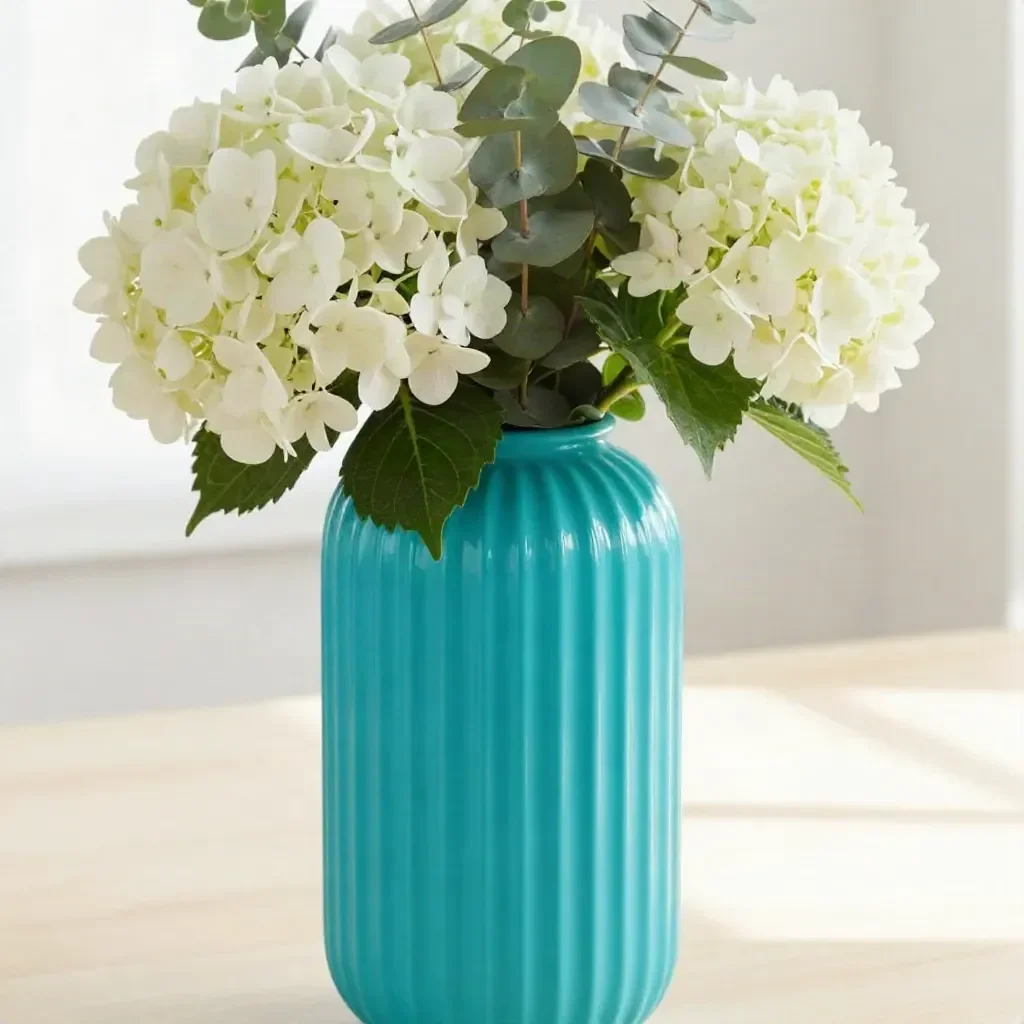
The Fluted Glass Vase DIY is a charming project that transforms a simple plain glass vase into an elegant fluted masterpiece. This project employs easily accessible materials, namely half-round wood dowels or craft trim, and a bit of paint to create a sophisticated finish that can brighten up your home decor. The fluted design not only adds texture but also makes this piece a stunning display for flowers, making it perfect for any setting, from a festive dinner table to a cozy living room.
Creating this vase is a gratifying experience that enhances your DIY skills while allowing you to add a personal touch to your home. It’s an excellent way to upcycle materials you might already have, proving that stylish decor doesn’t have to be costly or complicated.
Why You’ll Love This Project
- Affordable Materials: Most of the supplies can be found at local craft stores or around your home.
- Beginner-Friendly Process: This project is straightforward and requires minimal crafting experience.
- Useful Upcycling: A plain glass vase gets a new life with just a few simple modifications.
- Customizable Finish: Select your favorite colors or paint styles to match your decor.
- Attractive Display Possibilities: The finished vase is perfect for flowers or as a standalone decorative piece.
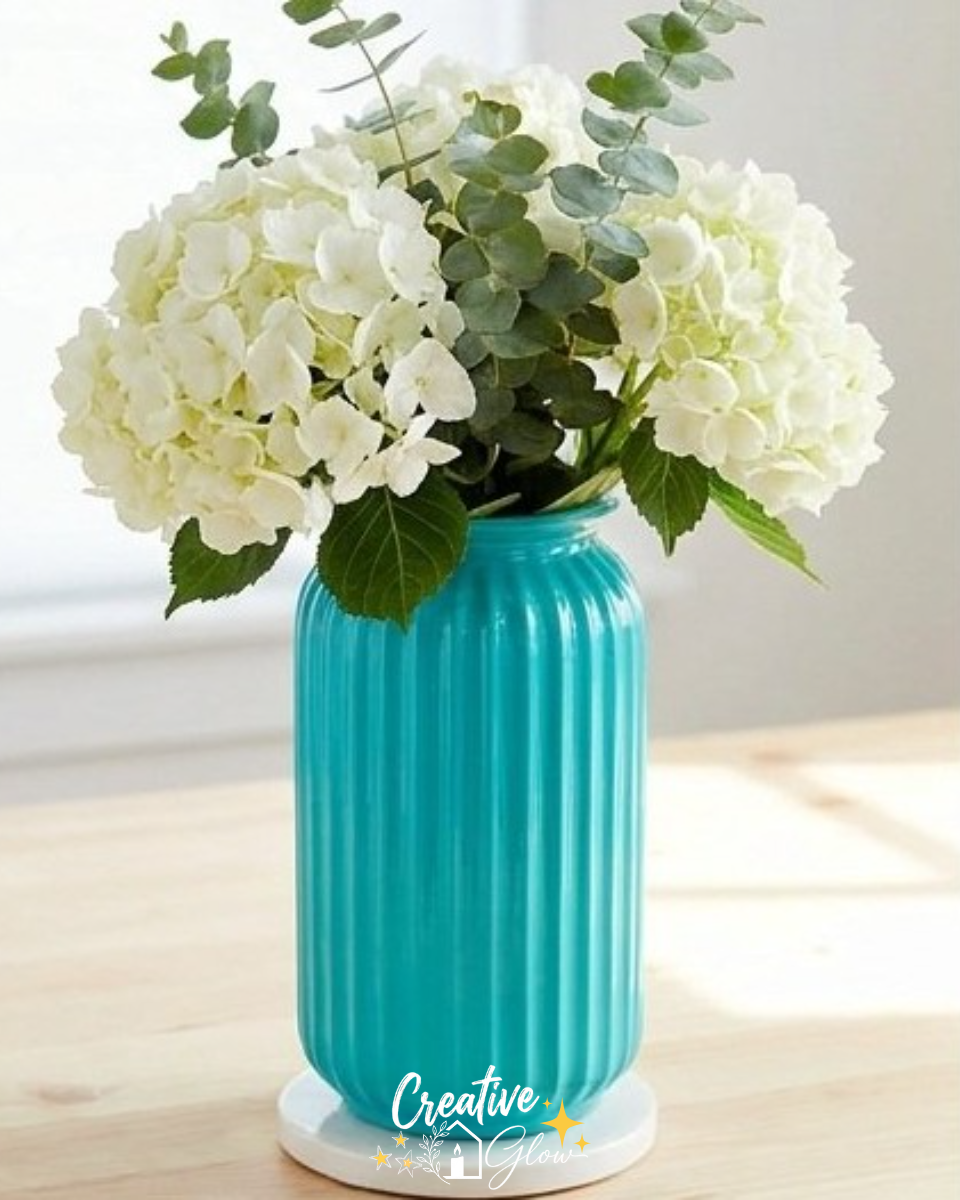
Materials and Supplies
- Plain glass vase
- Half-round wood dowels or suitable craft trim
- Strong craft adhesive
- Paint
- Brush
A few notes on materials
When choosing the paint, consider using acrylic or chalk paint for best adherence and finish. These options provide good coverage and durability, ensuring your fluted glass vase looks beautiful for seasons to come.
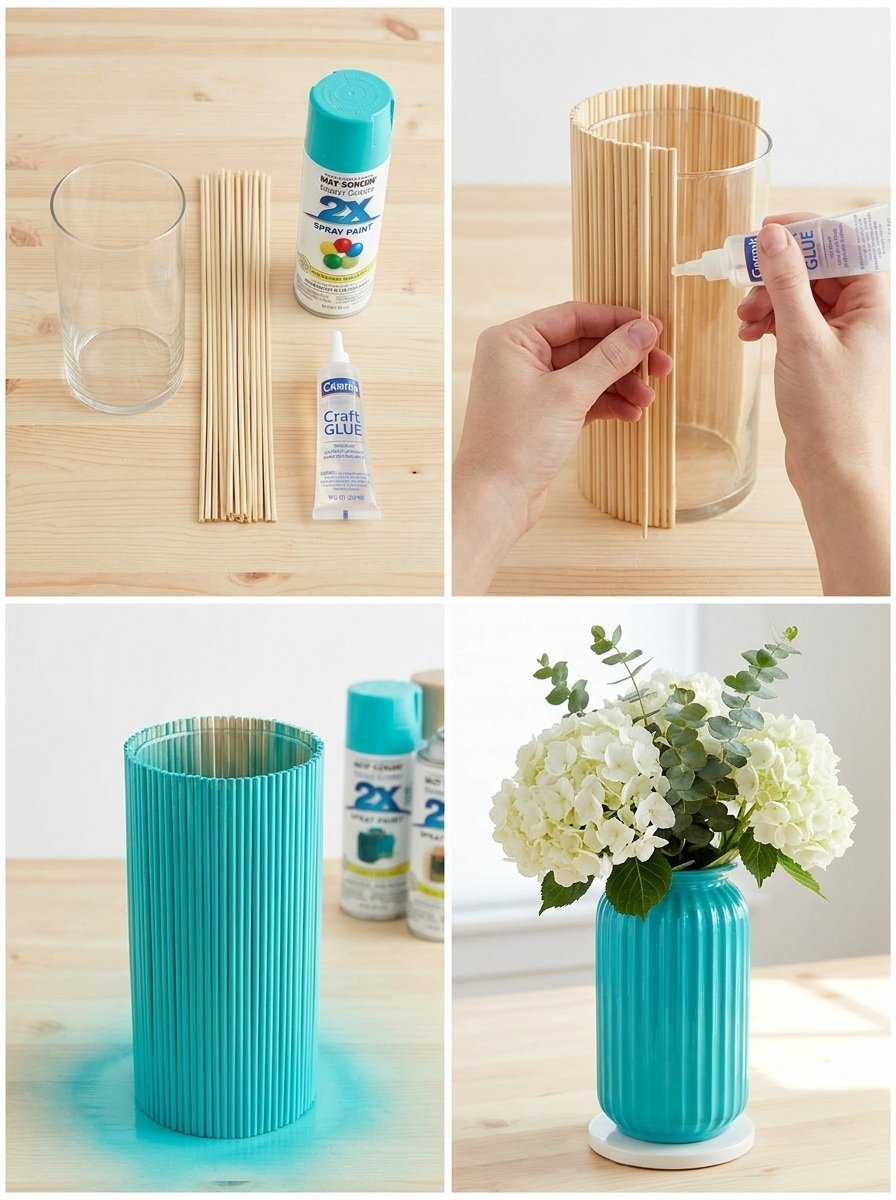
How to Make Fluted Glass Vase DIY
Step 1: Prepare the Vase
Start by cleaning the glass vase thoroughly. Make sure there are no dust or fingerprints, as this will help the adhesive and paint bond better.
Step 2: Cut and Prepare Trim Pieces
Cut your half-round wood dowels or craft trim into evenly sized strips. The length can vary depending on your preference, but aim for consistency for a uniform look.
Step 3: Attach Trim Pieces
Using strong craft adhesive, attach the trim pieces vertically around the circumference of the vase. Make sure each piece is evenly spaced. Hold in place until the adhesive sets, following the manufacturer’s instructions.
Step 4: Let It Set
Allow the adhesive to cure according to the instructions provided on the product. This step is essential to ensure everything stays in place.
Step 5: Paint for a Unified Fluted Finish
Once the adhesive has set, take your brush and apply paint over the entire surface of the vase and the trim. A uniform coat will create a clean, fluted finish.
Tips for a Cleaner, More Polished Finish
- Surface Preparation: Ensure that both the vase and trim are clean and dry to improve adhesion.
- Even Paint Application: Use light, even strokes to avoid drips and maintain a smooth finish.
- Patience: Allow adequate drying time between coats if you decide to apply multiple layers of paint.
- Minimize Excess Adhesive: Apply just enough adhesive to bond the pieces without any overflow.
Ways to Customize It
- Color Palette: Experiment with different colors that complement your home decor or seasonal themes.
- Finish: Consider adding a matte or glossy finish to achieve the desired look.
- Size Variation: Try using different-sized vases for a varied visual display.
- Decorative Details: Add embellishments, like beads or shells, to personalize the vase even further.
How to Style and Display It
Your finished fluted glass vase can be a charming centerpiece on a dining table or an accent piece on a mantel. Consider placing it in:
- A bright entryway to welcome guests
- A coffee table to add a touch of elegance
- A shelf or console table, perhaps accompanied by books and candles for a cozy vibe
When styling, remember to vary object heights and group items in odd numbers for visual interest.
Care and Storage
To keep your fluted glass vase looking its best, clean it with a soft cloth and gentle cleaner. Avoid abrasive materials that could scratch the surface. If the piece will not be in use for a while, store it in a safe place where it won’t be at risk of breaking.
Frequently Asked Questions
1. Can I use any type of paint for this project?
Acrylic or chalk paints work best for this type of project, as they adhere well to glass and craft materials.
2. What should I do if the trim pieces aren’t sticking?
Make sure you apply enough adhesive and allow it to set according to the manufacturer’s instructions. If needed, hold the pieces in place for a few moments.
3. How can I customize the size of the vase?
You can alter the size by choosing smaller or larger vases and adjusting the cut length of your trim accordingly.
4. What if I want to change the color later?
You can always repaint the vase, but ensure it is completely clean and dry before applying any new paint.
5. Can this project be made with any type of vase?
Yes, any plain glass vase will work. Just make sure it has a smooth surface for best results.
Conclusion
Creating a fluted glass vase is a delightful and fulfilling DIY project that enhances your decor while being budget-friendly. If you’re looking to explore more ideas for beautifully styled vessels, check out this article on glass vases and vessels for the dreamiest flower arrangements. With the right techniques and materials, you can make beautiful pieces that elevate your home environment effortlessly.
Print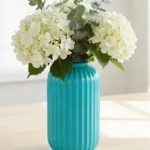
Fluted Glass Vase DIY
- Total Time: 15 minutes
- Makes: 1 fluted glass vase
Description
Transform a simple glass vase into an elegant fluted masterpiece with this easy DIY project that enhances home decor.
Materials
- Plain glass vase
- Half-round wood dowels or suitable craft trim
- Strong craft adhesive
- Paint
- Brush
Instructions
- Prepare the vase by cleaning it thoroughly to remove dust and fingerprints.
- Cut your half-round wood dowels or craft trim into evenly sized strips.
- Attach the trim pieces vertically around the vase using strong craft adhesive.
- Let the adhesive cure according to the instructions.
- Paint the entire surface of the vase and trim to create a clean, fluted finish.
Notes
For best results, use acrylic or chalk paint for adhesion and durability. Allow adequate drying time for each coat of paint.