

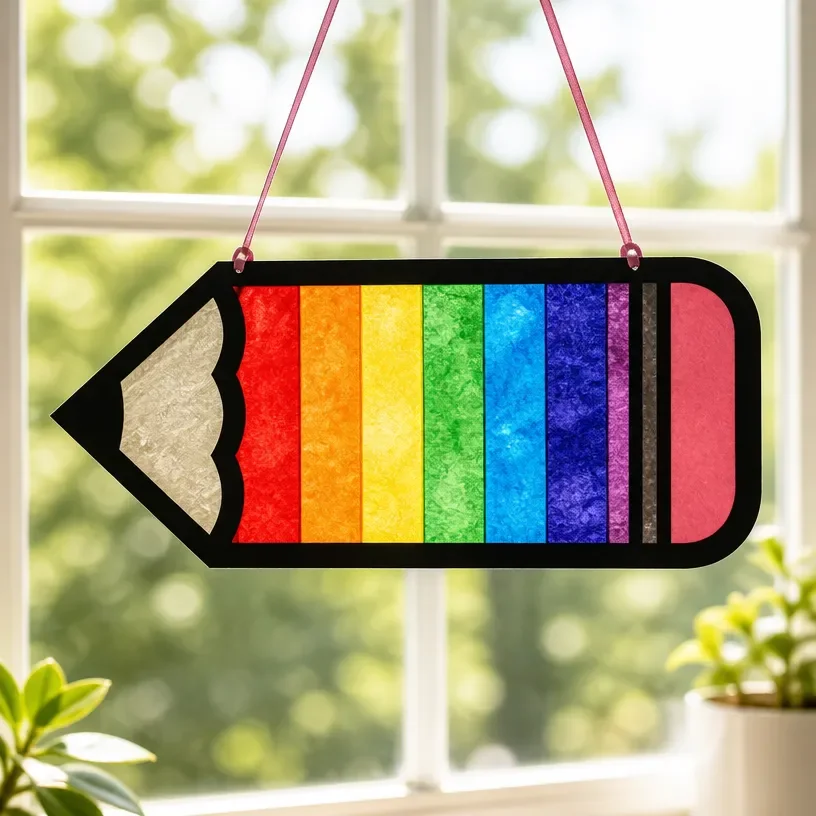
Back-to-School Rainbow Pencil Suncatcher Craft
Craft some joy this back-to-school season with a delightful Rainbow Pencil Suncatcher! This project is not only a creative way to brighten your space, but it also provides a sense of accomplishment as you see the sun’s rays dance through your masterpiece. Picture your children beaming as they hang this colorful decoration in their windows, welcoming the new school year with style. You may also find Back To School Rainbow Pencil Suncatcher Craft useful.
Why You’ll Love This Project
- Creative Expression: Kids can personalize their designs, making each suncatcher unique while exploring their artistic side.
- Easy and Fun: This craft is simple enough for beginners and involves steps that are enjoyable for all ages.
- Recyclable Materials: You’ll be using materials that are often found at home, allowing for an eco-friendly and budget-friendly project.
- Brightens Any Room: Once completed, this suncatcher adds a cheerful touch to any space as it catches and refracts light beautifully.
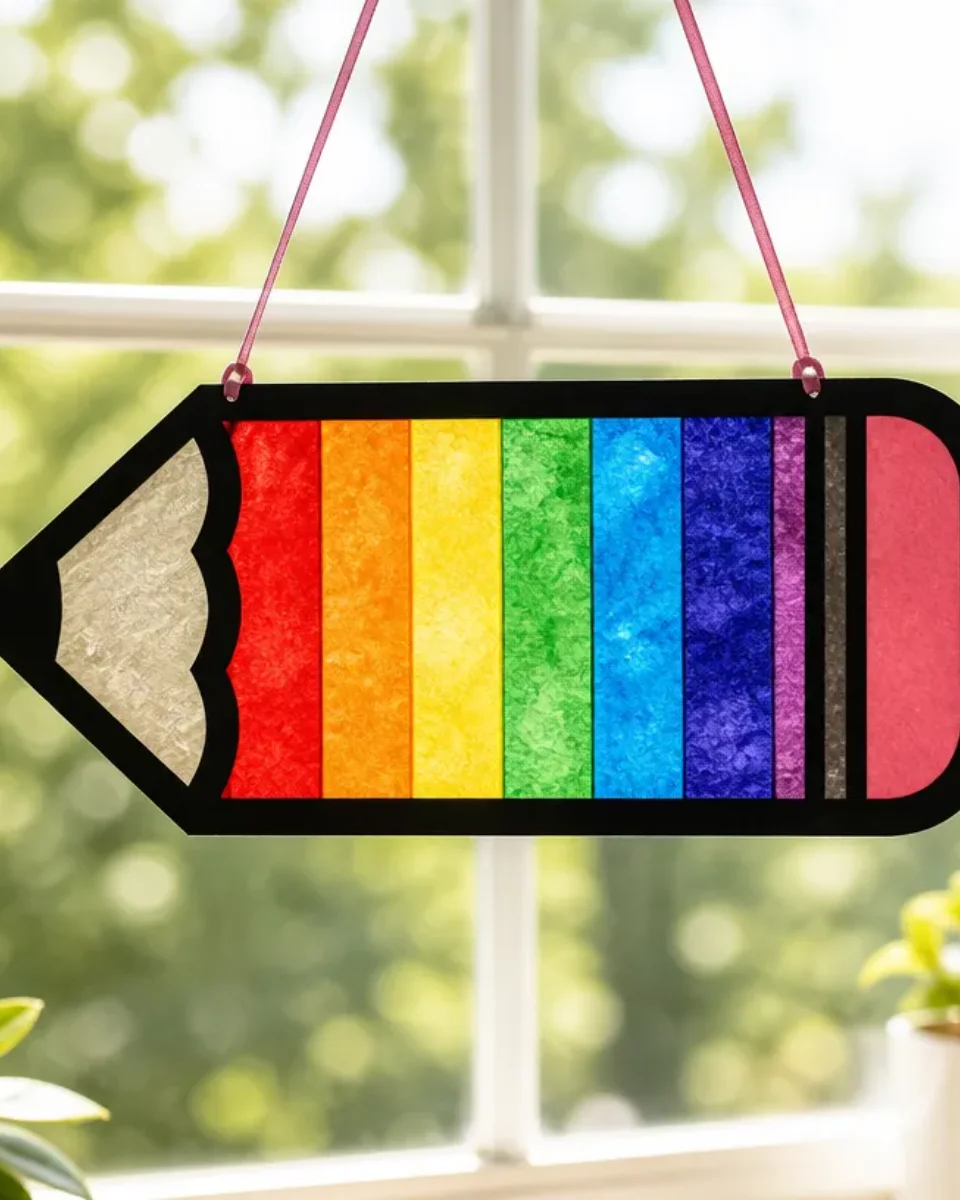
You may also find Rainbow Panda Pencil Cup Craft Recycled Bottle useful.
Materials You’ll Need
- Clear plastic plates (two per suncatcher)
- Colorful tissue paper in various shades
- Scissors
- PVA glue
- Paintbrush
- String or yarn (for hanging)
- Hole punch
How to Make Back-to-School Rainbow Pencil Suncatcher Craft
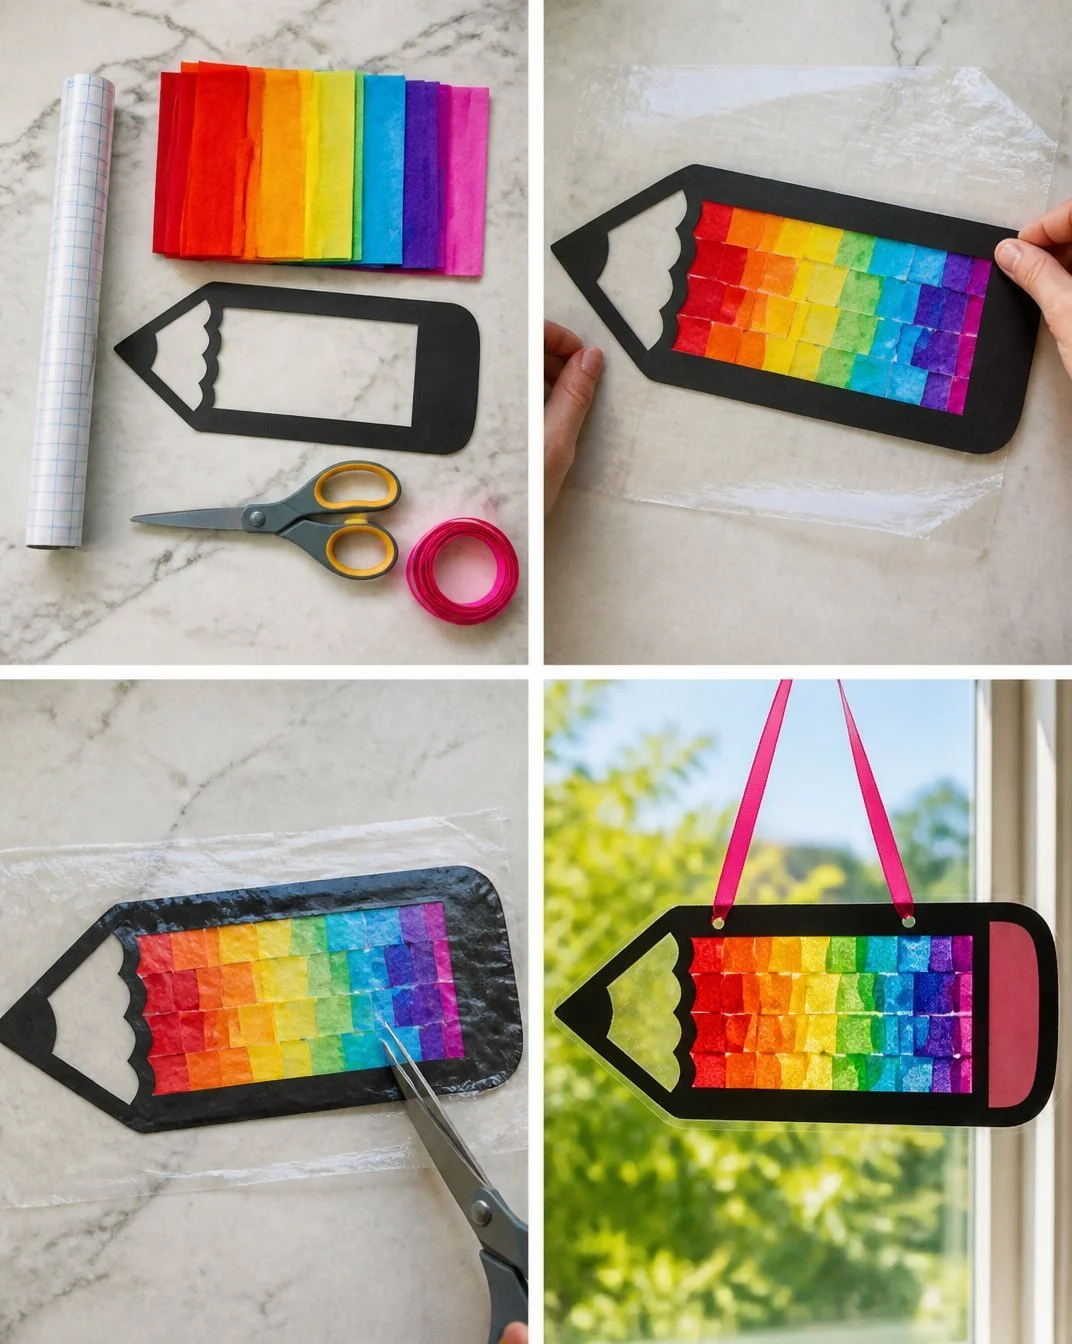
- Prepare the Base: Start by taking two clear plastic plates and removing any labels. These will form the back and front of your suncatcher.
- Cut the Tissue Paper: Use your scissors to cut the colorful tissue paper into small squares or shapes. This is a great time to let the kids get creative with the colors they choose from their stationery supplies!
- Glue Down the Paper: Take the paintbrush and apply a thin layer of PVA glue on one of the plates. Carefully arrange the tissue paper pieces on the glue, overlapping them slightly for a layered effect.
- Seal It Up: Once you’re happy with the arrangement, apply another layer of glue over the top of the tissue paper to seal it in place. Let it dry completely.
- Assemble the Suncatcher: Once dry, place the second plate on top of the first one, sandwiching the tissue paper inside. Use a hole punch to make a hole at the top of the plates.
- Add String for Hanging: Thread a piece of string or yarn through the hole and tie a knot. Your suncatcher is now ready to be hung in a window!
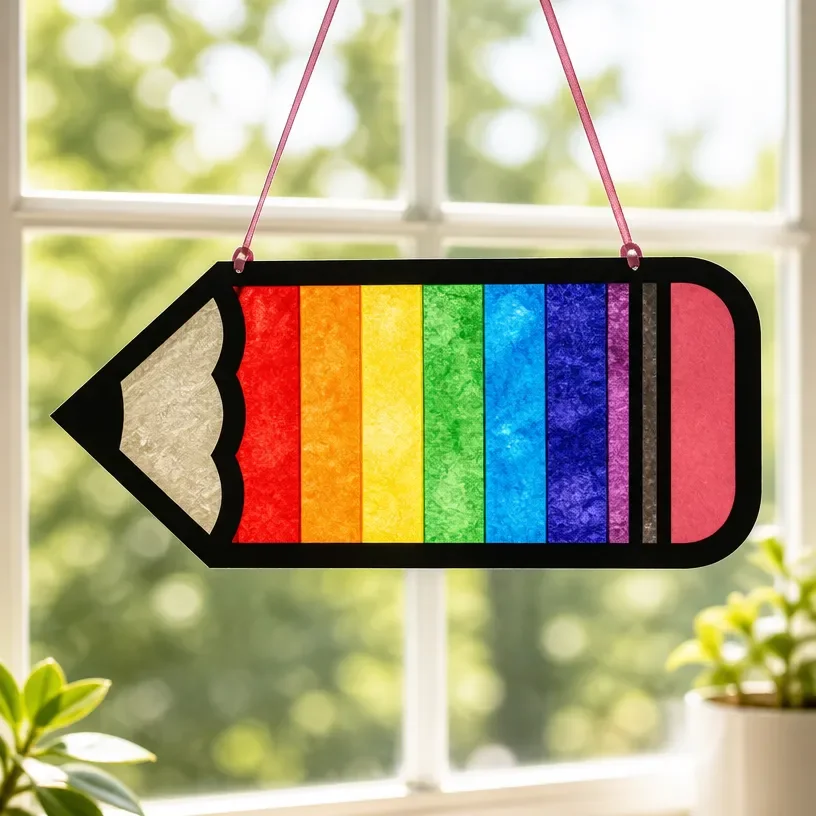
Helpful Tips
- To avoid excessive mess, cover your workspace with old newspapers or a craft mat before starting.
- You might want to try a variety of shapes and colors for your tissue paper for a more unique design.
- To make clean-up easier, use a wet cloth to wipe any glue spills as soon as they occur.
Creative Variations
- Use a variety of colors to reflect different themes such as seasonal colors.
- Try adding glitter to the glue for a sparkly effect that catches the eye.
- Instead of circular plates, consider using different shapes like stars or hearts for a fun twist.
Making It With Kids
This project is perfect for involving kids! You can guide them throughout the process, especially during cutting and applying glue. It’s a good idea for adults to handle the hole punches and string tying to ensure safety. The best part is seeing their faces light up as they see their colorful creations shining in the sunlight! You may also find Blue Rainbow Bat Suncatcher Wreath Halloween Decor useful.
How to Display, Use, or Gift It
Once finished, hang the suncatcher in a sunny window where it can catch the light beautifully. It’s also a fantastic gift idea for teachers or friends at school, adding a personal touch that expresses love and creativity.
Frequently Asked Questions
1. Can I use any type of paper for this craft?
Using tissue paper is recommended because it is translucent and allows light to shine through, enhancing the suncatcher’s effect.
2. How long does the glue take to dry?
Typically, PVA glue will take about 30 minutes to an hour to dry, but it’s best to allow it to dry completely overnight for optimal results.
3. Can I use other materials instead of plastic plates?
While plastic plates are ideal due to their transparency, you could also use wax paper or other clear materials, though the effects may vary.
4. Is this craft suitable for younger kids?
Yes, however, younger kids may require supervision, especially when using scissors and gluing. It’s a great opportunity for adult-child collaboration!
5. Can we create multiple designs?
Absolutely! You can create themed suncatchers for different holidays, seasons, or simply for fun. The possibilities are endless!
Conclusion
The Back-to-School Rainbow Pencil Suncatcher Craft is not only a joyful family activity but a vibrant way to welcome the new school year. For an easy and fun way to make crafty memories, consider picking up a Beeveer Back to School 30 Sets Suncatchers Craft Kit DIY Window Art to enhance your creative journey!