

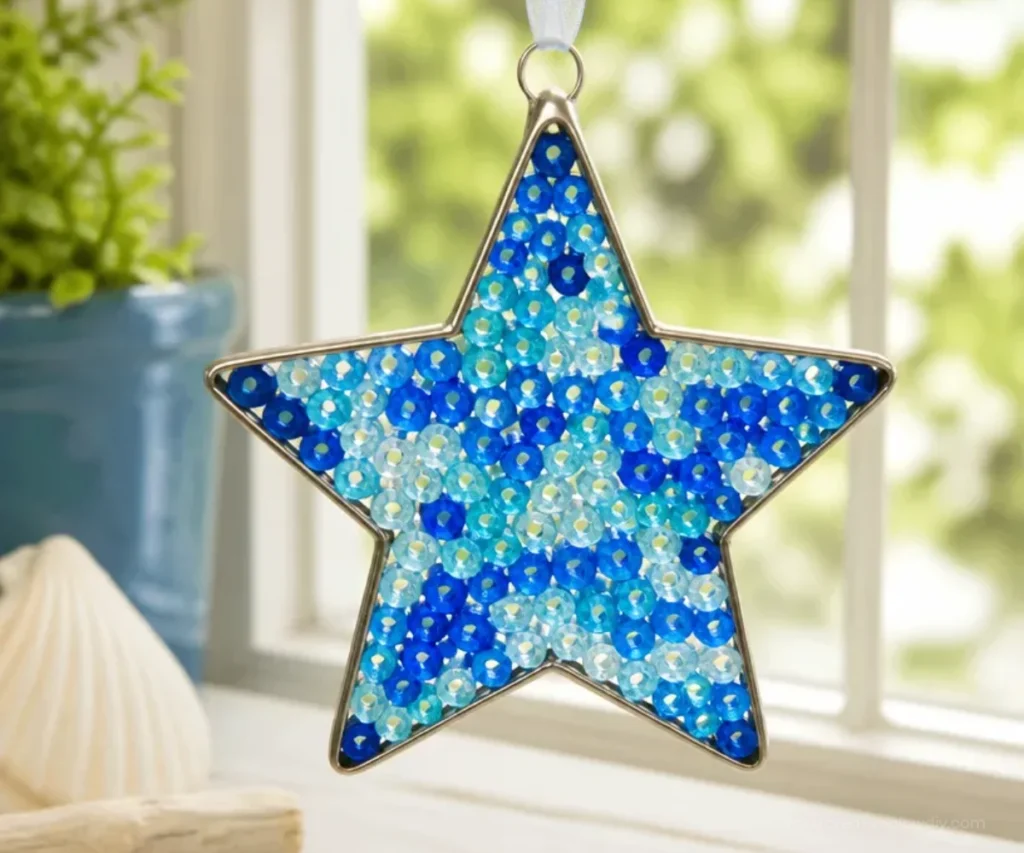
How to Make a Star Ornament | Crafts Made with Beads
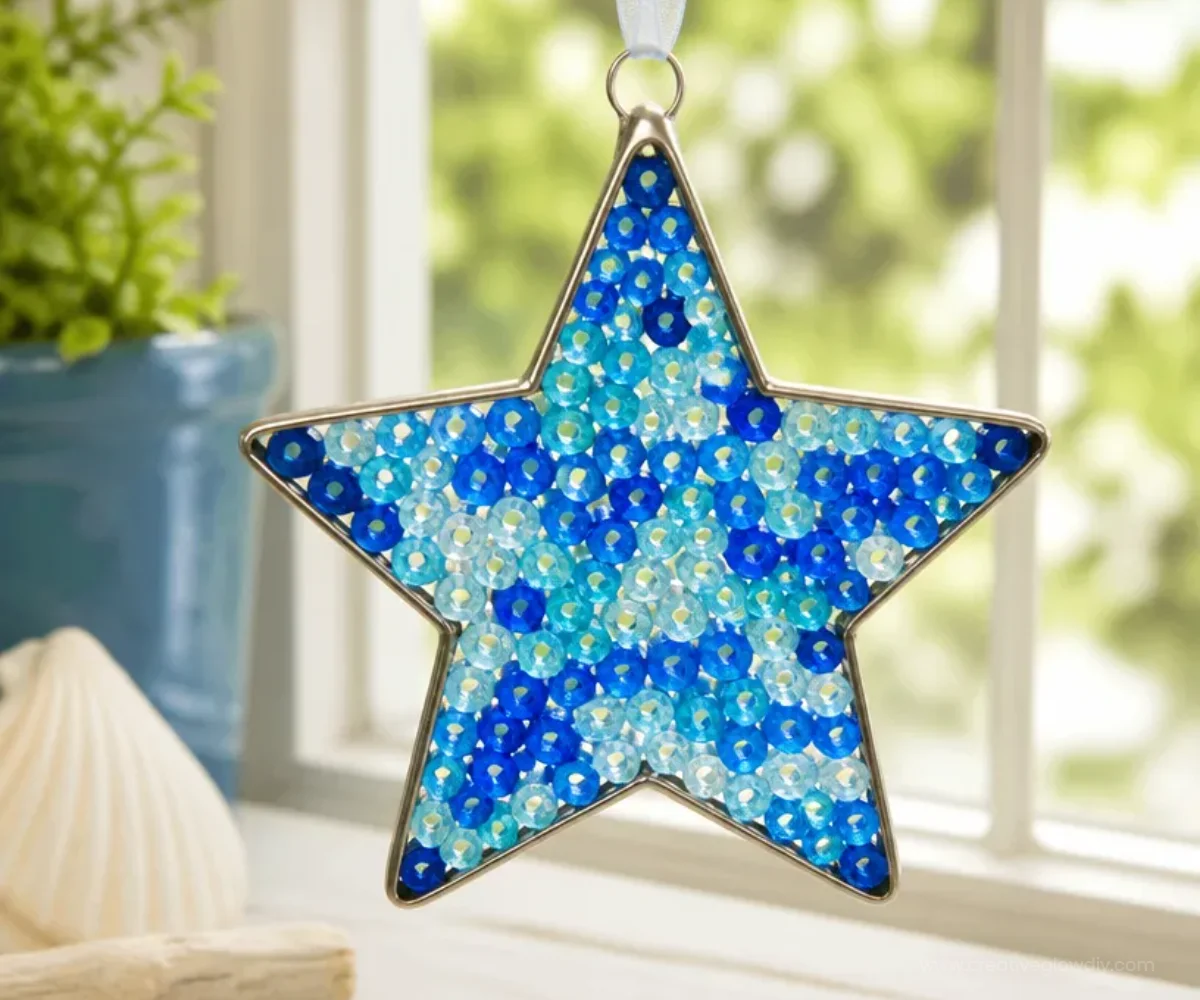
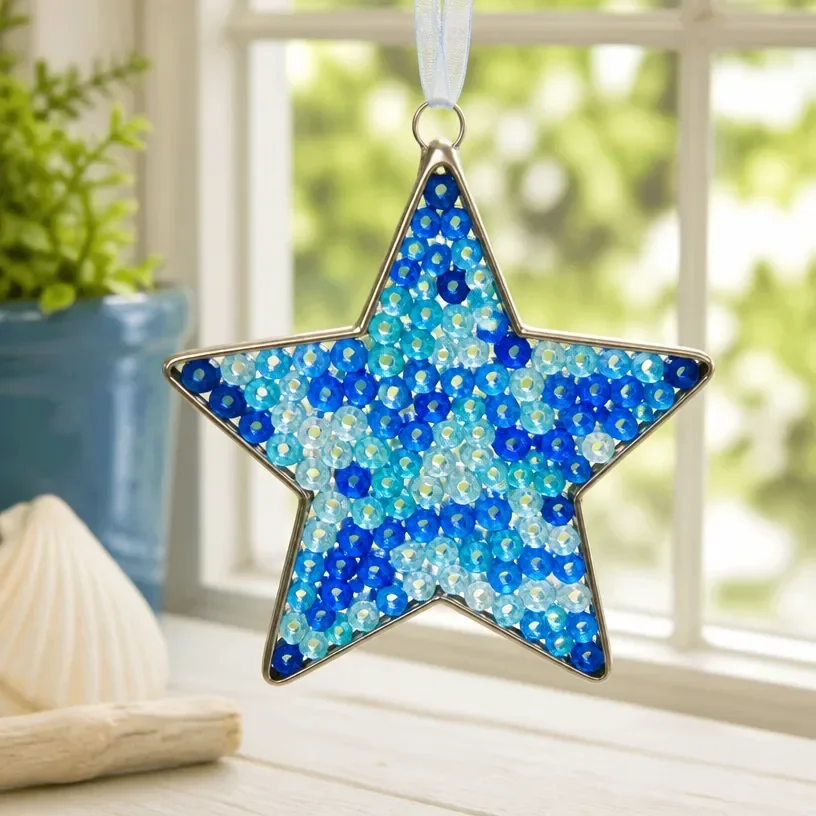
Creating elegant star ornaments from beads is a delightful way to add a personal touch to your home decor. This craft is not only enjoyable but also lets your creativity shine as you experiment with colors and patterns. Whether you hang them for the holidays or use them as year-round decorations, these star ornaments can brighten any space. You may also find Diy Dollar Store Starfish Crystal Beach Decor 2 useful.
Why You’ll Love This Project
- Personalization: You can customize the colors and designs to match your decor style.
- Perfect for Gifting: Handmade ornaments make heartfelt gifts for family and friends.
- Budget-Friendly: Using affordable materials keeps the project within a reasonable budget.
- Relaxing Activity: Crafting is a wonderful way to unwind while creating something beautiful.
You may also find Diy Dollar Store Starfish Crystal Beach Decor useful.
Materials You’ll Need
- Glass beads in various colors
- Thin wire or string
- Scissors
- Hot glue gun (for added decorations)
- Optional: Additional embellishments like glitter or ribbon
How to Make a Star Ornament
- Cut the Wire: Start by cutting a length of wire approximately 24 inches long.
- Create the Star Shape: Bend the wire into a star shape by forming five points. Twist the wire at each point to secure the shape.
- String the Beads: Begin threading the beads onto the wire, making sure they fit snugly between each star point. Choose a combination that enhances your design.
- Secure the Ends: Once all beads are on, twist the wire ends together tightly to prevent the beads from sliding off.
- Add Embellishments: If you’re using a hot glue gun, apply glue on sections of the star for added decorations, like glitter or ribbon for a festive touch.
Helpful Tips
- Trial and Error: Don’t hesitate to rearrange your beads before securing them to see what looks best.
- Color Combinations: Experiment with different color schemes depending on the season or occasion.
- Work Area: Lay down some newspaper to catch any stray beads and glue, ensuring your workspace stays neat.
Creative Variations
- Seasonal Themes: Create stars in festive colors for Christmas or warm, bright colors for summer.
- Different Shapes: Try making different geometric shapes using the same method for varied decorations.
- Size Adjustments: Vary the size of your stars by adjusting the wire length.
Making It With Kids
This project is great for family crafting time! Depending on the child’s age, adult supervision may be necessary when using scissors or a hot glue gun. Let the kids explore their creativity by choosing their favorite colors and designs. Encourage them as they learn to string beads and shape the wire. You may also find Diy Marble Effect Ornaments Summer Decor useful.
How to Display, Use, or Gift It
Once your star ornaments are complete, you can hang them in windows, on tree branches, or throughout your home to catch the light beautifully. They also make perfect gifts, beautifully packaged with a personal note attached.
Frequently Asked Questions
1. Can I use plastic beads instead of glass?
Absolutely! Plastic beads can be lighter and come in a variety of colors, making them suitable for this project.
2. How long will these ornaments last?
With proper care, your star ornaments can last for many seasons. Store them in a safe place to avoid damage.
3. Are there any safety tips to keep in mind?
When working with hot glue and sharp scissors, always supervise children to ensure they stay safe while crafting.
4. Can I add other materials to the ornaments?
Yes! Feel free to embellish with items like sequins, beads of different materials, or even paint.
5. What if my wire is too thin?
If your wire is too thin, it might not hold the shape well. Opt for a sturdier wire that can hold its form without bending.
6. How can I clean my ornaments?
Dust your ornaments gently with a soft cloth. If necessary, you can use a damp cloth, but avoid soaking them.
Conclusion
Making star ornaments with beads is a charming project that can help you express creativity and showcase personal style. For additional crafting inspiration, check out the comprehensive guide available on beaded star ornaments to explore more designs you can try!
Print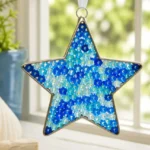
Star Ornament Craft
- Total Time: 15 minutes
- Makes: 1 ornament
Description
Create elegant star ornaments using colorful beads and wire. A fun and customizable project perfect for home decor and gifting.
Materials
- Glass beads in various colors
- Thin wire or string
- Scissors
- Hot glue gun (for added decorations)
- Optional: Additional embellishments like glitter or ribbon
Instructions
- Cut the wire: Start by cutting a length of wire approximately 24 inches long.
- Create the star shape: Bend the wire into a star shape by forming five points. Twist the wire at each point to secure the shape.
- String the beads: Begin threading the beads onto the wire, making sure they fit snugly between each star point. Choose a combination that enhances your design.
- Secure the ends: Once all beads are on, twist the wire ends together tightly to prevent the beads from sliding off.
- Add embellishments: If you’re using a hot glue gun, apply glue on sections of the star for added decorations, like glitter or ribbon for a festive touch.
Notes
Encourage creativity and experimentation with colors and designs. Adult supervision is recommended for children using scissors or hot glue.