

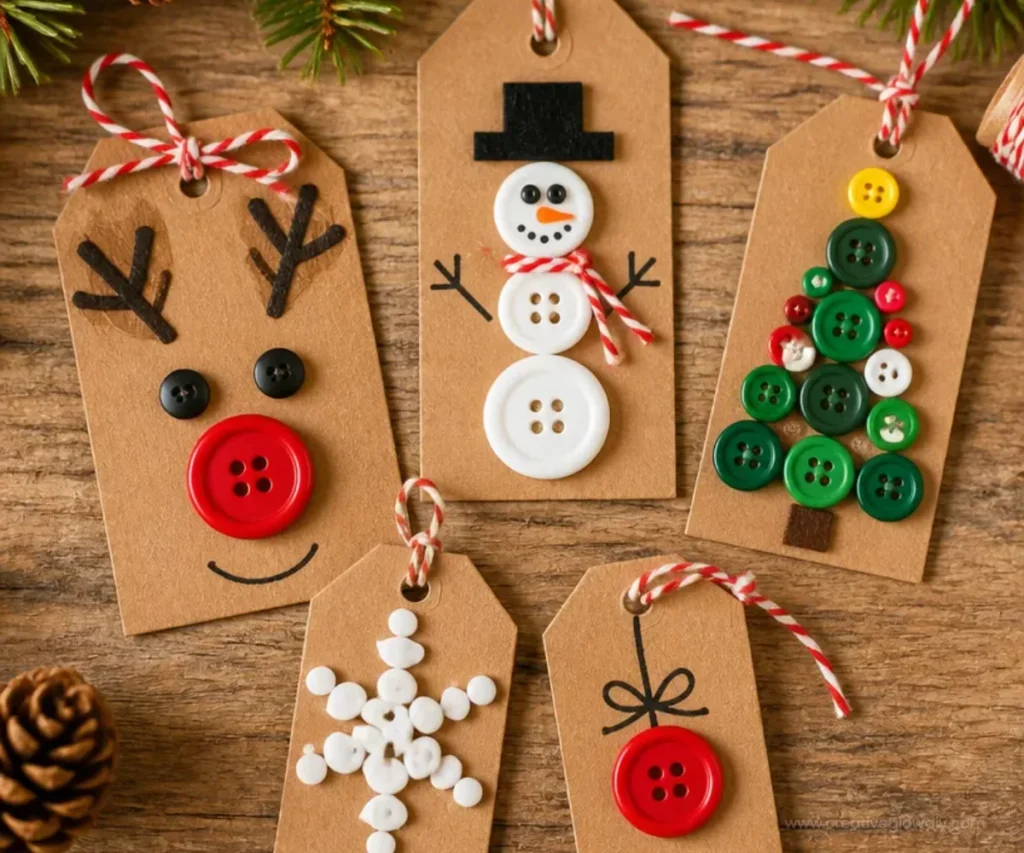
Christmas Card Gift Ideas | Christmas Button Art, Christmas Button Crafts, Christmas Gift Tags DIY
Creating handmade Christmas cards and gift tags is a joyful way to spread holiday cheer while getting crafty. This delightful project not only brings out your creative spirit but also enhances your gifting with a personal touch. Plus, it’s a wonderful activity to do with family and friends around the festive season. If you’re excited to dive into this, you’ll also find that this project pairs beautifully with festive decor, like a modern wood bead Christmas wreath.
Why You’ll Love This Project
- Personal Touch: Handmade cards and tags show you care and are often more appreciated than store-bought ones.
- Easy to Customize: You can choose colors, themes, and designs that reflect your personality or the recipient’s interests.
- Crafting Together: This is a great project to involve kids or friends, fostering creativity and bonding.
- Budget-Friendly: Using materials you might already have can keep costs low while still creating beautiful gifts.
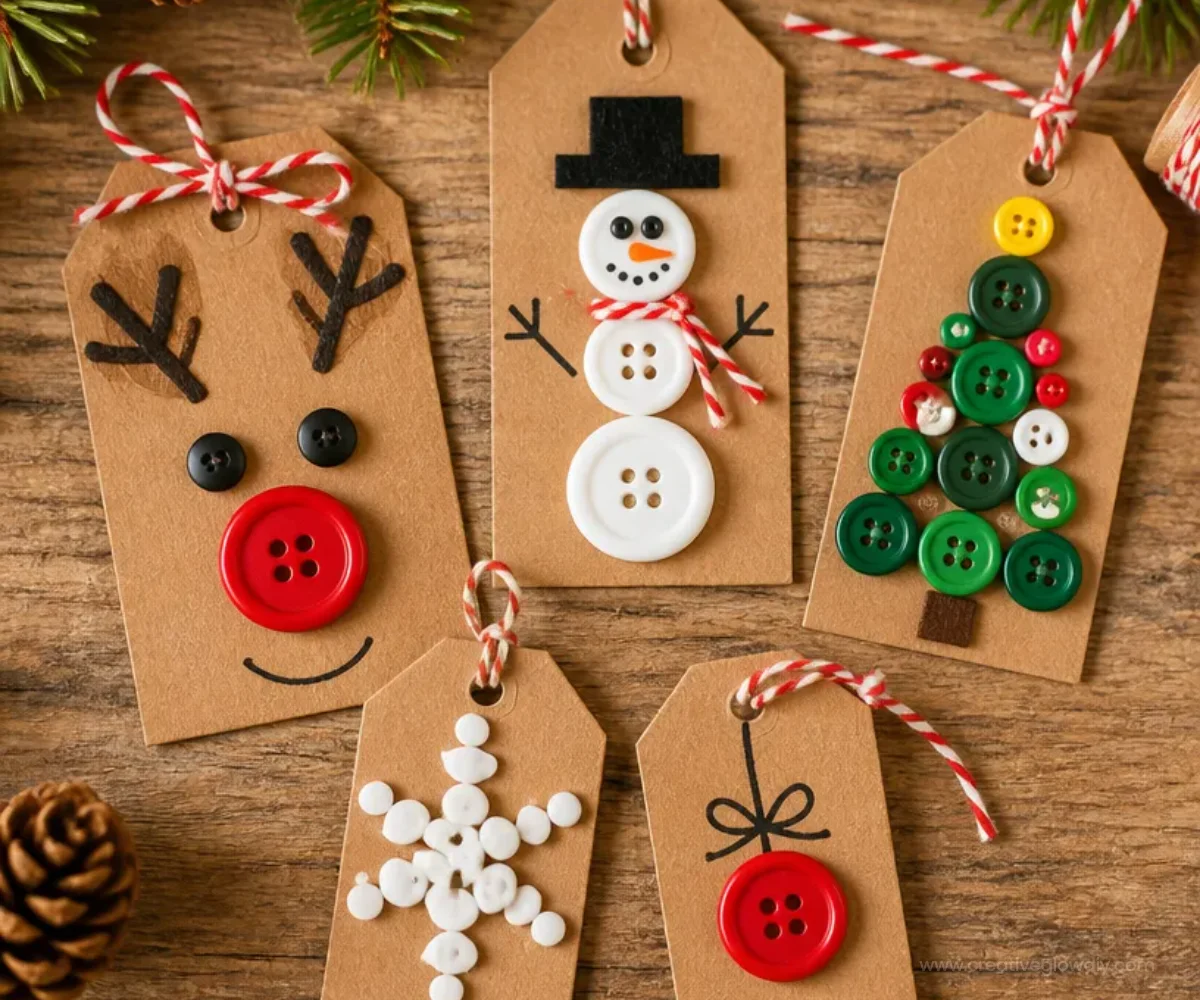
You may also find Diy Cardboard Lemonade Stand Sign Tutorial useful.
Materials You’ll Need
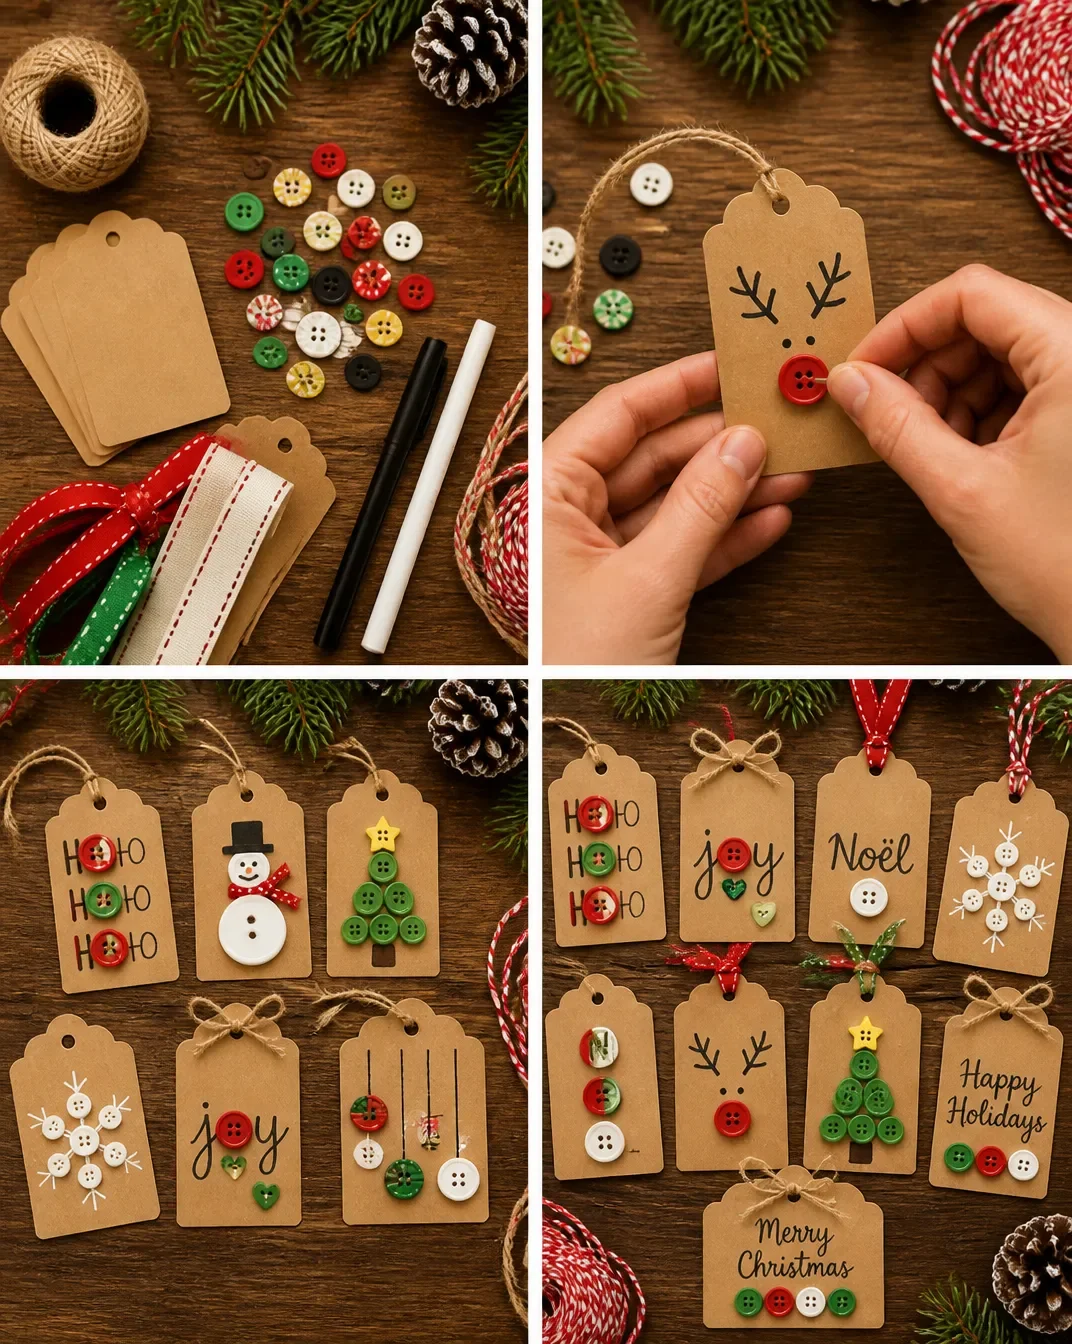
- Assorted buttons (Christmas colors work best)
- Cardstock or blank cards for the card base
- Glue (preferably craft glue)
- Scissors
- Colored markers
- Optional: String, ribbons, or decorative washi tape
How to Make Christmas Card Gift Ideas | Christmas Button Art, Christmas Button Crafts, Christmas Gift Tags DIY
- Prepare Your Base: Cut your cardstock into the desired card size. A standard size is 5 x 7 inches, but feel free to get creative with shapes.
- Design Your Artwork: Plan your button arrangement on the card before gluing. You can create Christmas trees, snowmen, or simply a fun pattern.
- Glue the Buttons: Once satisfied with your layout, start gluing the buttons to the card. Hold the buttons for a few seconds to ensure they stick properly.
- Add a Message: Once the glue is dry, use colored markers to write a heartfelt message inside the card or tag.
- Finishing Touches: Embellish with string, ribbons, or washi tape for extra flair. You can make your card even more festive by gluing buttons onto tags for a unique gift tag design.
Helpful Tips
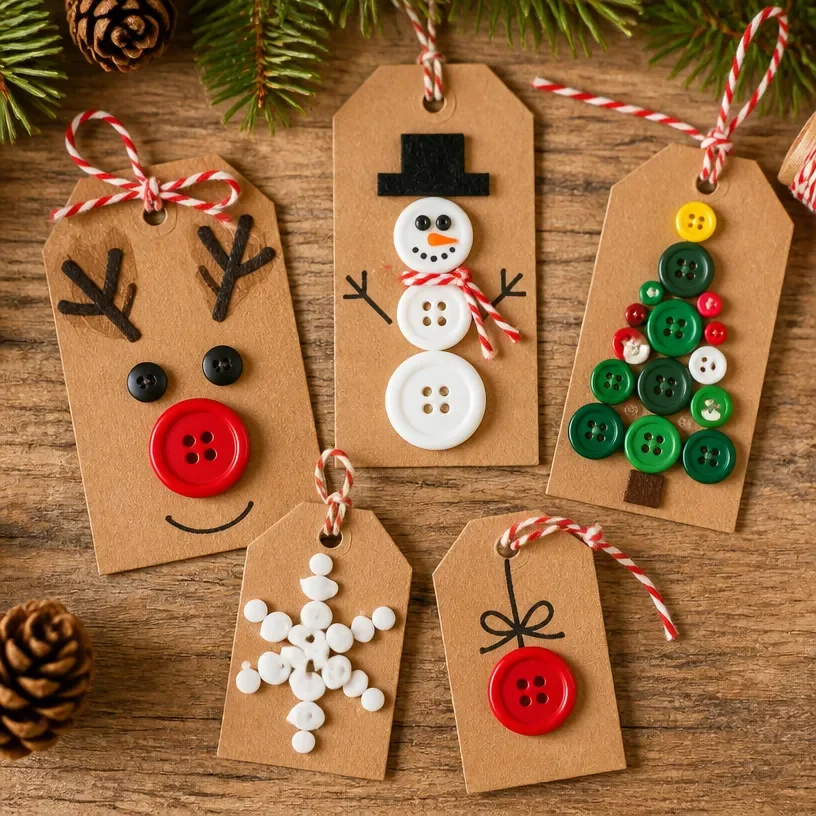
- Button Arrangement: If you’re creating festive imagery like Christmas trees, use larger buttons at the base and smaller ones at the top to give a nice dimensional effect.
- Clear Workspace: Set up a designated area to work so that materials don’t get mixed up and to manage the mess better.
- Use Hot Glue: If you’re in a hurry, consider using a hot glue gun for quicker adhesion, but be cautious around children.
Creative Variations
- Color Themes: Experiment with different color schemes based on your decorations; pastels can make for a lovely spring card, while bold reds and greens are perfect for Christmas.
- Tag Shapes: Try out different shapes for your gift tags use cookie cutters for fun designs.
- Seasonal Changes: Adapt the button art for various holidays throughout the year, like using heart-shaped buttons for Valentine’s Day.
Making It With Kids
This project is great for children, but adult supervision is recommended particularly with scissors and glue. Allow them to express their creativity perhaps they can design cards for family members or close friends. It can be a delightful bonding time that encourages their artistic expression. You may also find Diy Glass Jar Floating Candle Centerpiece Ideas useful.
How to Display, Use, or Gift It
Once your creations are complete, display the cards on a mantle or use them as festive decorations. They also make wonderful additions to gifts attach them securely to presents or stick them inside as a surprise note. Sharing these handmade goodies can enhance the joy of giving this holiday season.
Frequently Asked Questions
1. Can I use any type of glue for this project?
It’s best to use craft glue or a hot glue gun to ensure buttons stay in place well.
2. What if I don’t have enough buttons?
You can supplement with other embellishments like sequins, beads, or even drawings to fill in gaps.
3. How can I make the cards more festive?
Consider adding a glittery touch or holiday stickers to accentuate your designs.
4. Are there alternative uses for this craft?
Absolutely! You can also create holiday decorations, place cards, or even adorn picture frames with the same techniques.
Conclusion
Handmade Christmas cards and gift tags are a delightful way to express your creativity and spread festive cheer. With just a few supplies, you can create beautiful artworks that your loved ones will appreciate. For additional crafting materials, you might want to check out these Christmas Snowflake Buttons for Crafts, which can add a lovely touch to your projects. Happy crafting!
Print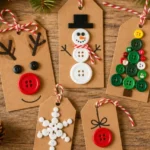
Christmas Card Gift Ideas
- Total Time: 15 minutes
- Makes: 10 cards
Description
Create handmade Christmas cards and gift tags with buttons for a personal festive touch.
Materials
- Assorted buttons
- Cardstock or blank cards
- Glue (preferably craft glue)
- Scissors
- Colored markers
- Optional: String, ribbons, decorative washi tape
Instructions
- Prepare your base: Cut your cardstock into the desired card size.
- Design your artwork by planning your button arrangement.
- Glue the buttons to the card, holding them for a few seconds.
- Add a message inside the card or tag with colored markers.
- Finishing touches: Embellish with string, ribbons, or washi tape.
Notes
Involve kids with adult supervision when using scissors and glue for a delightful crafting experience.