

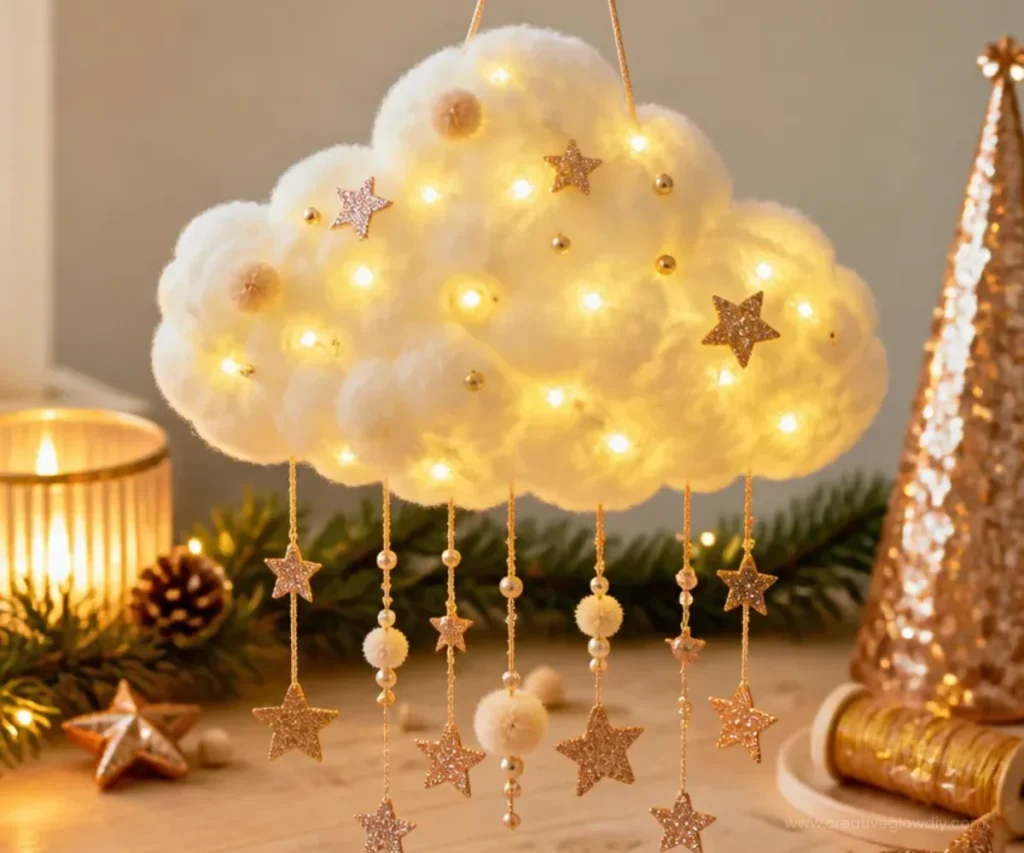
Weihnachtsdeko selber machen – Leuchtende DIY-Wolke
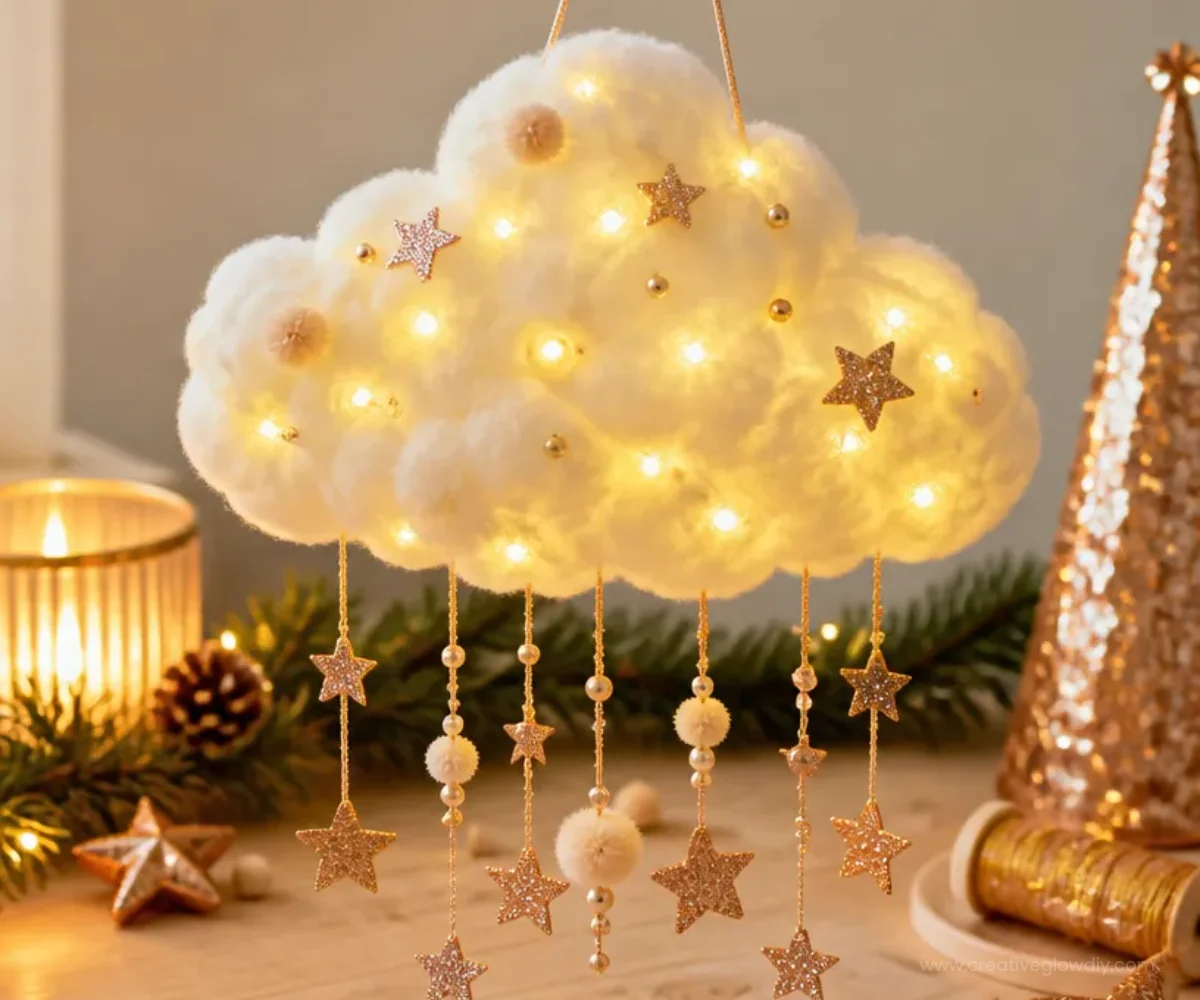
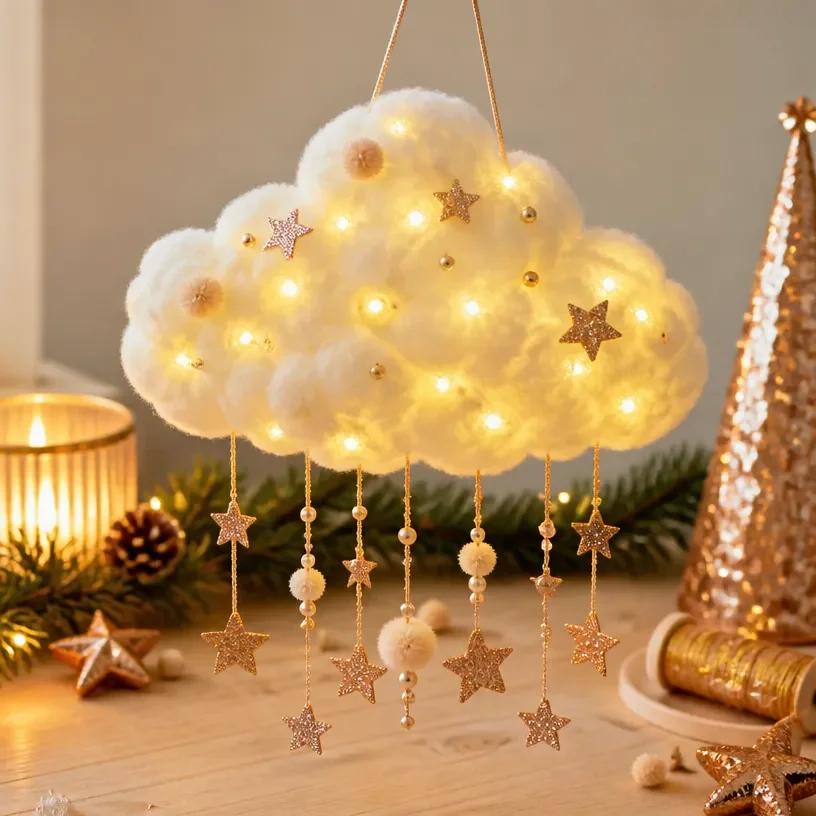
Create a warm and inviting atmosphere for your holiday gatherings with this delightful DIY Cloud Light. Not only is this craft enjoyable to make, but it also adds a whimsical touch to your home decor. It’s a perfect project for both adults and children, fostering a creative spirit during the festive season. Plus, if you enjoy crafting, check out this faux glass heart craft to enhance your holiday decor!
Why You’ll Love This Project
- Customizable: You can choose colors and patterns that match your home’s aesthetic.
- Easy to Make: With just a few simple materials and steps, you’ll have a beautiful light in no time.
- Fun for All Ages: This project is appropriate for a family activity. Kids will enjoy the process!
- Unique Decor Piece: This light is sure to be a conversation starter during your holiday celebrations.
You may also find Diy Wall Art Toilet Paper Rolls Home Decor Ideas 2 useful.
Materials You’ll Need
- A large balloon
- White cotton batting or pillow stuffing
- LED fairy lights
- A bowl for mixing
- PVA glue
- Water
- A paintbrush
- Scissors
- Clear fishing line or string for hanging
How to Make Weihnachtsdeko selber machen – Leuchtende DIY-Wolke
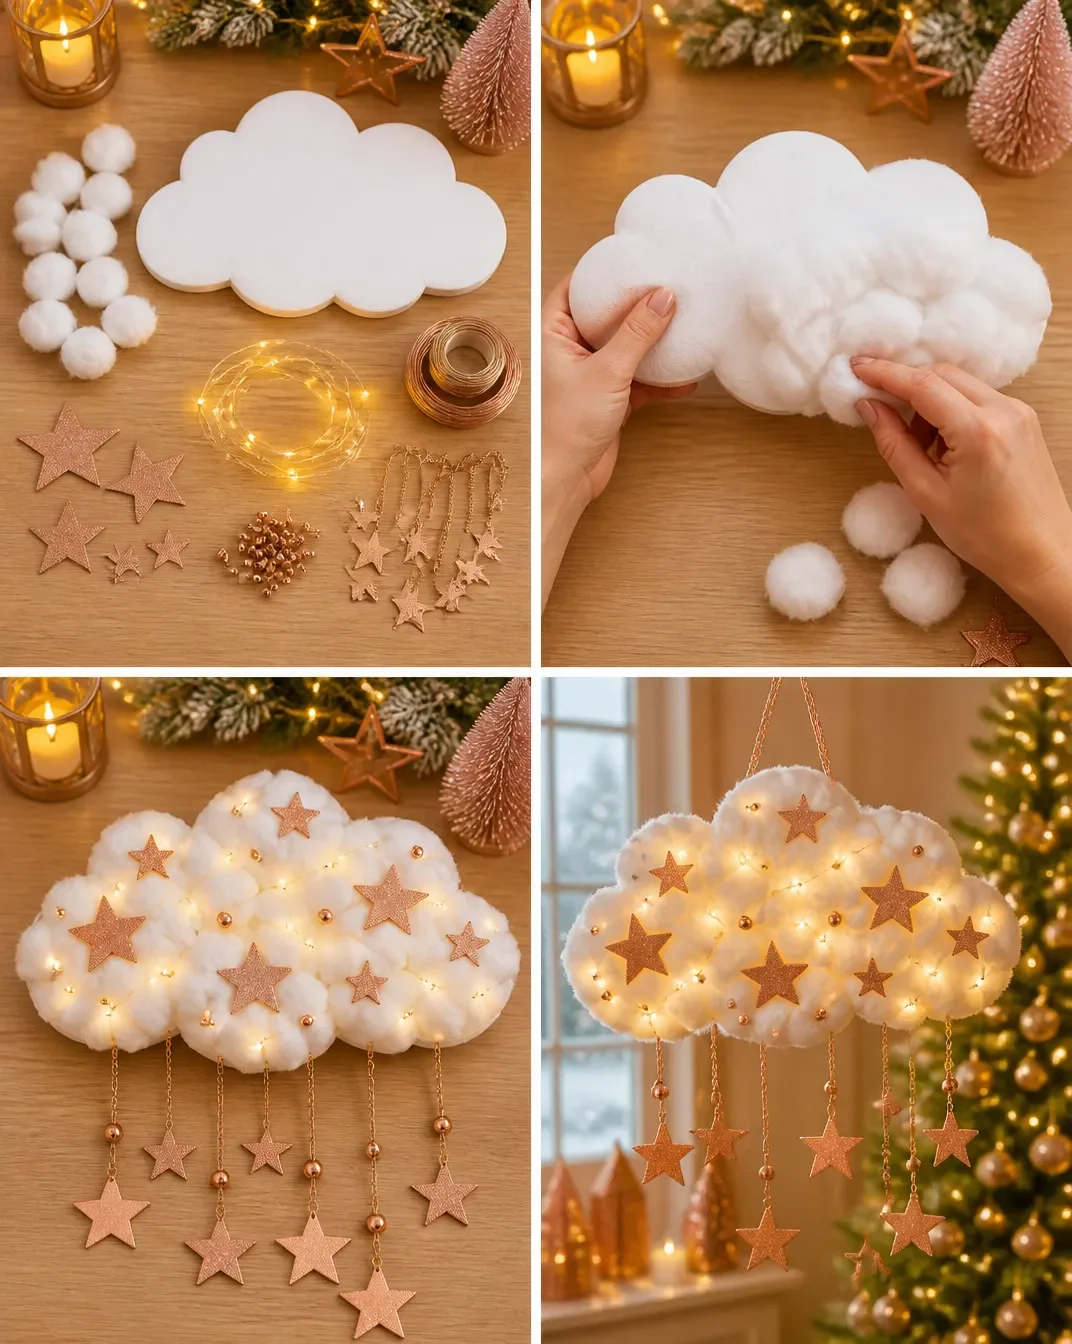
Prepare the Balloon: Inflate the balloon to your desired cloud size and tie it securely. Make sure to work in a well-ventilated area. You may also find Dragonfly Paper Roll Wall Art Handmade Decor 2 useful.
Mix the Glue Solution: In a bowl, mix equal parts of PVA glue and water until well combined.
Cover the Balloon: Dip the cotton batting in the glue mixture. Then, layer the soaked pieces around the balloon, covering it entirely.
Let It Dry: Once covered, place the balloon in a safe spot and let it dry for at least 24 hours. This ensures it becomes sturdy.
Pop the Balloon: After the cloud shape is dry and firm, carefully pop the balloon and remove it from the cotton structure.
Insert the Lights: Take your LED fairy lights and carefully insert them into the cloud structure through a small opening. Make sure the battery pack remains accessible.
Hang It Up: Use clear fishing line or string to hang your cloud light in your desired location.
Helpful Tips
- Use a blow dryer on low heat to speed up the drying process if you’re short on time.
- When layering the cotton batting, try to vary the thickness for a more natural cloud look.
- Test the placement of your fairy lights inside the cloud before sealing everything up to ensure the best lighting effect.
Creative Variations
- Paint the cotton batting with a soft blue or other colors to create a sunset or stormy cloud effect.
- Add small decorations like stars or moon cutouts to the outside of the cloud for added charm.
- Consider making a cluster of smaller clouds in various sizes for a whimsical display.
Making It With Kids
Involving children in this craft can be a wonderful experience. Serve as a guide when they are applying the glue and creating the cloud shape. Adult supervision is essential, especially during the use of scissors to cut the fishing line and when handling the hot glue if used. Encourage their creativity by letting them choose colors and decorations.
How to Display, Use, or Gift It
To display your new cloud light, consider placing it in a cozy corner, above a reading nook, or hanging it in a window to create a magical ambiance during the holidays. This versatile piece can also be a creative and personal gift for friends or family, spreading joy and cheer.
Frequently Asked Questions
1. How long do I need to let the balloon dry?
It’s best to let the cotton-covered balloon dry for at least 24 hours for optimal firmness.
2. Can I use regular lights instead of LED lights?
No, it’s recommended to use LED lights since they generate less heat and are safer for this project.
3. How do I clean up if things get messy?
PVA glue can be cleaned up with warm soapy water, but it’s helpful to have a drop cloth or newspaper under your working area to catch any drips.
4. What if I don’t have cotton batting?
You can substitute with other soft materials like yarn, tulle, or even old st■ animals that can be cut up.
5. How can I make my cloud light look more realistic?
Try varying the thickness of the cotton layers and adding some sparkle or glitter for an extra touch.
6. Is it safe to hang this light over a bed?
As long as you ensure the light components are secure and there is no risk of falling, it can add a dreamy effect to a bedroom.
Conclusion
Incorporate a touch of whimsy into your holiday decor with this delightful cloud light project! For additional creative ideas and instructions, you might find inspiration in this DIY cloud lamp guide. Enjoy crafting!
Print
Leuchtende DIY-Wolke
- Total Time: 1440 minutes
- Makes: 1 cloud light
Description
Create a warm and inviting atmosphere for your holiday gatherings with this delightful DIY Cloud Light, perfect for all ages.
Materials
- A large balloon
- White cotton batting or pillow stuffing
- LED fairy lights
- A bowl for mixing
- PVA glue
- Water
- A paintbrush
- Scissors
- Clear fishing line or string for hanging
Instructions
- Prepare the balloon: Inflate the balloon to your desired cloud size and tie it securely.
- Mix the glue solution: In a bowl, mix equal parts of PVA glue and water until well combined.
- Cover the balloon: Dip the cotton batting in the glue mixture and layer it around the balloon.
- Let it dry: Place the balloon in a safe spot and let it dry for at least 24 hours.
- Pop the balloon: Carefully pop the balloon and remove it from the cotton structure.
- Insert the lights: Take your LED fairy lights and insert them into the cloud structure.
- Hang it up: Use clear fishing line or string to hang your cloud light.
Notes
Use a blow dryer on low heat to speed up the drying process if you’re short on time. Be creative with colors and decorations.