

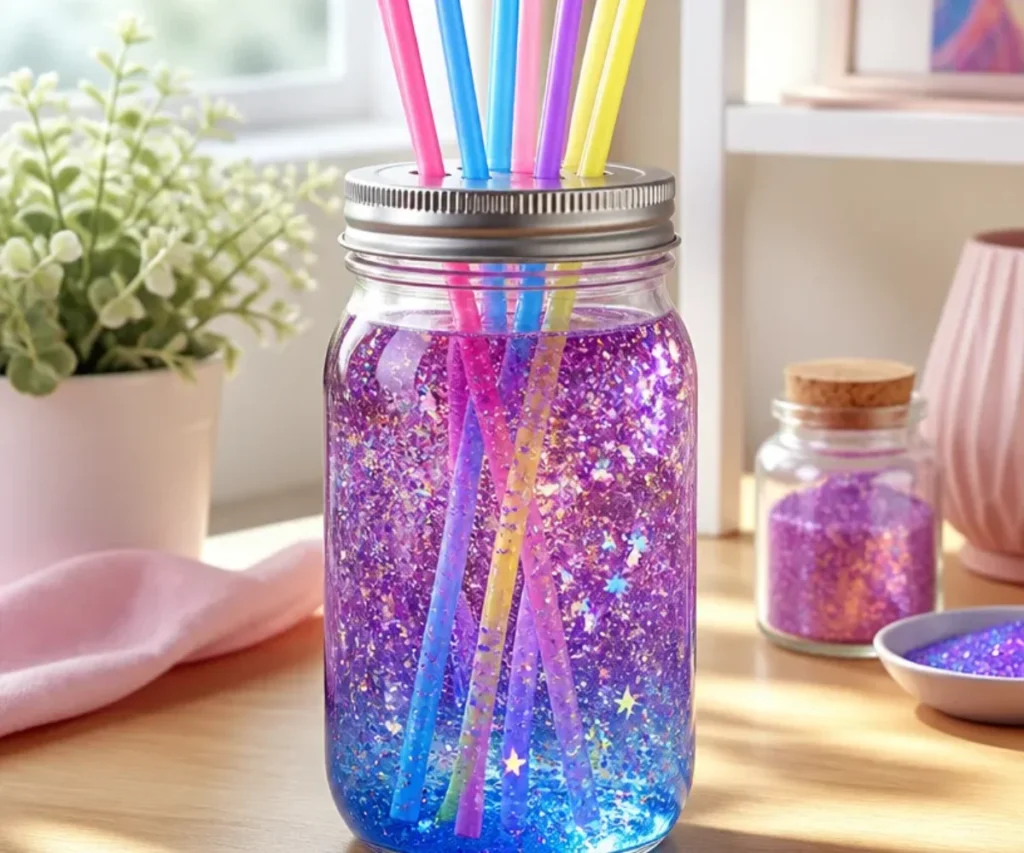
Create a Stunning DIY Galaxy Jar: Easy Craft for Home Decor Fun
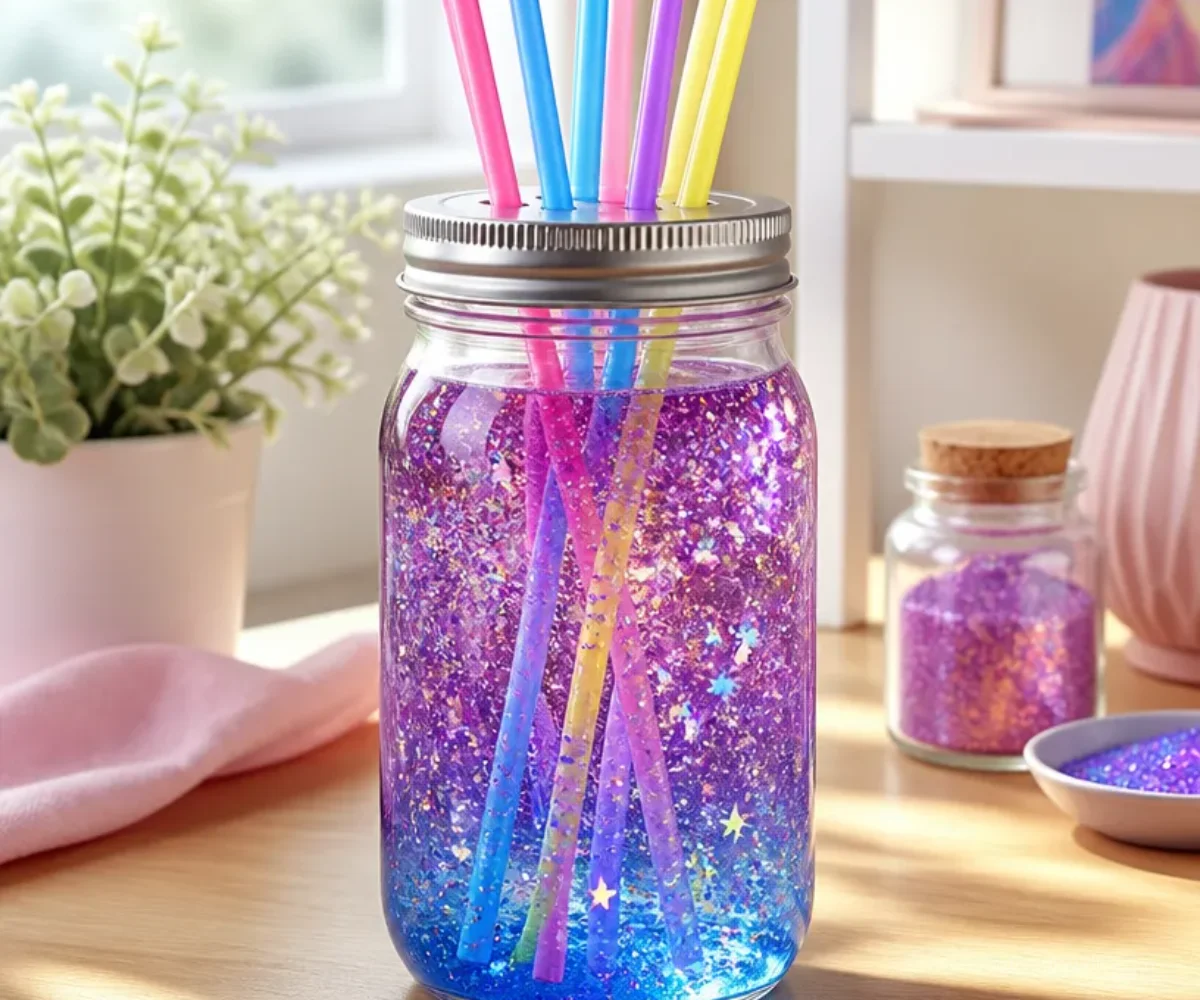
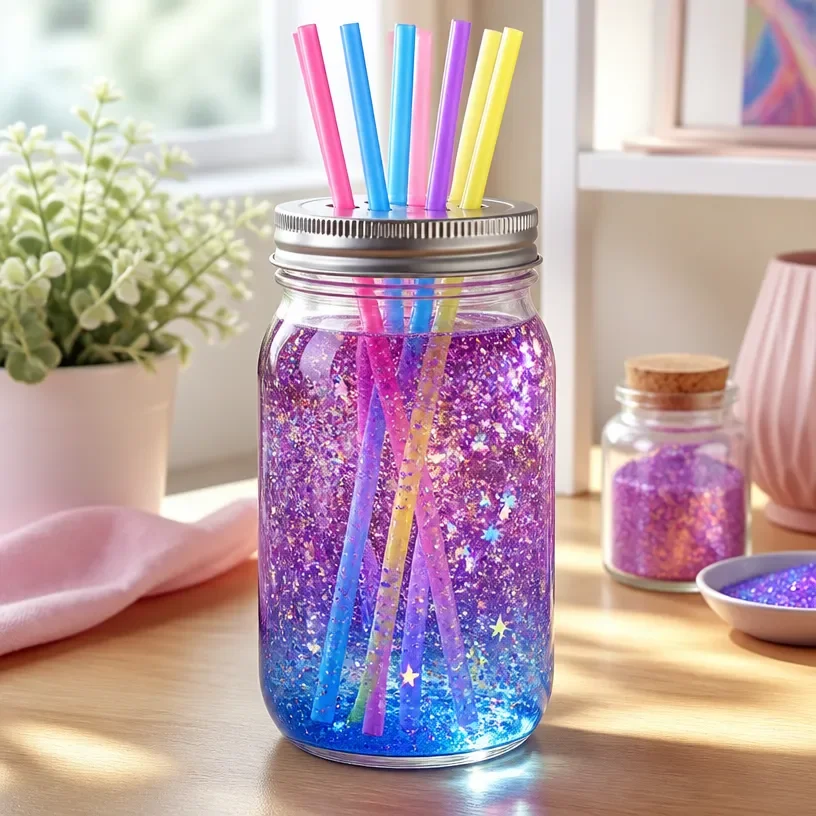
Creating a DIY Galaxy Jar is not only an enjoyable craft but a delightful way to add a luminous piece of decor to your home. This project is perfect for beginners and can also be a wonderful activity to engage kids in creativity. By blending colors and crafting a beautiful galaxy effect, you’ll create something that is uniquely yours. You may also find Diy Faux Glass Heart Craft Home Decor 2 useful.
Why You’ll Love This Project
- Creative Expression: This project allows you to play with colors and textures, making every jar a unique masterpiece.
- Easy to Follow: The steps are simple and beginner-friendly, ensuring a smooth crafting experience.
- Perfect for Any Decor: Once completed, the galaxy jar can be a stunning addition to any room, complementing various decor styles.
- Great Gift Idea: Handmade gifts are always special. A galaxy jar can be a personal gift for friends and family.
- Fun for All Ages: This craft is suitable for all ages, making it a perfect family activity.
You may also find Diy Faux Glass Heart Craft Home Decor useful.
Materials You’ll Need
- A clean glass jar with a lid
- Acrylic paints (blues, purples, blacks, and whites)
- Paintbrushes (various sizes)
- Water
- Cotton balls or sponge
- Glitter (optional)
- LED tealight (for illumination)
How to Make Create a Stunning DIY Galaxy Jar: Easy Craft for Home Decor Fun
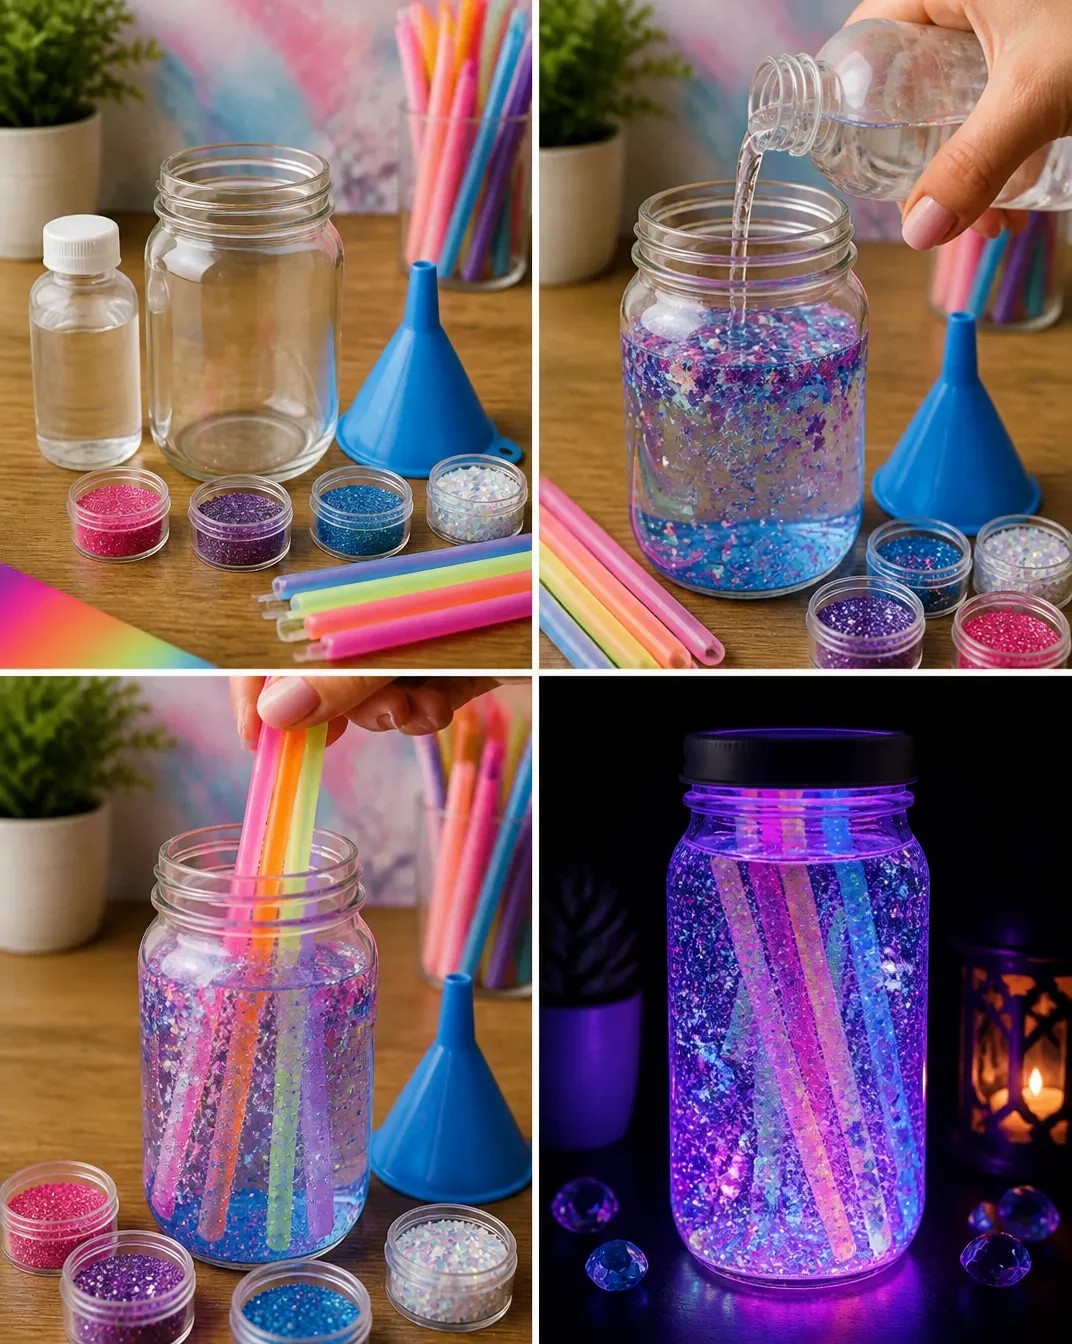
- Prepare Your Jar: Start by ensuring your glass jar is clean and dry. This will help your paints adhere better.
- Mix Your Colors: In separate containers, mix water with the acrylic paints to get a consistency that’s easy to work with.
- Create the Night Sky: Using a wide paintbrush, apply a layer of the darkest color (black) at the bottom of the jar. Let it dry.
- Add Dimension: Use a cotton ball or sponge to lightly dab on lighter colors like purple and blue above the black, creating a gradient effect.
- Add Stars: Once the colors are dry, add small white dots with a fine brush to represent stars, or sprinkle a bit of glitter while the paint is still wet.
- Finish with Light: After allowing your galaxy to dry completely, place an LED tealight in the bottom of the jar. This will illuminate your galaxy beautifully.
Helpful Tips
- Experiment with Colors: Don’t hesitate to mix your paints to create new shades. This can add a unique touch to your galaxy jar.
- Layering: Allow each layer to dry before adding more paint. This will help maintain the clarity of your galaxy.
- Cleanup: Use newspaper or a drop cloth to protect your working surface, making clean-up easier.
Creative Variations
- Seasonal Themes: Change up the colors for different times of the year, like red and green for Christmas or pastel colors for Spring.
- Size Matters: Try different sized jars for varied effects. A larger jar can become a centerpiece, while smaller ones can be used as accents.
- Unique Decorations: Add other decorative elements like small figurines or themed stickers inside the jar for added personality.
Making It With Kids
This project is perfect for crafting with children. Ensure that adults supervise any use of sharp tools or hot materials. You can modify the steps based on the kids’ skill levels, encouraging them to choose their favorite colors and designs. This way, everyone can take pride in their creations. You may also find Coastal Glass Lanterns Handcrafted Seaside Home Decor useful.
How to Display, Use, or Gift It
The finished galaxy jar can be displayed on shelves, nightstands, or as part of a centerpiece. They also make wonderful gifts, especially when packaged with care. Adding a tag with a personal note can make it even more special.
Frequently Asked Questions
1. Can I use regular paint instead of acrylic?
Yes, but acrylic paint is preferred for its quick drying time and easy cleanup.
2. How do I clean the paintbrushes?
Wash them with soap and water immediately after use to ensure they remain in good condition.
3. What if my colors mix too much?
You can layer colors one on top of the other to create depth rather than mixing them directly on the glass.
4. Can I use small jars?
Absolutely! Small jars can create cute decorative pieces or be used for themed gifts.
5. Is it safe to leave the LED light on for long periods?
Yes, LED lights are safe and don’t heat up like regular candles, making them perfect for decorative use.
6. How can I enhance the star effect?
Consider incorporating glow-in-the-dark paint or elements for a night-time glow that adds to the galaxy effect.
Conclusion
Creating a DIY Galaxy Jar is a fantastic way to unleash your creativity and decorate your space. For additional inspiration on similar projects, you may want to check out this informative post on how to make nebula jars. Happy crafting!
Print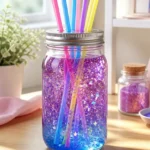
DIY Galaxy Jar
- Total Time: 10 minutes
- Makes: 1 galaxy jar
Description
Create a stunning and personalized DIY Galaxy Jar, perfect for home decor or a thoughtful gift.
Materials
- A clean glass jar with a lid
- Acrylic paints (blues, purples, blacks, and whites)
- Paintbrushes (various sizes)
- Water
- Cotton balls or sponge
- Glitter (optional)
- LED tealight (for illumination)
Instructions
- Prepare your jar: Start by ensuring your glass jar is clean and dry.
- Mix your colors: In separate containers, mix water with the acrylic paints.
- Create the night sky: Using a wide paintbrush, apply a layer of the darkest color at the bottom of the jar.
- Add dimension: Use a cotton ball or sponge to dab on lighter colors, creating a gradient effect.
- Add stars: Once colors are dry, add small white dots for stars or sprinkle glitter.
- Finish with light: Place an LED tealight in the bottom of the jar to illuminate your galaxy.
Notes
Encourage creativity with colors and designs, and supervise kids when using sharp tools.