

Back to blogUpcycling Projects

DIY Hanging Planters from Recycled Tin Cans

September 17, 2026
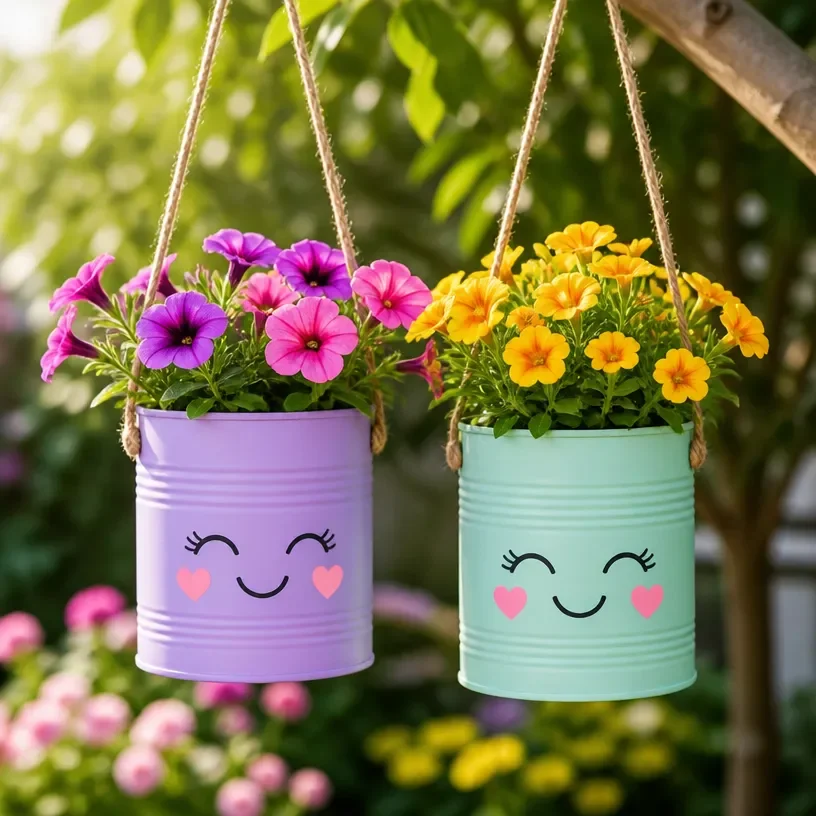
DIY hanging planters made from recycled tin cans showcasing vibrant plants.

DIY Hanging Planters from Recycled Tin Cans You may also find Diy Denim Bouquet From Recycled Jeans useful.

You may also find Diy Butterfly Mobile Recycled Bottles useful.

You may also find Diy Glass Jar Floating Candle Centerpiece Ideas useful.

Print
clock clock iconcutlery cutlery iconflag flag iconfolder folder iconinstagram instagram iconpinterest pinterest iconfacebook facebook iconprint print iconsquares squares iconheart heart iconheart solid heart solid icon

DIY Hanging Planters from Recycled Tin Cans


5 Stars 4 Stars 3 Stars 2 Stars 1 Star

No reviews

  • Author: claire-bennett
  • Total Time: 10 minutes
  • Makes: 2 planters

Description

Create beautiful hanging planters using recycled tin cans for a sustainable gardening solution.


Materials

  • Recycled tin cans
  • String or rope
  • Drill or hammer and nails
  • Soil
  • Plants of your choice


Instructions

  1. Prepare the tin cans by cleaning them and removing any labels.
  2. Drill holes in the bottom of the cans for drainage.
  3. Attach string or rope to the top for hanging.
  4. Fill the cans with soil and plant your chosen plants.
  5. Hang the planters in a sunny spot.

Notes

Ensure the cans are completely dry before planting, and be cautious while drilling holes.

Written by

Lauren Davis

Lauren Davis is an Upcycling & DIY Writer at Creative Glow DIY. She focuses on thrifted transformations, jars, furniture accents, and budget-friendly decor that gives everyday materials a stylish new purpose.

Read full bio

Join the Creative Glow DIY Newsletter

One new decor project in your inbox each week: handmade accents, upcycled finds, budget makeovers and seasonal styling ideas. No spam, ever.

Unsubscribe at any time.

Leave a Comment

Project rating 5 Stars 4 Stars 3 Stars 2 Stars 1 Star