

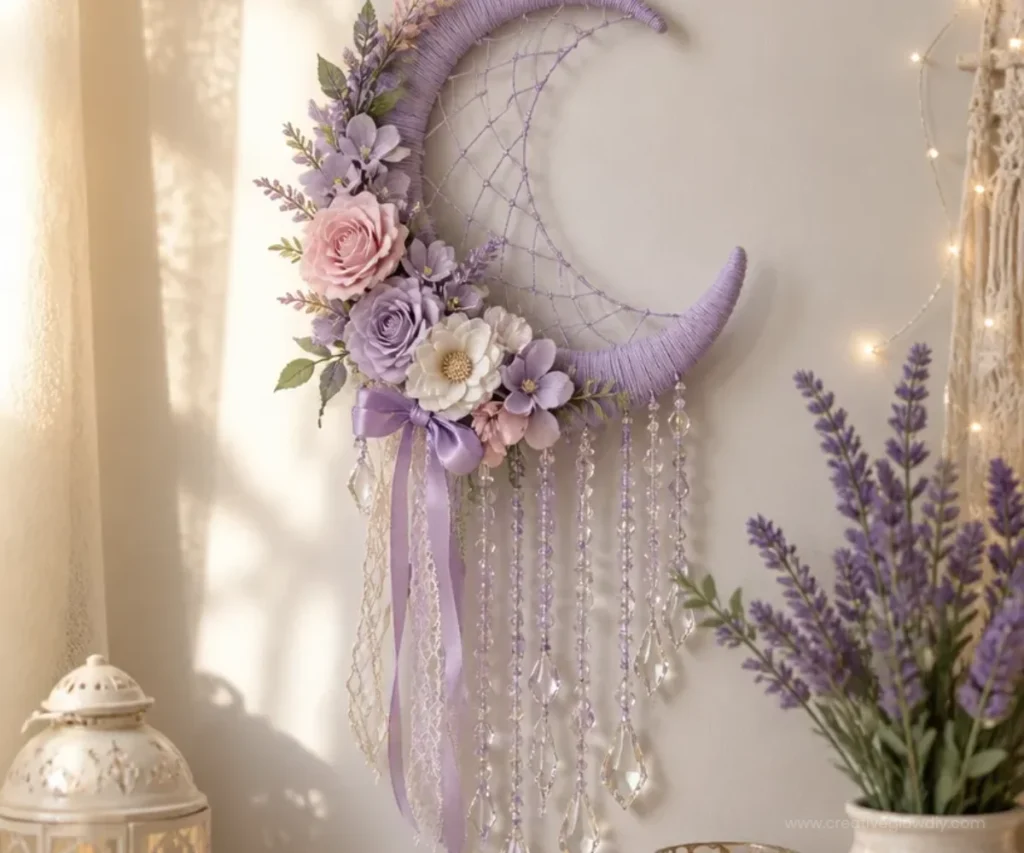
DIY Moon Dreamcatcher | Dreamy Floral Wall Decor
Creating a moon dreamcatcher is a delightful way to add a touch of whimsy and charm to your home decor. This project combines creativity with simplicity, making it perfect for anyone looking to brighten up their space. Not only will you enjoy the crafting process, but you’ll also have a stunning piece of art to display or gift! You may also find Diy Wall Art Toilet Paper Rolls Home Decor Ideas 2 useful.
Why You’ll Love This Project
- Easy to Follow: The step-by-step instructions make it suitable for beginners.
- Personalization: You can customize colors and decorations to match your home decor.
- Budget-Friendly: This craft utilizes affordable materials, allowing you to create stunning decor without breaking the bank.
- Fun Family Activity: It’s a great way to spend quality time with family or friends, allowing everyone to express their creativity.
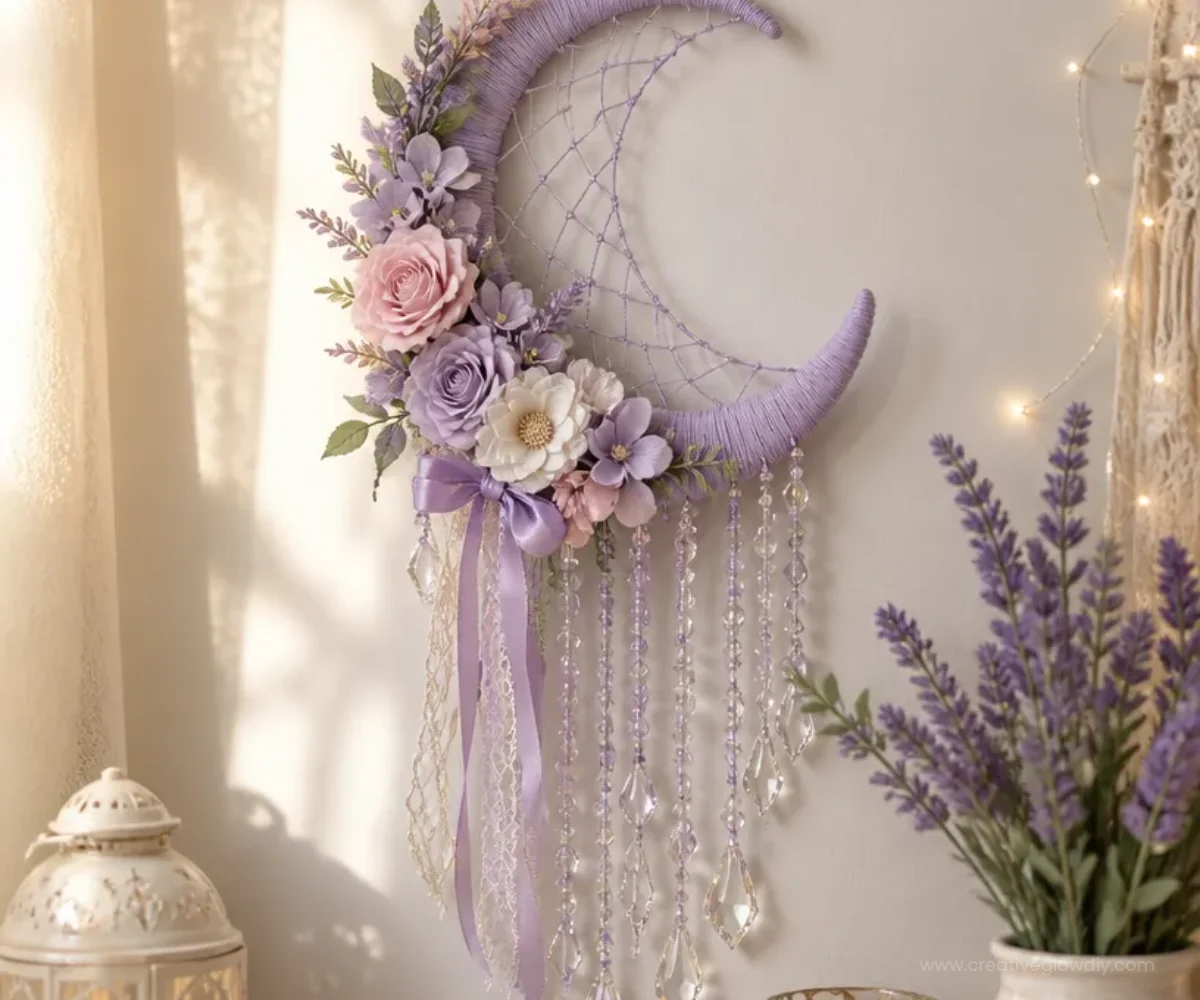
You may also find Diy Wall Art Toilet Paper Rolls Home Decor Ideas useful.
Materials You’ll Need
- Embroidery hoop (12-inch)
- Twine or string
- Fabric or lace for moon shape
- Faux flowers
- Scissors
- Hot glue gun
- Embellishments (like beads or feathers) for hanging
How to Make DIY Moon Dreamcatcher | Dreamy Floral Wall Decor
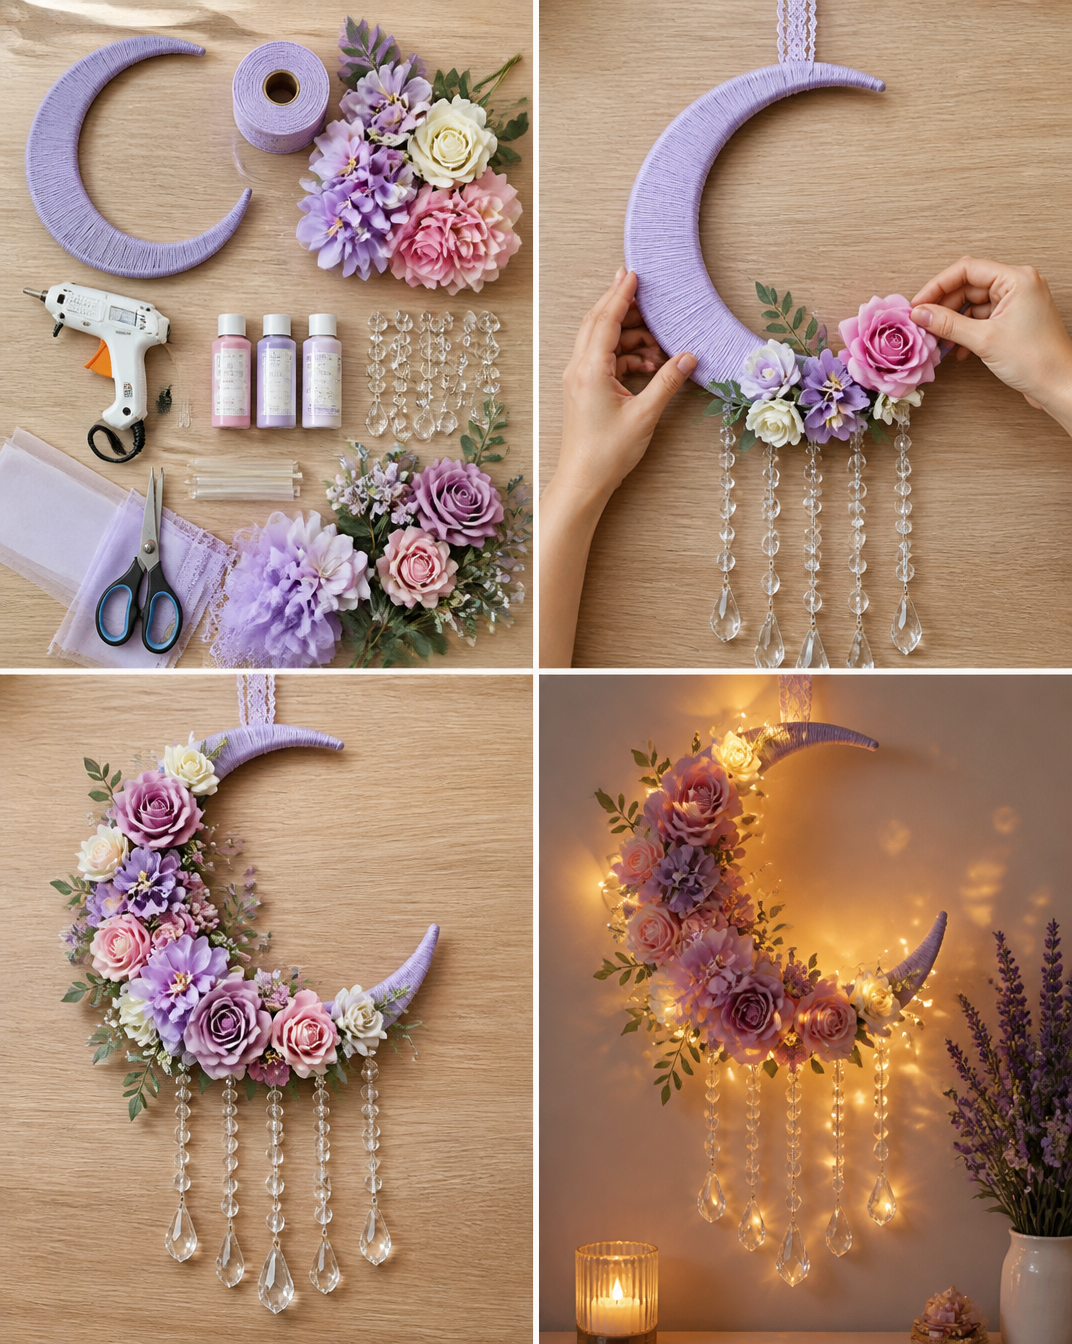
Prepare Your Materials: Gather all the materials required. Ensure your workspace is clutter-free for an enjoyable crafting experience. You may also find 3D Flower Wall Art Ideas Home Decor 2 useful.
Create the Moon Shape: Cut your fabric or lace into a crescent moon shape and secure it to one side of the embroidery hoop using the twine or string. Make sure it’s tight and securely attached.
Assemble the Dreamcatcher: With your hoop ready, wrap additional twine around the entire hoop, creating a web effect as you go. This is a crucial step for adding that dreamcatcher feel.
Attach Faux Flowers: Once your web is complete, use the hot glue gun to attach faux flowers at the base of the moon. You can arrange them however your heart desires to create a beautiful floral accent.
Add Embellishments: For extra flair, add some beads or feathers to the lower part of the dreamcatcher. These can dangle and sway, creating dynamic movement.
Display Your Creation: Find the perfect spot in your home to hang your new dreamcatcher. Consider placing it where it catches the light or in a child’s bedroom for a magical touch.
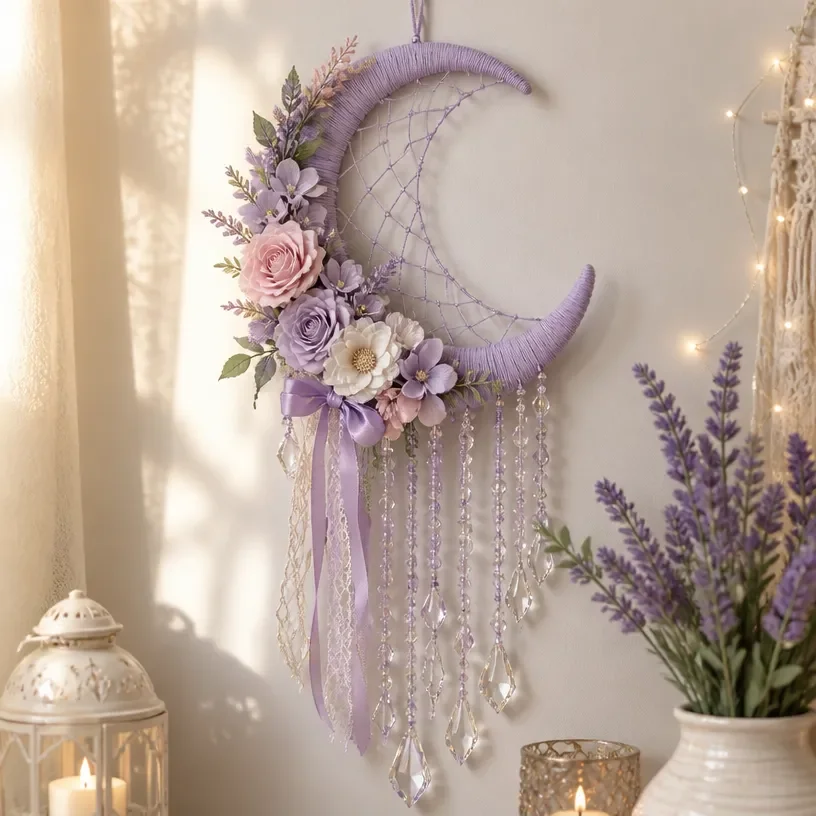
Helpful Tips
- Work in a Well-Lit Area: Good lighting helps you see the details and ensures your flower arrangement looks its best.
- Experiment with Layout: Before gluing anything down, lay out your faux flowers and embellishments to find the perfect arrangement.
- Use Different Textures: Mix and match different materials like feathers, lace, and beads to enhance the visual appeal of your dreamcatcher.
Creative Variations
- Color Palette: Try using a monochromatic palette, or play with vibrant colors to match your existing decor.
- Seasonal Themes: Change the faux flowers with the seasons spring flowers for spring, autumn leaves for fall, etc.
- Size Variation: Make smaller versions of your moon dreamcatcher as gifts or incorporate different hoop sizes for an eclectic look.
Making It With Kids
Crafting this moon dreamcatcher can be a wonderful family activity! Ensure that little ones have adult supervision when using hot glue guns or scissors. Consider using pre-cut flowers to make the process easier for younger crafters.
How to Display, Use, or Gift It
Once completed, your moon dreamcatcher can serve as a whimsical focal point in your living room or child’s bedroom. Alternatively, it can make a heartfelt gift for birthdays, housewarmings, or special occasions.
Frequently Asked Questions
1. How long will this project take?
The DIY moon dreamcatcher should take about 1-2 hours, depending on your crafting pace.
2. Can I use real flowers instead of faux ones?
While you can use real flowers, they may wilt and require replacement, so faux flowers are recommended for a longer-lasting display.
3. What should I do if the twine isn’t secure?
Make sure to double knot the twine, and use hot glue to keep it firmly in place if needed.
4. Where can I hang my dreamcatcher?
You can hang it near a window, in a bedroom, or anywhere you want to add a touch of beauty and whimsy.
Conclusion
Creating a moon dreamcatcher is a fulfilling project that offers an opportunity to express your creativity. Not only does it result in beautiful decor, but it also brings a sense of accomplishment. If you’re looking for additional patterns to inspire your crafting journey, consider exploring the Macrame Moon Dreamcatcher Pattern – Etsy for even more ideas!
Print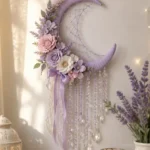
DIY Moon Dreamcatcher
- Total Time: 60 minutes
- Makes: 1 dreamcatcher
Description
Create a whimsical moon dreamcatcher that adds charm to your home decor using simple materials and easy-to-follow instructions.
Materials
- Embroidery hoop (12-inch)
- Twine or string
- Fabric or lace for moon shape
- Faux flowers
- Scissors
- Hot glue gun
- Embellishments (beads or feathers)
Instructions
- Prepare Your Materials: Gather all the materials required and ensure your workspace is clutter-free.
- Create the Moon Shape: Cut your fabric into a crescent moon and secure it to one side of the embroidery hoop with twine.
- Assemble the Dreamcatcher: Wrap additional twine around the hoop to create a web effect.
- Attach Faux Flowers: Use hot glue to attach faux flowers at the base of the moon.
- Add Embellishments: Decorate with beads or feathers for movement.
- Display Your Creation: Hang your dreamcatcher in a spot where it catches the light.
Notes
Ensure to work in a well-lit area and experiment with layouts before applying glue.