

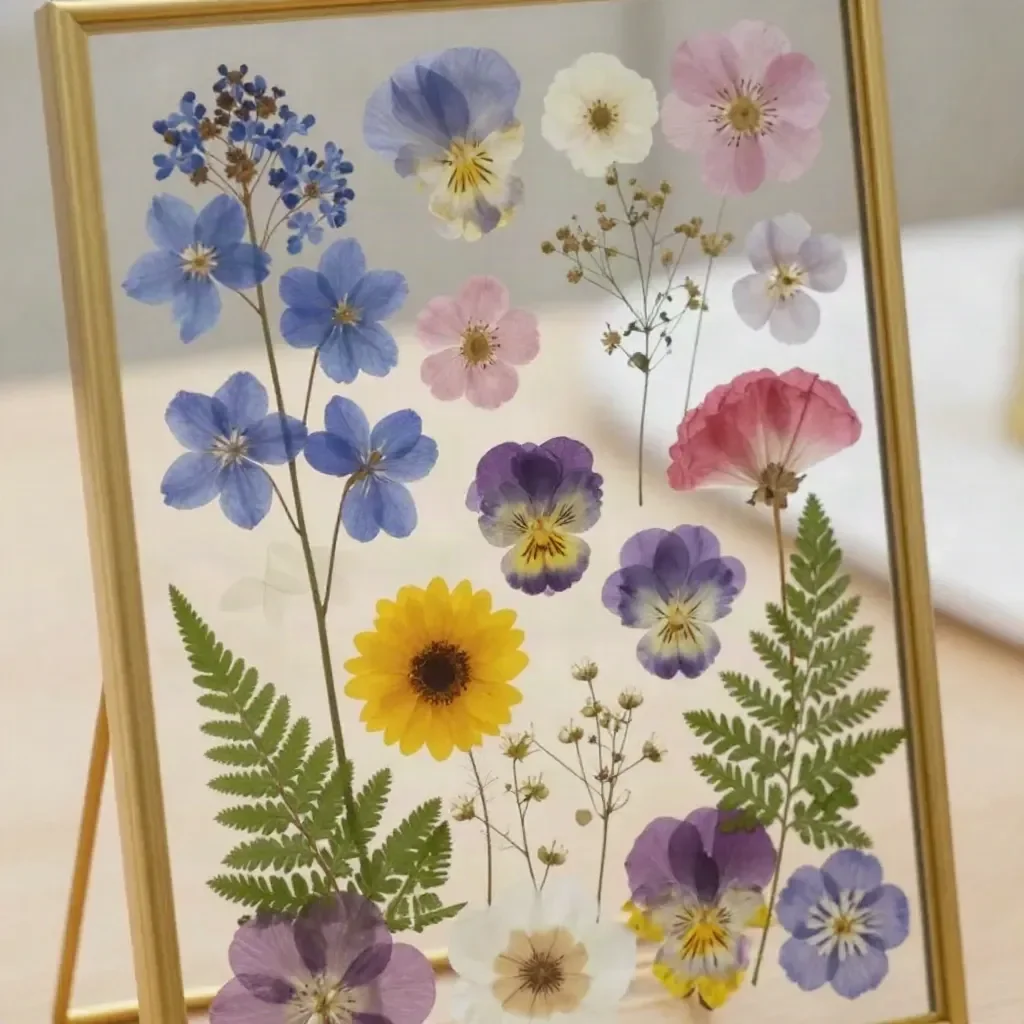
DIY Pressed Flower Glass Frame
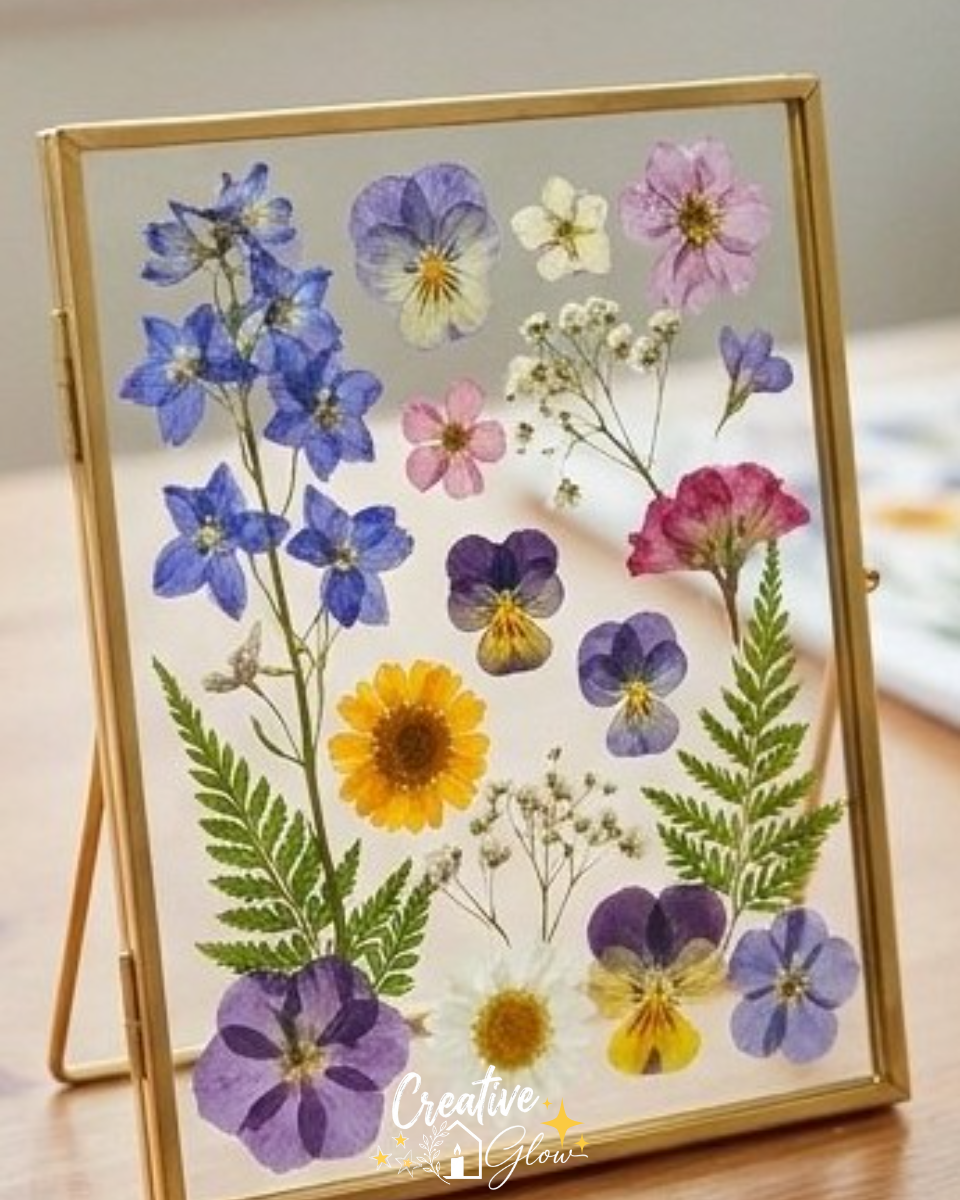
Create a stunning DIY pressed flower glass frame that beautifully showcases nature’s artistry right in your home. This project transforms preserved flowers into an elegant decor piece that brings color and life to any room. Utilizing a simple glass frame, you can highlight your favorite botanicals, whether they’re plucked from your garden or a special bouquet.
This frame not only makes a striking display but also offers a wonderful way to personalize your decor. It can adapt to different seasons, showcasing spring blooms or autumn leaves, keeping your space fresh and vibrant.
Why You’ll Love This Project
- Affordable Materials: The supplies needed are budget-friendly, making this an accessible DIY for everyone.
- Beginner-Friendly Process: Even if you’re new to crafting, you can easily complete this project.
- Customizable Finish: You can choose any flowers or arrangements that resonate with your aesthetic, making it uniquely yours.
- Attractive Display Possibilities: Perfect for any room, this frame adds a touch of elegance wherever it’s displayed.
- Seasonal Versatility: Easily switch out flowers to reflect the changing seasons or special occasions.
Materials and Supplies
- Two-piece glass frame
- Pressed flowers
- Tweezers
- Clear craft adhesive
- Hanging hardware
A Few Notes on Materials
When selecting your flowers, consider using those that dry well for pressing, such as daisies, pansies, or ferns. If you want to use multiple colors and varieties, think about how they’ll complement each other once framed.
How to Make DIY Pressed Flower Glass Frame
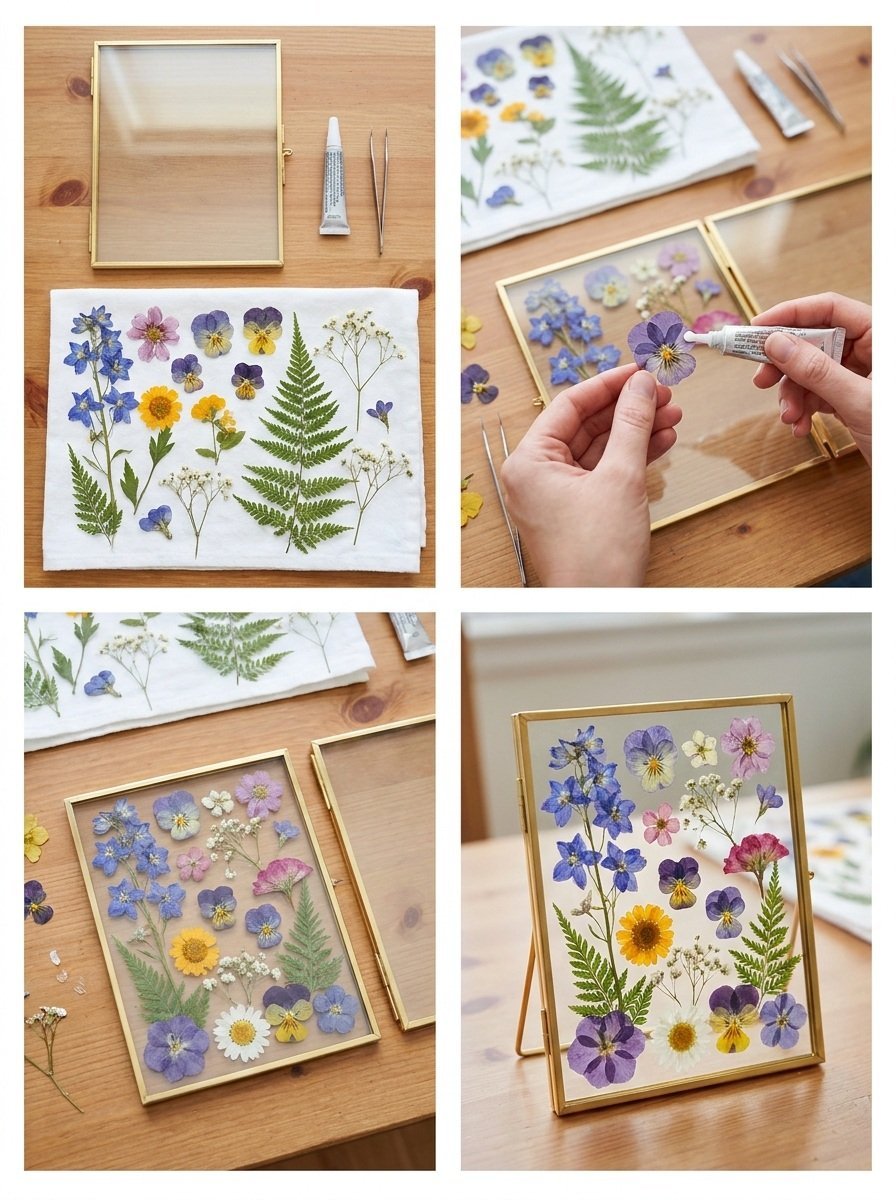
Step 1: Prepare Your Flowers
Begin by carefully pressing your flowers to preserve their shape and color. You can use a heavy book or a dedicated flower press. Make sure they are completely dry before you proceed.
Step 2: Arrange the Flowers
Open the glass frame and place one piece of glass on a clean surface. Start arranging your pressed flowers on the glass. Use tweezers for delicate adjustments, and experiment with different compositions until you are satisfied.
Step 3: Secure the Flowers
Once you’re happy with the layout, gently secure the flowers at necessary points using clear craft adhesive. Be mindful not to use too much glue, as this can detract from the flowers’ beauty.
Step 4: Close the Frame
Carefully place the second piece of glass over the flowers and close the frame securely. Ensure that it’s well sealed to prevent shifting.
Step 5: Hang and Display
Finally, attach the hanging hardware according to the frame’s design. Place your newly created art where it can catch natural light, enhancing the colors of the flowers.
Tips for a Cleaner, More Polished Finish
- Clean Glass: Wipe down the glass surfaces before starting to remove any dust or smudges for a clearer view.
- Don’t Overdo the Glue: Use just enough adhesive to hold the flowers in place without creating visible patches.
- Balanced Arrangement: Pay attention to the placement of flowers to ensure they are evenly distributed and visually appealing.
- Remove Air Bubbles: Gently press down on the flowers when closing the frame to eliminate any trapped air.
Ways to Customize It
- Color Palette: Choose flowers that reflect your home’s color scheme.
- Frame Finish: Spray-paint or stain the frame to match your decor style.
- Size Variations: Use larger or smaller frames to create a gallery wall effect.
- Seasonal Styling: Change the flowers for holidays, like using red and green for Christmas, or pastels for spring.
- Unique Hardware: Use decorative hooks or clips for a more artistic hanging method.
How to Style and Display It
Your pressed flower glass frame can be showcased in various places around your home. A few suggestions include:
- Entryway Table: Create a welcoming vibe as guests enter your home.
- Bookshelf: Adds a personal touch among your favorite novels or decor pieces.
- Mantel: A great way to celebrate the changing seasons with different arrangements.
- Office Desk: Bring a bit of nature into your workspace for added inspiration.
Consider varying object heights and grouping it with other decorative items for a cohesive look.
Care and Storage
To maintain the beauty of your pressed flower frame, keep it away from direct sunlight, as prolonged exposure can fade the flowers. For cleaning, simply wipe the glass with a soft, dry cloth.
Frequently Asked Questions
Can I use any type of flower?
While most flowers can be pressed, delicate ones like roses may not hold their shape well. Opt for those that maintain integrity after drying.
How do I press the flowers?
Place your flowers between two sheets of parchment paper and place them inside a heavy book or a dedicated flower press for about a week.
Can I substitute the hanging hardware?
Yes, feel free to use creative alternatives like twine or decorative ribbon for a unique look.
How often can I change the flowers?
You can change the flowers as often as you wish! Just ensure that the frame is clean and the glass is free from dust or debris.
Is it safe to hang in a bathroom?
It’s best to avoid humid environments, as moisture can damage the pressed flowers over time.
How do I store extra flowers?
If you have leftover pressed flowers, store them in a dry, cool place, preferably between layers of paper.
Conclusion
Creating a DIY pressed flower glass frame is a delightful way to incorporate nature into your home decor. You can explore various styles, colors, and arrangements to make each frame a personal statement piece. For inspiration, you might find helpful tips on crafting at this detailed guide on pressed flower frames. Enjoy your crafting journey!
Print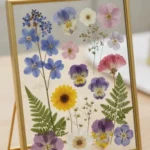
DIY Pressed Flower Glass Frame
- Total Time: 30 minutes
- Makes: 1 glass frame
Description
Create a stunning DIY pressed flower glass frame that beautifully showcases nature’s artistry right in your home.
Materials
- Two-piece glass frame
- Pressed flowers
- Tweezers
- Clear craft adhesive
- Hanging hardware
Instructions
- Prepare your flowers by pressing them to preserve their shape and color.
- Arrange the pressed flowers on one piece of glass, using tweezers for adjustments.
- Secure the flowers in place with clear craft adhesive, avoiding excess glue.
- Close the frame by placing the second piece of glass over the flowers.
- Hang the frame using the provided hanging hardware and display where it can catch natural light.
Notes
Ensure flowers are completely dry before arrangement; avoid direct sunlight for long-term display.