

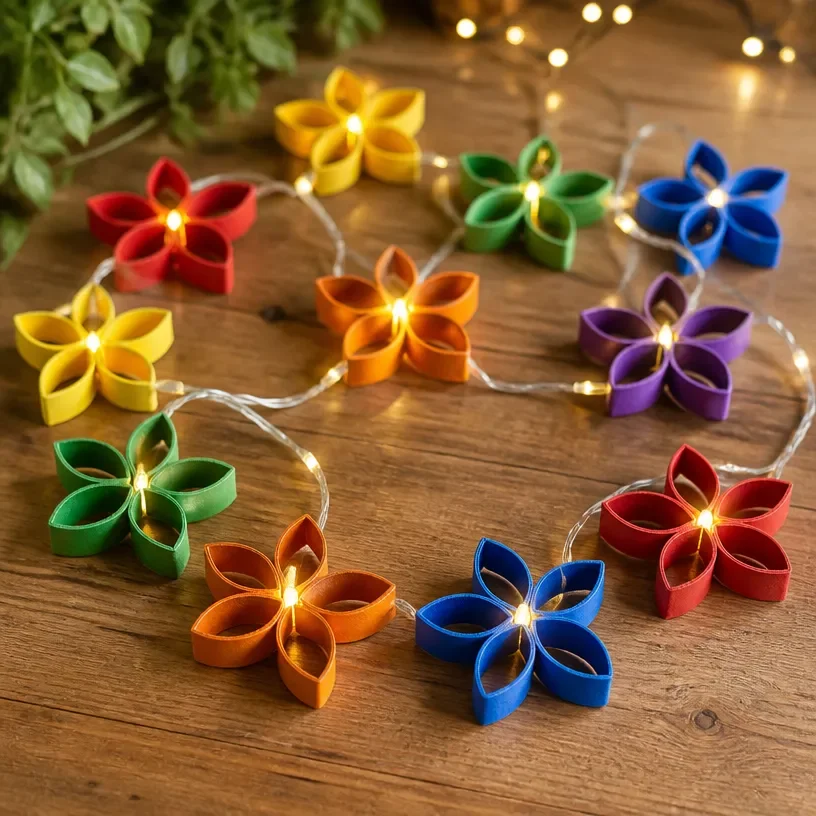
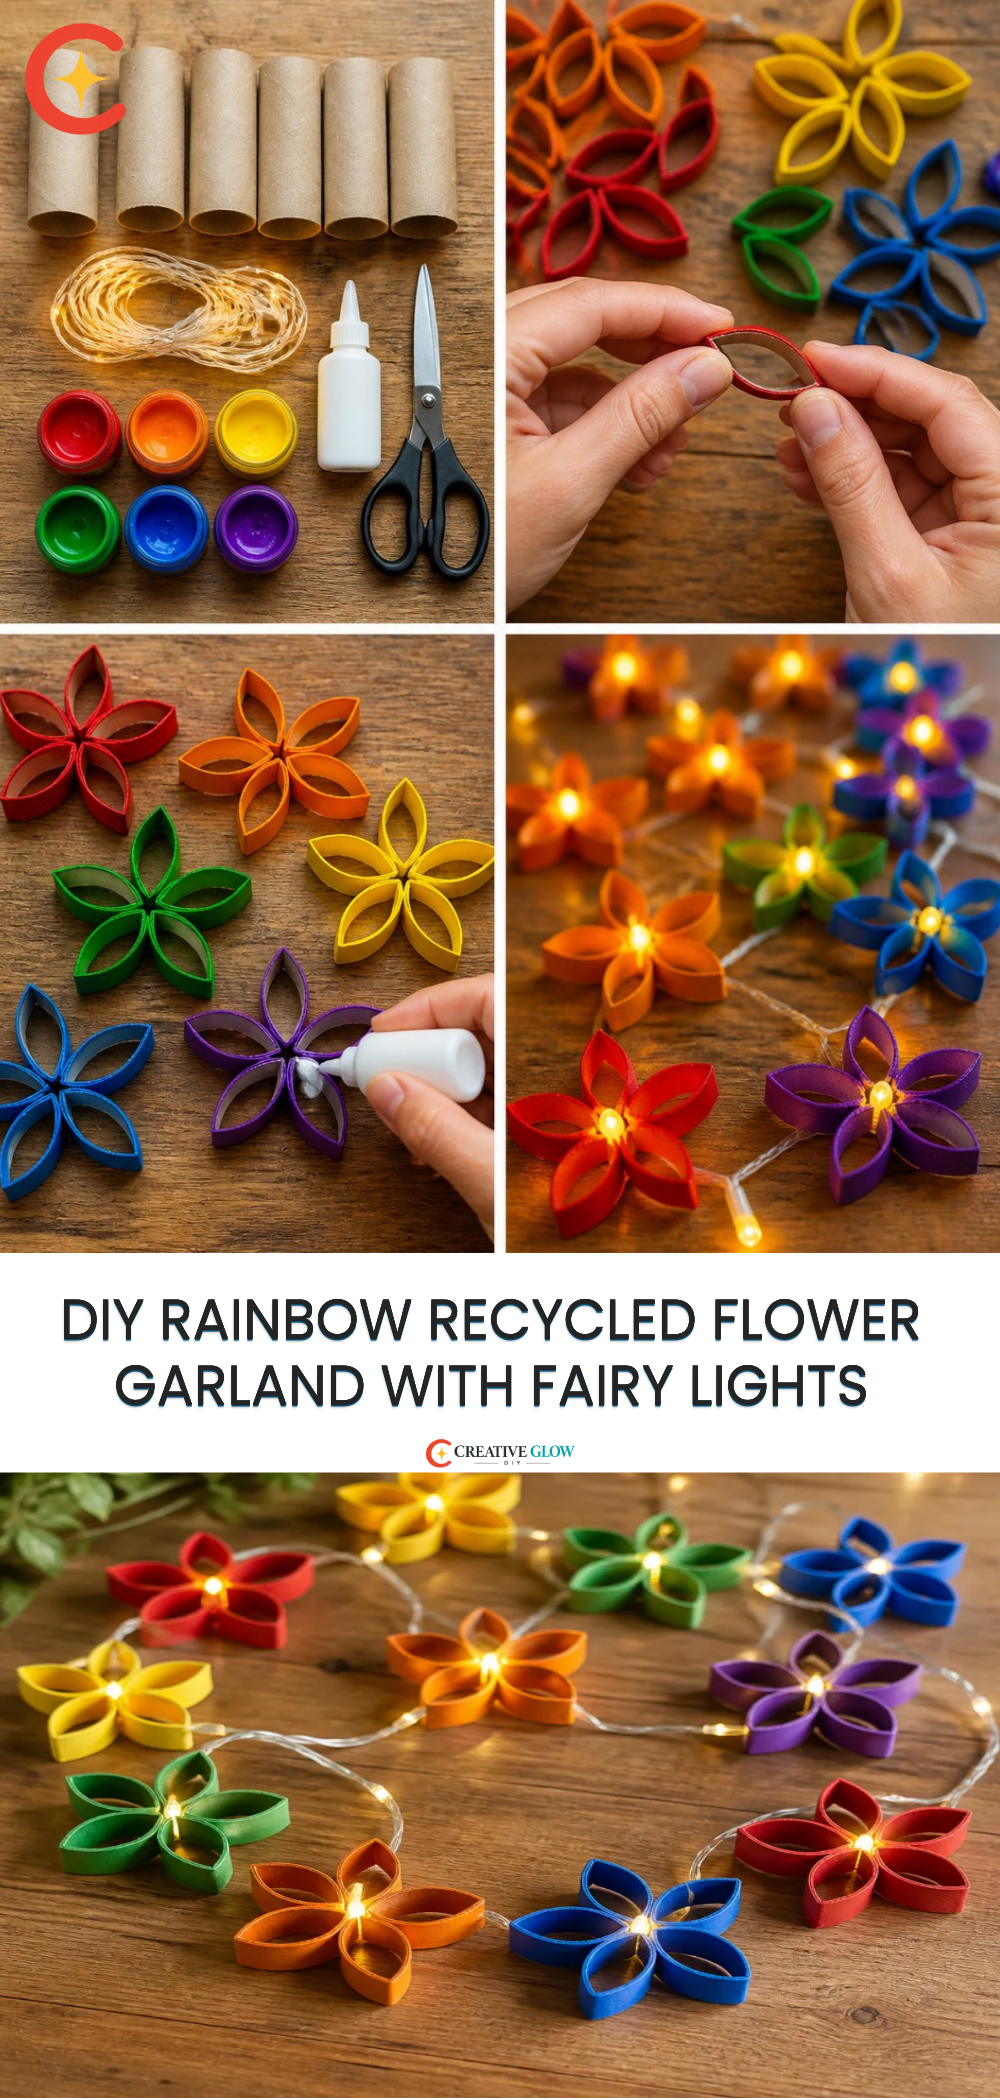
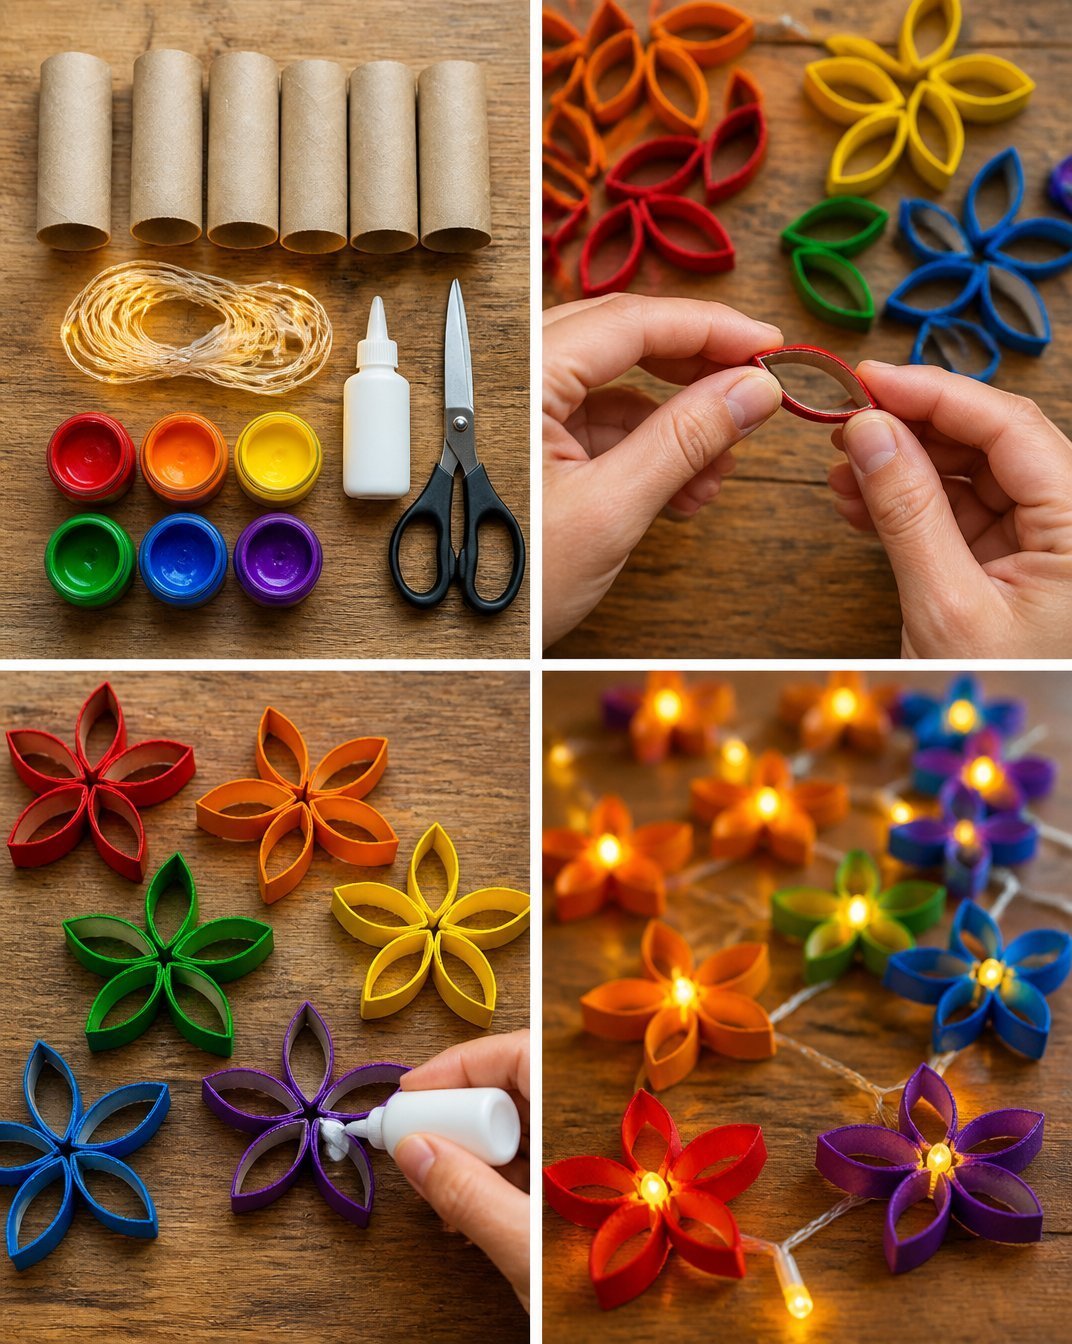
Creating a Rainbow Recycled Flower Garland with Fairy Lights brings a vibrant and whimsical touch to your home decor. This project transforms ordinary materials into something enchanting, perfect for brightening up any space. By using recycled bottles to create colorful flowers, you not only add a playful element but also contribute positively to the environment. Plus, incorporating fairy lights gives it a magical glow that can elevate your decor for any occasion. You may also find Diy Rainbow Butterfly Stakes Recycled Bottles useful.
In addition to the beautiful flowers, this project allows you to explore your creativity and customize your garland to fit your personal style. If you’re looking for an accessible DIY that brings a cheerful spirit to your decor, this is the perfect project for you. I often think that it’s an excellent companion to other colorful decor pieces, such as a rainbow vase, enhancing the overall theme.
Why You’ll Love This Project
- Affordable Materials: Using recycled bottles means you can create something beautiful without breaking the bank.
- Beginner-Friendly Process: The steps are straightforward and easy to follow, making it perfect for beginners.
- Creative Upcycling: This project gives a new life to materials that might otherwise be thrown away, promoting sustainability.
- Customizable Finish: You can choose any color scheme or flower design that suits your taste, making it uniquely yours.
- Attractive Display Possibilities: Once finished, the garland can transform any space, whether you hang it on a mantel or drape it along a wall.
You may also find Diy Rainbow Colored Recycled Bottle Garden Stakes useful.
Materials and Supplies
- Clear plastic bottles (assorted colors)
- Scissors
- Hot glue gun and glue sticks
- Twine or string for hanging
- Fairy lights (battery-operated is recommended)
- Acrylic paints (optional for added color)
- Paintbrushes (if using paint)
A few notes on materials
When selecting your plastic bottles, aim for a variety of colors to create a vibrant display. You can even paint some of the bottles if you want to achieve a specific color or pattern. Just ensure that any paint you use is compatible with plastic and doesn’t affect the bottle’s integrity.
How to Make Rainbow Recycled Flower Garland with Fairy Lights
Step 1: Prepare the Bottles
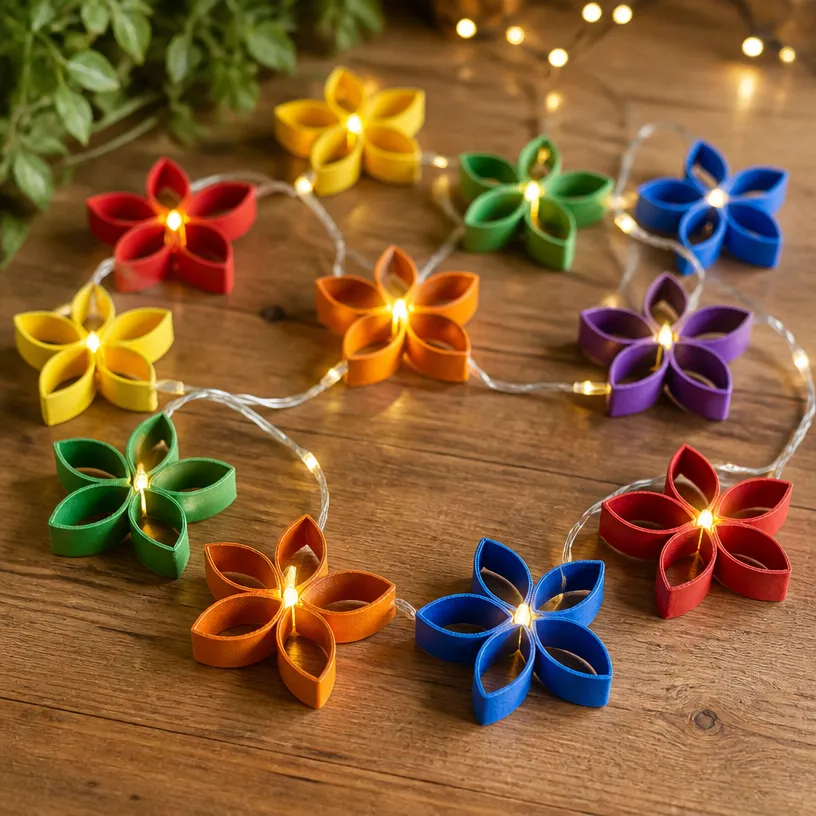
Start by cutting the plastic bottles into flower shapes. You can create a variety of flower designs by altering the cuts – some can have scalloped edges, while others can be simple petals.
Step 2: Color Your Flowers
If you decide to add paint for extra vibrancy, use acrylic paint to cover the cut edges or the entire flower surface. Allow them to dry completely before proceeding to the next step.
Step 3: Assemble the Flowers
Using a hot glue gun, attach the petals together to form each flower. You can add multiple layers for a fuller look if desired. Create as many flowers as you like to ensure your garland has enough coverage.
Step 4: Attach the Flowers to the Twine
Cut a length of twine or string to your desired garland length. Begin attaching the flowers by hot gluing them at intervals along the twine. Ensure they are spaced evenly and securely attached for a balanced look.
Step 5: Add Fairy Lights
Once the flowers are attached, weave fairy lights through the flowers, positioning them to highlight each bloom. If using battery-operated lights, ensure the battery pack is discreetly hidden within your arrangement.
Step 6: Hang and Enjoy
Decide where you’d like to display your garland on a wall, across a mantel, or draped over a window. Secure the twine to the wall or other surface using nails or decorative hooks.
Tips for a Cleaner, More Polished Finish
- Clean the bottle’s surface before painting to ensure good adhesion.
- When cutting the bottles, use sharp scissors for cleaner edges.
- Try to use colors that complement each other for a harmonious look.
- For a more whimsical design, consider varying the flower sizes and shapes.
Ways to Customize It
- Color Palette: Choose colors that match your room’s decor or seasonal themes.
- Shape Variations: Experiment with different flower shapes to create unique designs.
- Size Adjustments: Make some flowers bigger and some smaller for a more dynamic look.
- Additional Decorations: Consider adding leaves or butterflies to your garland for extra detail.
How to Style and Display It
This rainbow garland works beautifully in various spaces. You can display it on a mantel above the fireplace for a cozy look, adorn a child’s bedroom for an imaginative touch, or use it in the dining area to brighten up gatherings. I love to hang it from a wall where the light can catch the colors beautifully, creating a stunning visual effect.
Remember to arrange it in a way that varies the heights and widths for a more engaging display.
Frequently Asked Questions
What type of plastic bottles work best for this project?
Clear plastic bottles are ideal, but any colorful plastic bottles can also work well to create vibrant flowers.
Can I use different materials for the flowers?
Yes! While plastic bottles are great for this project, you can also use paper or fabric if you don’t have bottles available.
How do I safely use a hot glue gun?
Always be cautious while handling a glue gun, as it can get very hot. Use it on a heat-resistant surface and avoid direct contact with your skin.
How can I store this garland when not in use?
You can gently roll it up to store it, making sure not to crush any of the flowers. Alternatively, you can hang it in a closet or storage area.
Conclusion
Creating a Rainbow Recycled Flower Garland with Fairy Lights not only enhances your decor but also allows you to express your creativity. This project is a wonderful way to use upcycled materials, and it makes a charming addition to any space. For more inspiration with similar materials, consider checking out this guide on DIY Floral Fairy Lights from Upcycled Plastic Bottles.
Print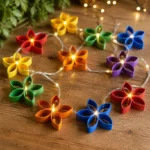
Rainbow Recycled Flower Garland with Fairy Lights
- Total Time: 15 minutes
- Makes: 1 garland
Description
Transform ordinary recycled bottles into vibrant flowers with fairy lights for a whimsical home decor piece.
Materials
- Clear plastic bottles (assorted colors)
- Scissors
- Hot glue gun and glue sticks
- Twine or string for hanging
- Fairy lights (battery-operated recommended)
- Acrylic paints (optional)
- Paintbrushes (if using paint)
Instructions
- Prepare the bottles by cutting them into flower shapes.
- Color your flowers with acrylic paint if desired, and let them dry.
- Assemble the flowers using hot glue to attach the petals.
- Attach the flowers to the twine, spacing them evenly.
- Add fairy lights, weaving them through the flowers.
- Hang your garland and enjoy your colorful decoration.
Notes
For cleaner edges, use sharp scissors, and consider varying flower sizes for visual interest.