

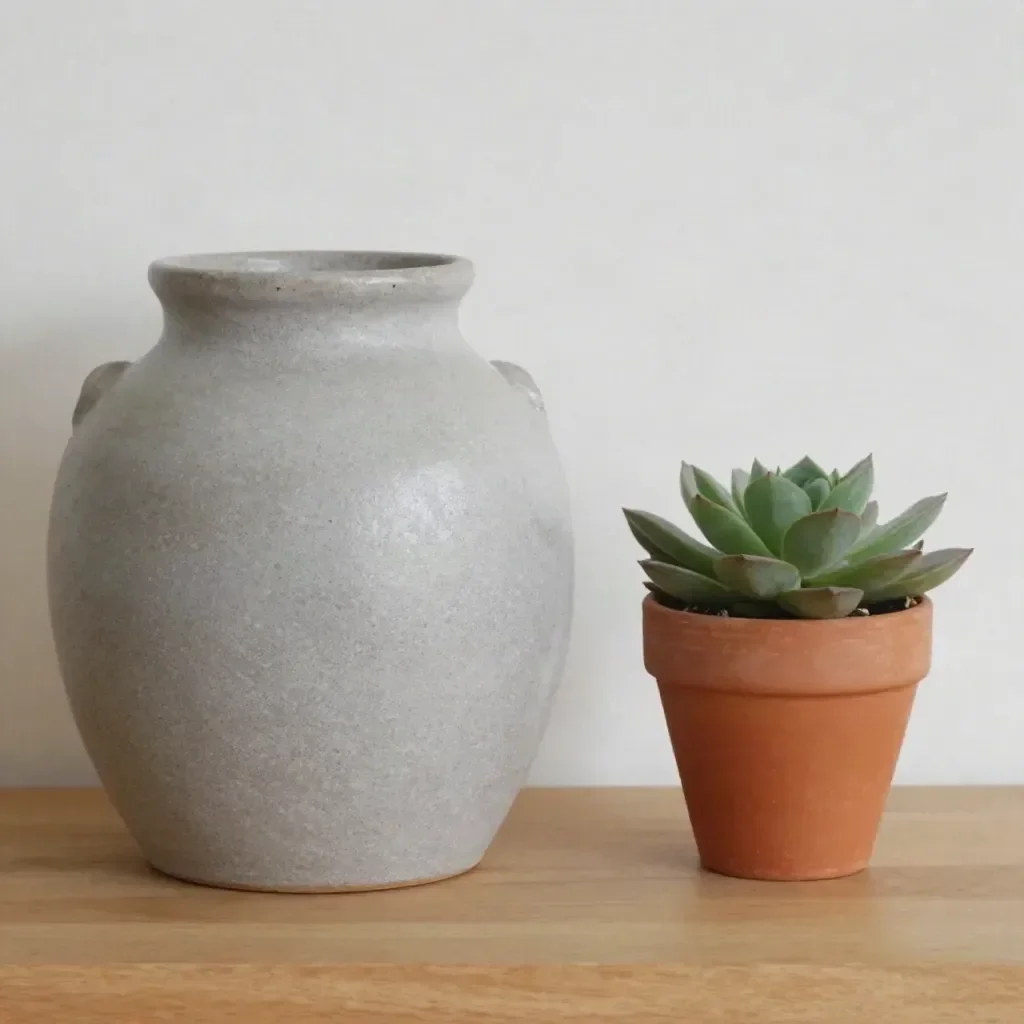
Thrifted Ceramic Vase Stone-Finish Makeover
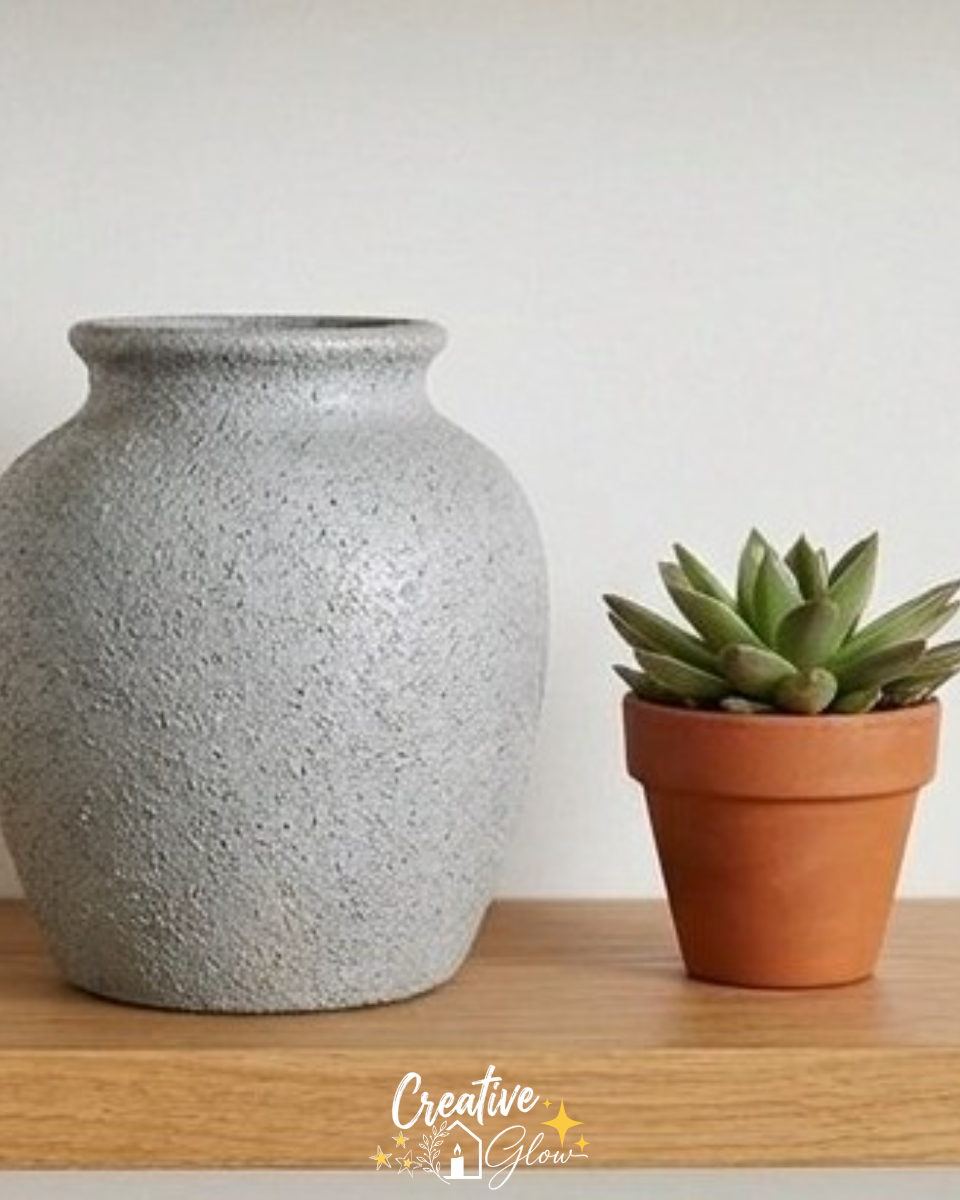
Transforming a thrifted ceramic vase into an elegant stone-finish accent is a rewarding project that adds a touch of personalized decor to your home. This makeover utilizes a few simple materials and techniques to create a stylish piece that fits seamlessly into any room. By applying a textured paint finish, we’ll elevate a plain vase into a high-end-looking décor item that you’ll be proud to display.
Not only does this project allow for budget-friendly creativity, but it also encourages upcycling, making it a great choice for environmentally conscious DIY enthusiasts. Plus, the finished vase can serve multiple decorative purposes, whether used alone or styled with seasonal arrangements.
Why You’ll Love This Project
- Affordable Materials: All you need is a thrifted vase and some basic supplies, making this a budget-friendly project.
- Beginner-Friendly Process: The steps are simple and easy to follow, perfect for anyone new to DIY.
- Useful Upcycling: This project turns an overlooked item into a beautiful, functional piece for your home.
- Customizable Finish: You can choose different colors and textures, ensuring your vase is unique to your style.
- Attractive Display Possibilities: The finished vase enhances any room’s aesthetic and can suit various styles and seasons.
Materials and Supplies
- Thrifted ceramic vase
- Primer appropriate for the surface
- Matte paint
- Texture medium
- Brush
A Few Notes on Materials
When selecting a vase, look for one with a shape and size that suits your intended display area. Ensure it’s clean and free of any previous paint or glossy finishes, which may require more preparation. For the best texture effect, consider using a matte paint that pairs well with the texture medium.
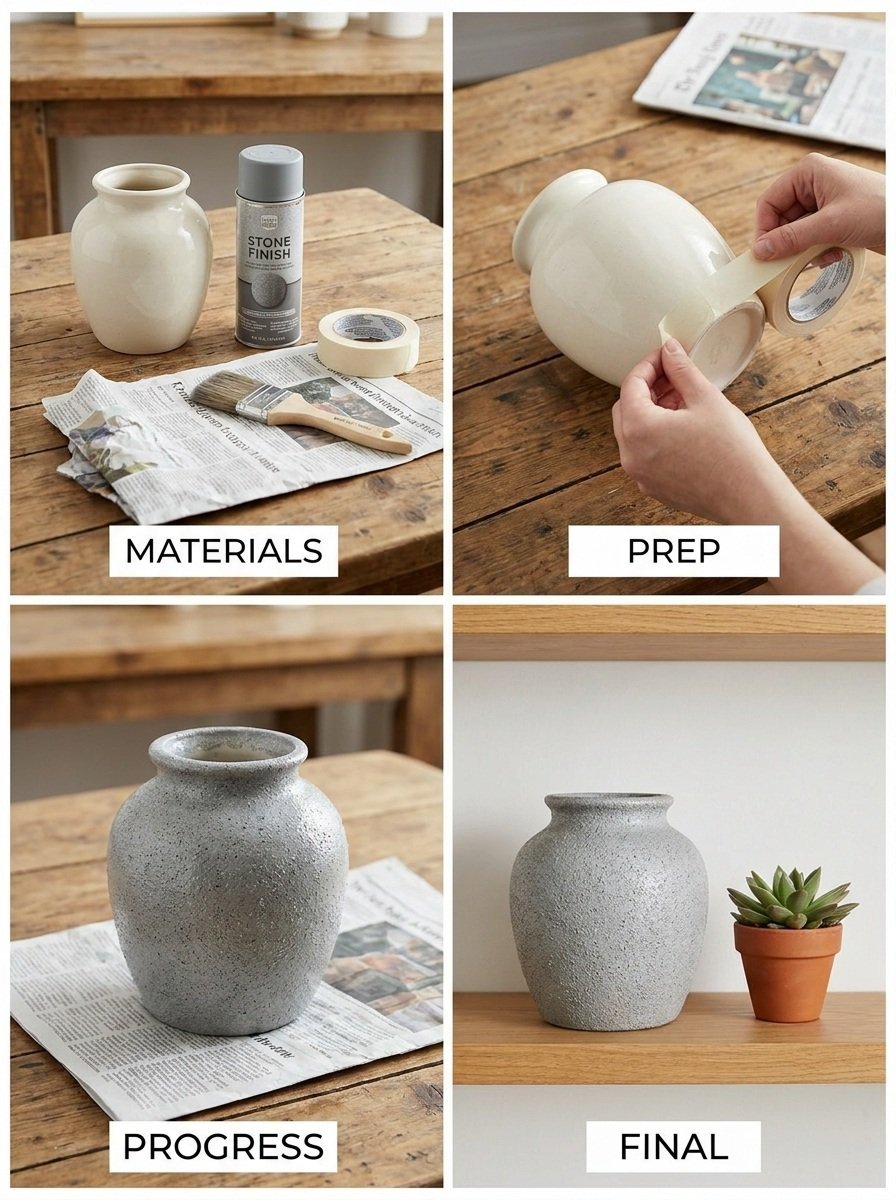
How to Make Thrifted Ceramic Vase Stone-Finish Makeover
Step 1: Clean the Vase
Begin by cleaning the vase thoroughly to remove any dust, dirt, or residue. This will help the primer and paint adhere better. Use soapy water and a sponge, then rinse and allow it to dry completely.
Step 2: Prime if Required
Check if your vase requires a primer. If the surface is glossy or if you’re using a paint that doesn’t adhere well directly, apply a suitable primer according to manufacturer instructions. Let the primer cure completely before proceeding.
Step 3: Apply a Textured Paint Finish
Using a brush, apply a textured medium mixed with your chosen matte paint. Start at the top and work your way down the vase, ensuring even coverage. Don’t worry about perfection; the organic texture is part of the charm.
Step 4: Build Thin Layers Until Balanced
Once the first coat is dry, apply additional layers as needed to achieve the desired look. Allow each layer to dry thoroughly before adding the next one, as this will help you build a balanced and rich texture.
Step 5: Let it Cure and Style as a Neutral Accent
After achieving the desired finish, let the vase cure following the paint and texture medium’s instructions. Once cured, you can begin styling it as a neutral accent in your home, be it on a table, shelf, or console.
Tips for a Cleaner, More Polished Finish
- Surface Preparation: Ensure the vase is clean and free of any glossy finishes before beginning.
- Even Paint Application: Use a consistent amount of medium on your brush to maintain an even texture.
- Clean Edges: If necessary, use painter’s tape along the rim to achieve clean edges where the vase meets the surface.
- Allow Finishes to Dry Properly: Patience is key; ensure each layer dries as per the manufacturer’s recommendations for the best results.
Ways to Customize It
- Color Palette: Experiment with different colors to match your home decor.
- Finish: Consider adding a gloss or satin top coat for a slicker finish.
- Decorative Details: You could add embellishments like beads or twine to enhance the design.
- Size: Use larger or smaller vases to create a collection that can be arranged together for visual interest.
- Seasonal Styling: Change out the arrangement inside the vase for different seasons or holidays for a fresh look.
How to Style and Display It
This vase can work beautifully in several locations throughout your home. Consider displaying it on a shelf in your living room, a mantelpiece, or as a centerpiece on your dining table. Pair it with other decorative elements like books or candles for an engaging display. When grouping items, try varying their heights and placing them in odd numbers to create visual balance and interest.
Care and Storage
Keep your vase clean by dusting it regularly with a soft cloth. If it gets dirty, use a damp cloth to wipe it down gently. When displaying it, be mindful of where you place it to avoid breakage, especially if it’s in a high-traffic area.
Frequently Asked Questions
Can I use any type of vase for this project?
Yes, but it’s best to choose a ceramic vase, as the texture medium adheres better to non-glossy surfaces.
How do I choose the right texture medium?
Look for a medium specifically designed for use with paints, which can provide a good finish and adhere well to ceramic.
What if I want a different color but can’t find the right shade?
You can mix paints to achieve a custom color that suits your decor. Just make sure to test the mix on a small area first.
How long should I let the vase cure before use?
Always follow the instructions on the paint and texture medium for curing times to ensure durability.
Can I add other embellishments to the vase after painting?
Absolutely! You can use decorative stones, dried flowers, or fabric elements to enhance your piece further.
Is the finished vase waterproof?
While the paint and medium are designed for decor, they are not inherently waterproof. Avoid placing water directly in the vase if it’s intended for flowers.
Conclusion
This Thrifted Ceramic Vase Stone-Finish Makeover is not just a wonderful crafting experience but allows for a personalized touch in your home decor. For more creative ideas similar to this project, check out this inspiring DIY tutorial that can guide you through making beautiful, textured decor. Happy crafting!
Print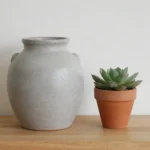
Thrifted Ceramic Vase Stone-Finish Makeover
- Total Time: 0 minutes
- Makes: 1 decorative vase
Description
Transform a thrifted ceramic vase into an elegant stone-finish accent using simple materials and techniques, perfect for personalized home decor.
Materials
- Thrifted ceramic vase
- Primer appropriate for the surface
- Matte paint
- Texture medium
- Brush
Instructions
- Clean the vase thoroughly to remove any dust, dirt, or residue.
- Check if your vase requires a primer and apply it if necessary.
- Using a brush, apply a textured medium mixed with your chosen matte paint.
- Once the first coat is dry, apply additional layers as needed.
- Let the vase cure following the paint and texture medium’s instructions.
Notes
Ensure the vase is clean and free of glossy finishes. Use painter’s tape for clean edges if necessary.