

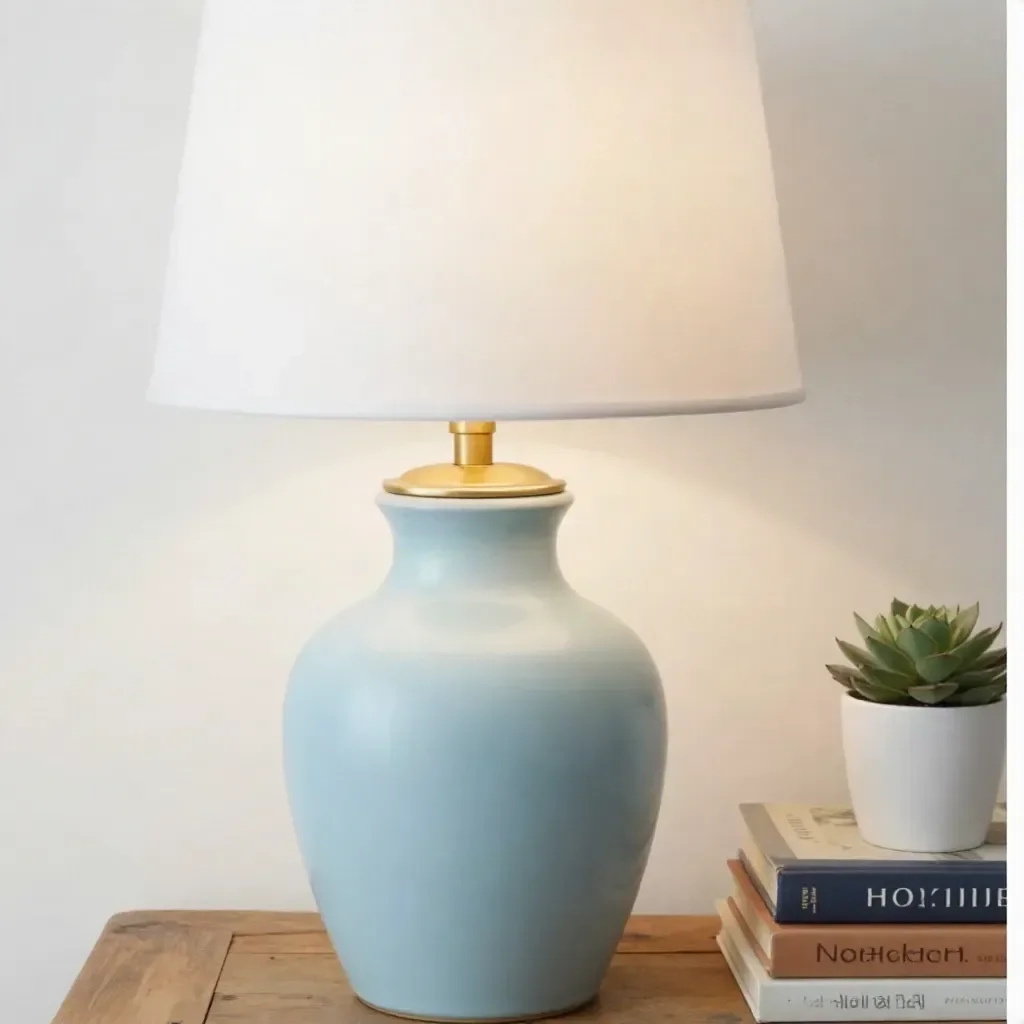
Thrifted Lamp Base Makeover
This project focuses on breathing new life into a secondhand lamp base with a fresh coat of paint and a stylish new lampshade. It’s an affordable and sustainable way to revamp your decor while integrating a touch of your unique style into your home. This lamp makeover is not just a practical task; it’s a chance to express your creativity through budget-friendly DIY.
A thrifted lamp can become a striking focal point in any room when updated with a pop of color and a chic lampshade. The process is simple and beginner-friendly, making it a great weekend project to elevate your home decor.
Why You’ll Love This Project
- Affordable materials: Using thrifted items keeps the costs low while adding personality to your space.
- Beginner-friendly process: The steps are straightforward, making it possible for even novice DIYers to achieve great results.
- Useful upcycling: This project reduces waste by reusing items that might otherwise be discarded.
- Customizable finish: You can tailor the colors and styles to suit your home decor preferences.
- Attractive display possibilities: The finished lamp can be showcased in various rooms, enhancing the overall aesthetic.
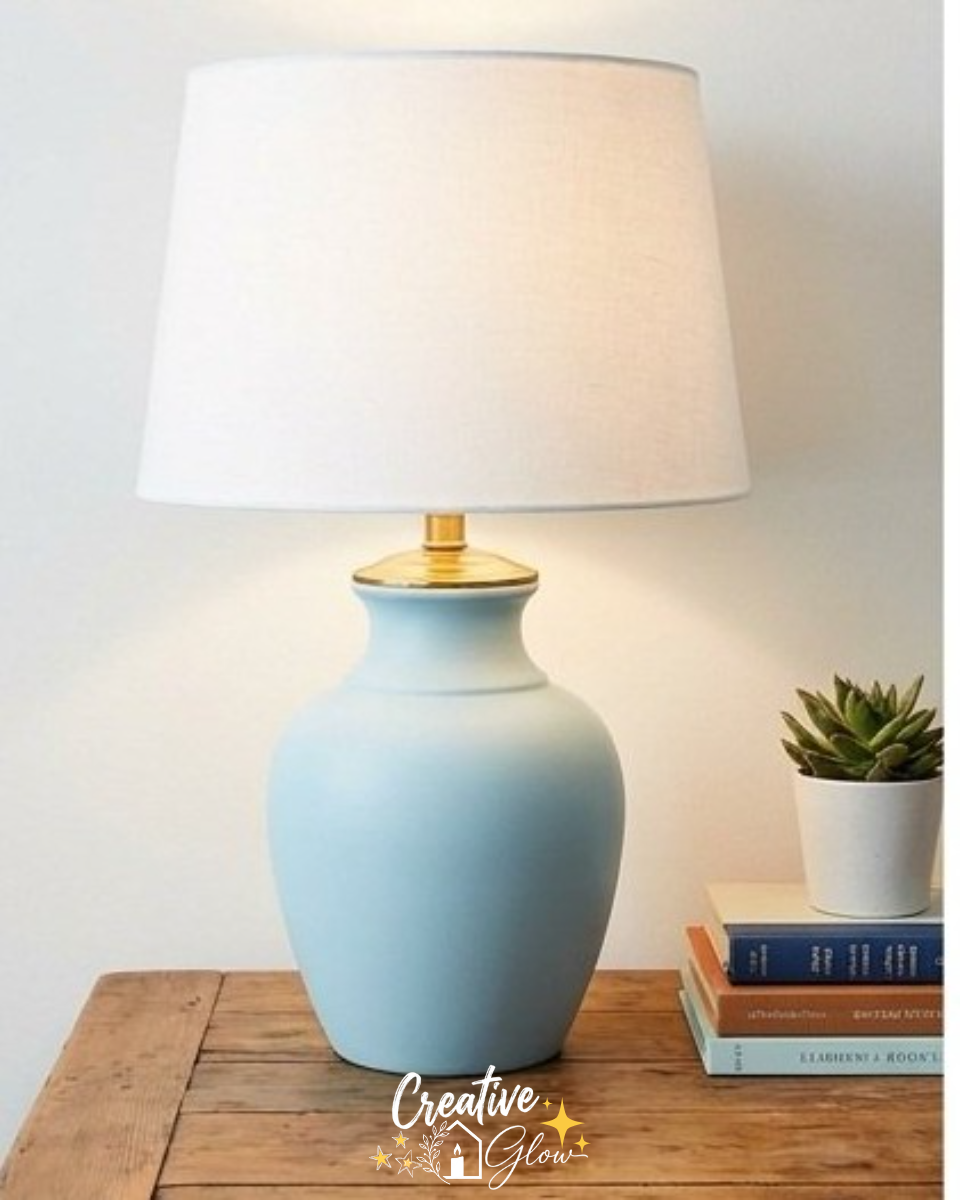
Materials and Supplies
- Secondhand lamp
- Painter’s tape
- Surface-appropriate primer
- Paint
- New lampshade
A few notes on materials: When selecting paint, consider using a spray paint for an even finish, or a brush-on paint if you prefer more control for detailed areas. Ensure the primer is compatible with the lamp material to achieve the best adhesion.
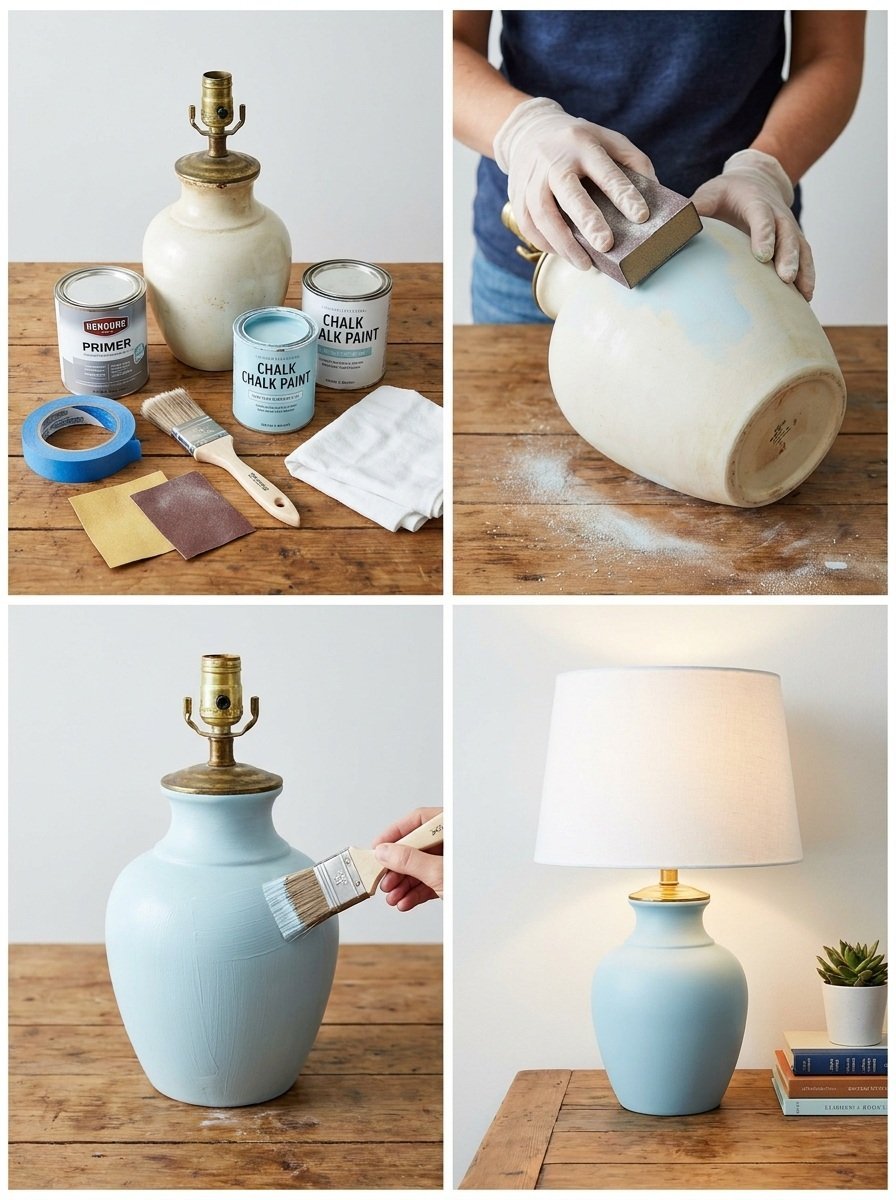
How to Make Thrifted Lamp Base Makeover
Step 1: Unplug and Disassemble
First, unplug the lamp and carefully remove the shade and bulb. This ensures safety while working on the lamp base.
Step 2: Protect Electrical Components
Use painter’s tape to cover any areas that shouldn’t be painted, particularly around the socket and other electrical components. This will help prevent paint from getting on surfaces that need to stay intact.
Step 3: Clean the Lamp Base
Thoroughly clean the exterior decorative surface of the lamp to remove dust and grime. This will help the primer and paint adhere better.
Step 4: Prime the Lamp Base
Apply a surface-appropriate primer to the lamp base according to the product instructions. A primer helps the paint stick and improves the finish. Allow it to dry completely.
Step 5: Paint the Lamp Base
Using paint, apply an even coat over the primed surface. Depending on the desired color vibrancy, you may need to apply multiple coats, allowing each coat to dry as per the manufacturer’s instructions.
Step 6: Reassemble
Once the paint has dried completely, reassemble the lamp without modifying any electrical components, ensuring everything snaps back into place as it was.
Tips for a Cleaner, More Polished Finish
- Surface preparation: Ensuring the lamp is clean and smooth will lead to a more even paint application.
- Even paint application: Use smooth strokes and try to maintain a consistent distance from the surface while spraying or brushing.
- Clean edges: Be careful with the painter’s tape to avoid paint bleeding; ensure it’s well-pressed down.
- Let each layer dry: Following drying times as per the product labels will improve durability and finish quality.
Ways to Customize It
- Color palette: Choose colors that complement your existing decor, whether it’s bold and bright or soft and neutral.
- Finish: Experiment with different paint finishes, such as matte, gloss, or satin, to see what enhances your lamp base best.
- Decorative details: Consider adding stencils or painter’s tape designs for a unique flair.
- Size consideration: If your lamp base feels too small, consider using a larger lampshade to balance the proportions.
How to Style and Display It
Once your lamp is complete, find the perfect spot for it in your home. Here are a few ideas:
- Coffee table: Use it to brighten up your living area.
- Nightstand: Create a cozy atmosphere by placing the lamp beside your bed.
- Entryway: A stylish lamp can provide a warm welcome when guests enter your home.
- Bookshelves: Mix functional decor with aesthetic appeal by incorporating your lamp into a bookshelf display.
To style effectively, vary the heights of items around the lamp, group them in odd numbers, and balance decorative with functional pieces to create a cohesive look.
Care and Storage
To keep your lamp looking fresh, dust it gently with a soft cloth as needed. Avoid using harsh chemicals on the painted surface to prevent damaging the finish.
Frequently Asked Questions
What kind of paint should I use?
Select a paint that is suitable for the lamp material, such as spray paint or acrylic designed for crafts.
Can I customize the colors?
Absolutely! Feel free to use any colors that coordinate with your existing decor.
How do I ensure the paint adheres well?
Priming the surface before painting helps significantly with adhesion.
What if my primer/paint takes longer to dry?
Follow the manufacturer’s instructions for drying times as they can vary based on the product used.
Is it safe to use the lamp after painting?
Yes, as long as you follow the assembly steps correctly and allow all paint to cure properly according to the instructions.
Conclusion
Transforming a thrifted lamp base into a chic decorative piece is both satisfying and practical. This affordable DIY project allows for customization and creativity while promoting sustainable practices. For even more inspiration on lamp makeovers, check out these five thrifted lamp makeover ideas. Happy crafting!
Print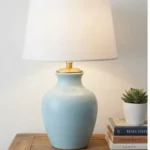
Thrifted Lamp Base Makeover
- Total Time: 75 minutes
- Makes: 1 completed lamp
Description
Breath new life into a secondhand lamp base with a fresh coat of paint and a stylish new lampshade.
Materials
- Secondhand lamp
- Painter’s tape
- Surface-appropriate primer
- Paint
- New lampshade
Instructions
- Unplug and disassemble the lamp, removing the shade and bulb.
- Use painter’s tape to protect electrical components from paint.
- Clean the lamp base to ensure better adhesion of primer and paint.
- Apply a surface-appropriate primer according to product instructions.
- Paint the lamp base, applying even coats as necessary.
- Reassemble the lamp once the paint has dried completely.
Notes
Ensure the primer is compatible with the lamp material for the best adhesion. Use various paint finishes to see which looks best.