

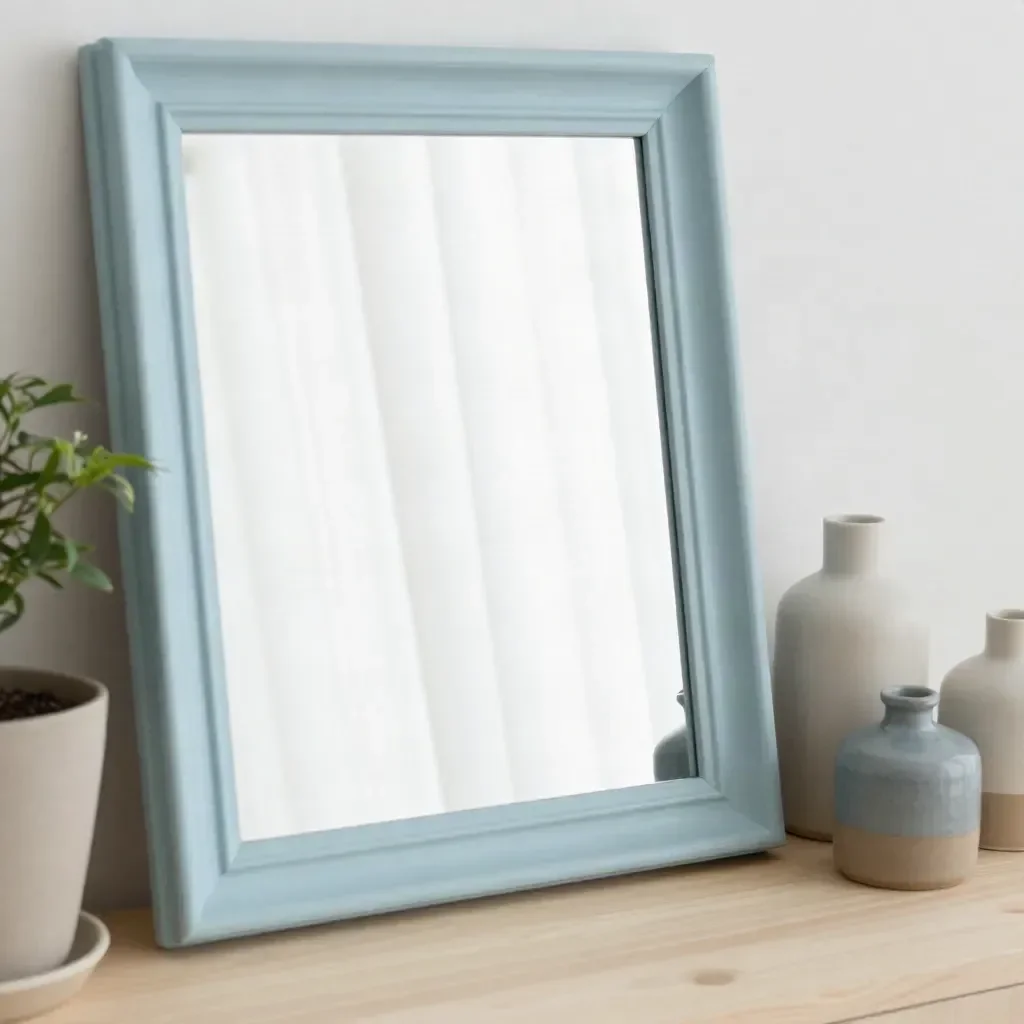
The Thrifted Mirror Modern Makeover is a simple yet transformative DIY project perfect for anyone looking to elevate their home decor without breaking the bank. With a few affordable materials and some light craftsmanship, you can turn an overlooked thrifted mirror into a stylish piece that enhances any room. This project not only brings a modern touch, but it also promotes upcycling, making it a great choice for environmentally-conscious decorators.
The beauty of this project lies in its versatility. Whether you prefer bold color choices or muted tones, the finished product can seamlessly integrate into various design aesthetics. Plus, this makeover allows you to personalize a piece that reflects your style, making it an ideal addition to your home.
Why You’ll Love This Project
- Affordable materials: You don’t need to spend a lot on supplies; thrifted mirrors are typically budget-friendly.
- Beginner-friendly process: With just a few steps, this makeover is perfect for DIY novices.
- Useful upcycling: Breathe new life into an old piece while embracing a sustainable approach.
- Customizable finish: Choose your colors and techniques for a result that’s uniquely yours.
- Attractive display possibilities: The finished mirror can enhance a variety of spaces from entryways to living rooms.
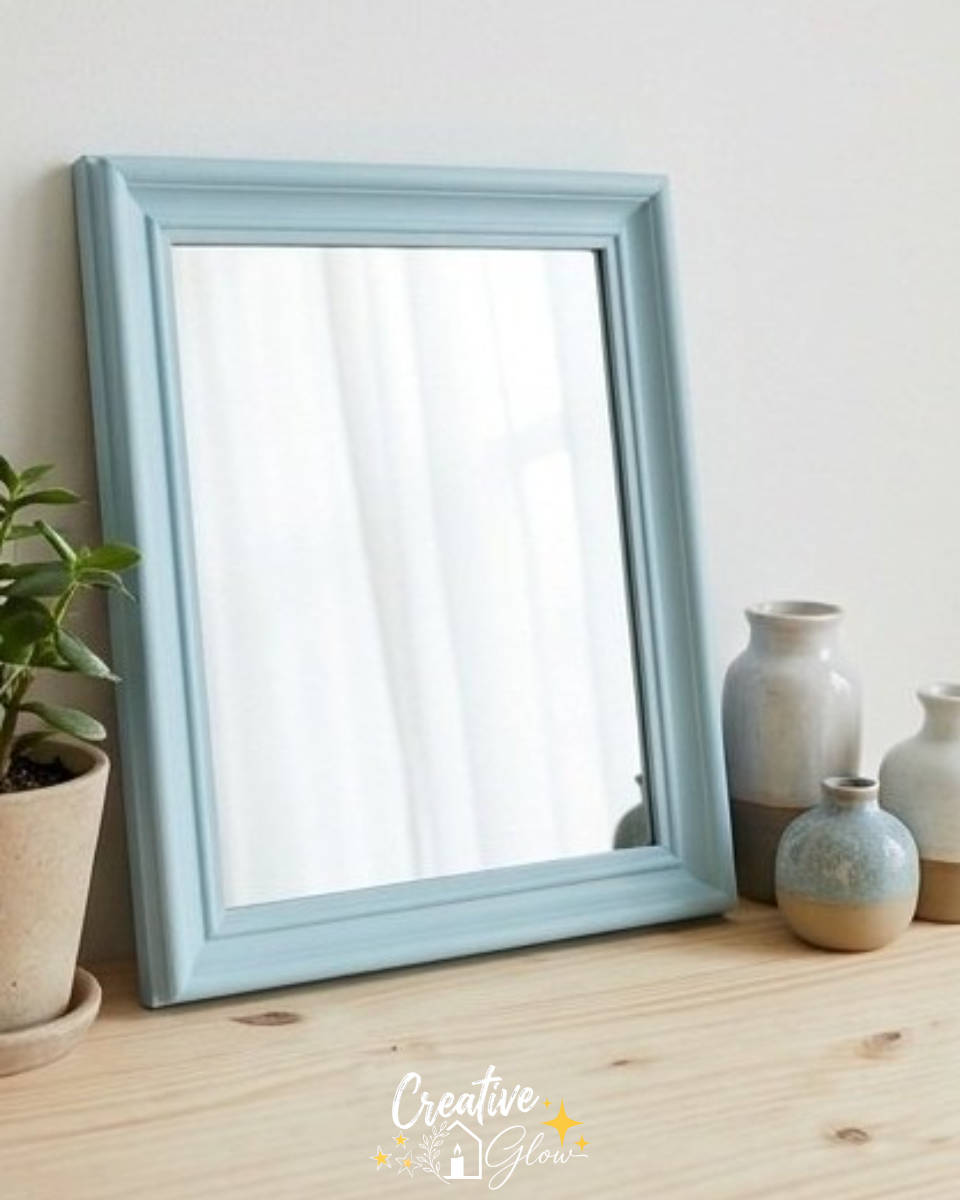
Materials and Supplies
- Thrifted framed mirror
- Painter’s tape
- Surface-appropriate primer
- Paint (your choice of color)
- Brush
A few notes on materials
When selecting paint, consider using a spray or acrylic paint for easier application and a smoother finish. Make sure the primer is compatible with the material of the mirror frame for optimal adhesion.
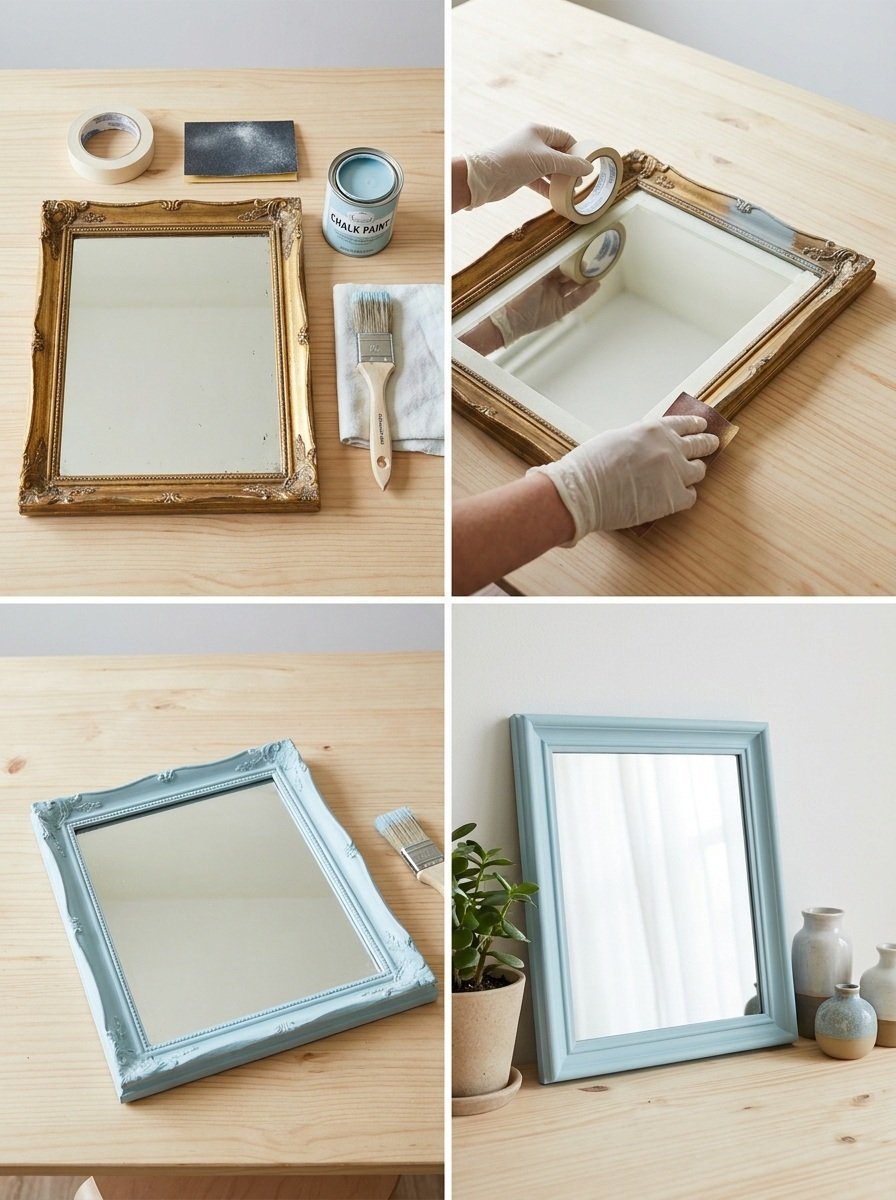
How to Make Thrifted Mirror Modern Makeover
Step 1: Clean the Mirror
Begin by thoroughly cleaning the mirror and frame with a glass cleaner. This removes any dust or residues that may interfere with the paint’s adhesion.
Step 2: Protect the Mirror
Use painter’s tape to protect the mirror itself. Apply the tape around the edges where the frame meets the glass to ensure clean lines and prevent paint from getting on the mirror surface.
Step 3: Prepare the Frame Surface
Lightly sand the frame if necessary to create a rough surface for better primer and paint adhesion. Wipe away any dust from sanding with a damp cloth.
Step 4: Apply Primer
Apply a surface-appropriate primer to the frame, ensuring even coverage. This step is key to achieving the best finish. Allow it to dry according to the manufacturer’s instructions.
Step 5: Paint the Frame
Once the primer is dry, apply your chosen paint using a brush. Aim for an even coat and allow the first layer to dry completely before applying a second layer, if needed.
Step 6: Remove Masking
After the paint has set appropriately, carefully remove the painter’s tape. Take your time to ensure you do not pull any paint off with it.
Tips for a Cleaner, More Polished Finish
- For cleaner edges, press the tape down firmly and check for any gaps before painting.
- Apply multiple thin coats of paint rather than one thick coat to avoid drips.
- Allow proper drying time between each layer for a better finish and durability.
- If using a spray paint, work in a well-ventilated area and use protective gear.
Ways to Customize It
- Color palette: Experiment with trendy colors like navy blue, matte black, or pastel shades for a modern spin.
- Finish: Consider a matte, satin, or glossy finish depending on your decor style.
- Decorative details: Add accents like stenciling or distressing techniques for vintage flair.
- Size: Adjust the frame by combining smaller mirrors for a unique gallery wall look.
- Arrangement: Hang the mirror at varying heights with other wall art for dynamic visual interest.
How to Style and Display It
The newly made-over mirror can be displayed in several areas of your home for maximum effect. Place it in an entryway to create a welcoming feel, on a console table as part of a vignette, or above a fireplace mantel for added depth. For effective styling, consider grouping the mirror with other decor pieces of varying heights, and ensure there’s a cohesive color scheme to tie everything together.
Care and Storage
To keep your thrifted mirror looking its best, clean the glass with a gentle glass cleaner. If it’s a painted frame, dust it regularly and avoid harsh chemical cleaners that might damage the paint.
Frequently Asked Questions
Can I use any type of paint for the frame?
It’s best to choose a paint suitable for the material of your frame. Acrylic or spray paint works well.
What if my thrifted mirror has a lot of defects?
If the frame has significant blemishes, consider filling them with wood filler before sanding and painting.
How long does this project take?
The total time varies based on paint drying times, but plan for at least a couple of hours, including drying time.
Can I change the mirror’s shape or design?
Yes, as long as you have the right tools, altering the shape can be part of your customization process.
How should I hang my finished mirror?
Use appropriate wall anchors and hooks for the weight of your mirror, and be sure to hang it securely.
Is it safe to use a thrifted mirror?
Yes, just ensure the glass is intact and the frame is stable before hanging it.
Conclusion
This Thrifted Mirror Modern Makeover project is a wonderful way to refresh your decor on a budget. If you’re looking for more creative ideas, you might also enjoy learning about a dark green dresser and thrifted mirror makeover, which can provide additional inspiration for your DIY endeavors. Remember, personalizing your space with thrifted finds not only beautifies your home but also allows you to express your unique style. Happy crafting!