

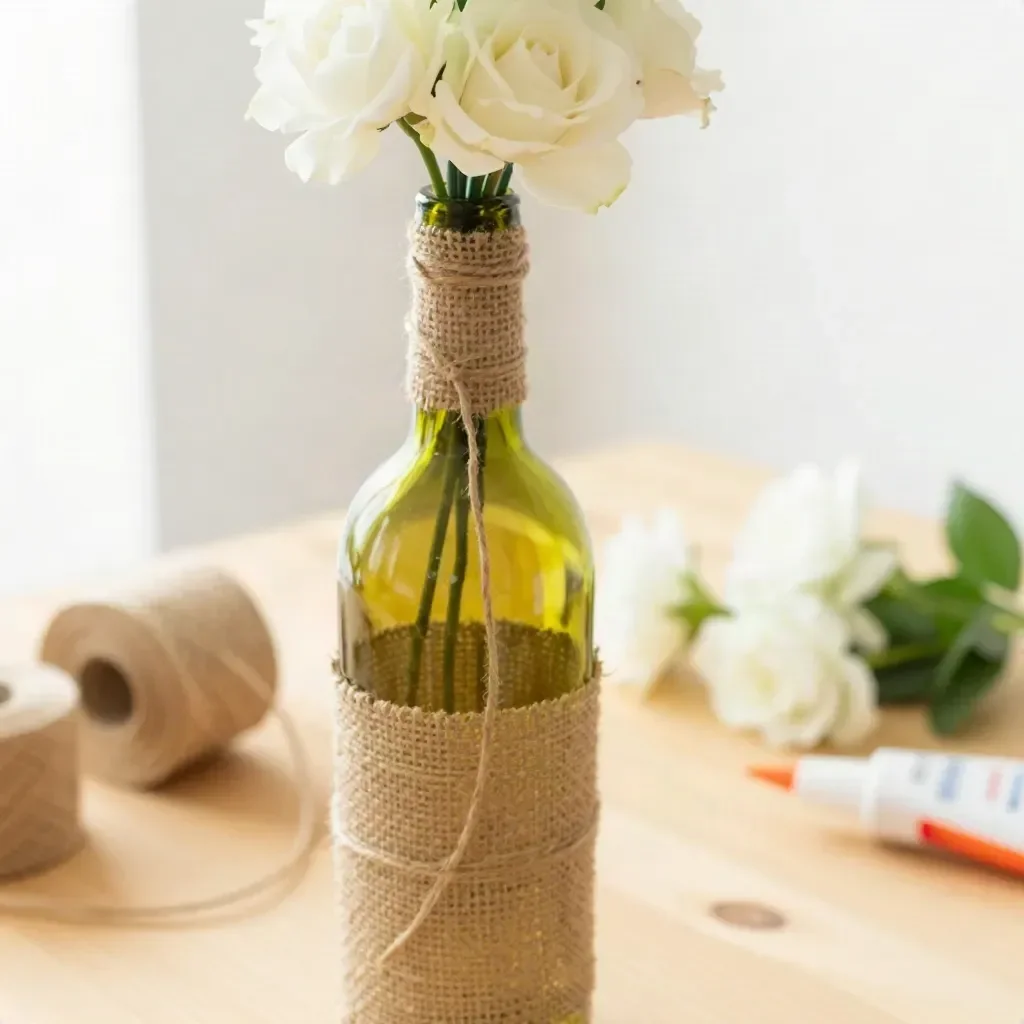
Upcycled Wine Bottle Vase
Transforming an empty wine bottle into a stylish vase is a simple and rewarding project that enhances your home decor while promoting sustainability. This project allows you to give new life to materials that might otherwise be discarded, resulting in a beautiful, personalized vase that adds character to any space. Using just a few basic supplies, this upcycled wine bottle vase can be customized to suit your design preferences, making it a wonderful addition to your seasonal or everyday decor.
With its clean lines and elegant form, this upcycled vase is perfect for displaying dried flowers or faux stems. It brings a touch of rustic charm to your home, whether placed on a shelf, mantel, or dining table. Let’s dive into why you’ll love this project!
Why You’ll Love This Project
- Affordable materials: The primary material is a wine bottle, which most of us likely already have on hand, making this a budget-friendly DIY.
- Beginner-friendly process: The steps involve basic cleaning and painting techniques, perfect for those new to crafting.
- Useful upcycling: Transforming a glass bottle into a functional decor item is not only creative but also sustainable.
- Customizable finish: You can choose any paint color or finish that matches your decor style, allowing for personalization.
- Attractive display possibilities: This vase can be styled individually or as part of a larger arrangement, making it versatile for different decor settings.
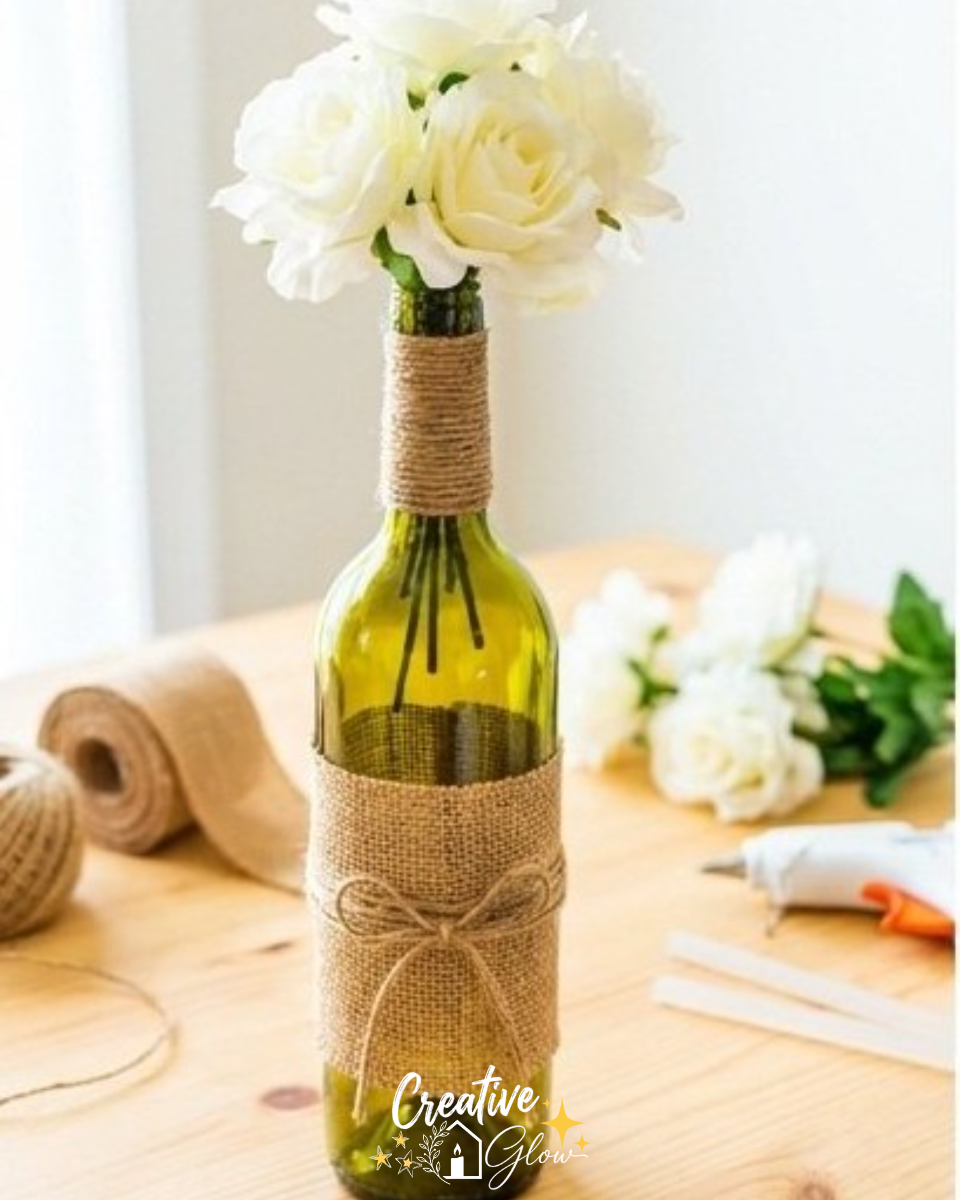
Materials and Supplies
- Empty wine bottle
- Label remover or warm soapy water
- Paint
- Brush
- Twine (optional)
A few notes on materials:
When choosing your paint, opt for non-toxic acrylic options suitable for glass to ensure a smooth finish. Twine can be left out if you prefer a minimalist look or used for added texture.
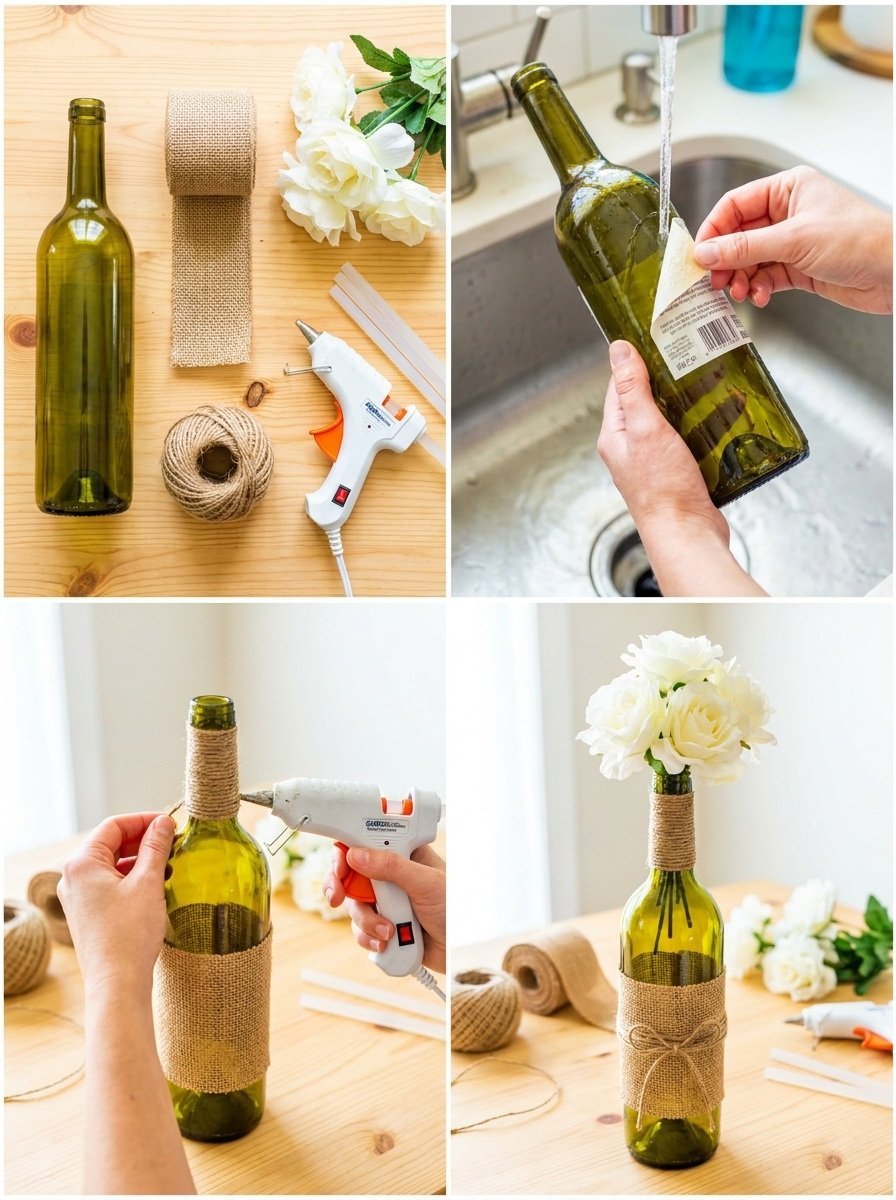
How to Make Upcycled Wine Bottle Vase
Step 1: Prepare the Bottle
Start by removing any labels and adhesive residue from your wine bottle. You can soak the bottle in warm soapy water or use a label remover for a cleaner result. Make sure the bottle is completely clean and dry before proceeding.
Step 2: Apply the Paint
Next, choose your paint color and apply it evenly to the bottle using a brush. You may want to use multiple layers for a more opaque finish, allowing each layer to dry according to the manufacturer’s instructions.
Step 3: Add Twine (Optional)
If you’d like a rustic touch, wrap twine around the neck of the bottle. Secure it with a knot or hot glue if necessary. This detail can elevate your vase and give it a handcrafted feel.
Step 4: Style Your Vase
Once the paint is dry, fill your vase with dried or faux stems. This final touch brings your upcycled wine bottle vase to life, making it an eye-catching decor piece.
Tips for a Cleaner, More Polished Finish
- Surface Preparation: Ensure the bottle is free of dust and moisture before painting for a better adhesion.
- Even Paint Application: Use long brush strokes for a smooth finish and minimize streaking.
- Allow Drying Time: Be patient and allow each layer of paint to dry completely before adding another to prevent smudging.
- Use a Primer: If your paint tends to rub off, consider applying a glass primer before the top coat for added durability.
Ways to Customize It
- Color Palette: Select various colors for different seasons soft pastels for spring or richer hues for autumn.
- Finish: Experiment with matte or glossy finishes to match your interior style.
- Added Details: Consider embellishing with stencils or decals to personalize your vase further.
- Size Variations: Use different sizes of bottles to create a grouped display or choose a larger bottle for a statement piece.
- Seasonal Styling: Change out the stems or decorations seasonally to keep the display fresh and relevant.
How to Style and Display It
This upcycled wine bottle vase can be styled in numerous ways around your home. Place it on a console table by the entryway for a warm welcome, set it in the center of your dining table to create a simple centerpiece, or use it on a bookshelf for a pop of color. When grouping with other decor items, consider varying the heights of objects and using odd numbers for visual appeal. Always leave some breathing room so that each piece has the space to stand out.
Frequently Asked Questions
What type of paint should I use?
I recommend using non-toxic acrylic paint that is suitable for glass surfaces for best results.
How do I remove stubborn labels?
Soaking the bottle in warm soapy water usually helps loosen the adhesive, making it easier to peel off.
Can I use real flowers in this vase?
While this vase is primarily suited for dried or faux stems, you can use it for real flowers with a small water fill. Just ensure the glass is clean and dry.
How can I make the paint last?
Allow time for the paint to cure fully before using the vase and avoid washing it directly in water; instead, clean it with a damp cloth.
Can I use different bottle shapes?
Absolutely! You can experiment with different shapes and sizes to create a diverse arrangement.
How should I store the vase off-season?
Store it in a dry, cool place, and wrap it in bubble wrap or soft cloth for protection if necessary.
Conclusion
Creating an upcycled wine bottle vase is an enjoyable and straightforward DIY project that enhances your home with personal flair. This project not only beautifies your space but also promotes the idea of reusing materials. If you’re looking for more ideas on how to craft your own wine bottle vase, check out this detailed guide on making a wine bottle vase for additional inspiration!
Print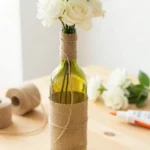
Upcycled Wine Bottle Vase
- Total Time: 10 minutes
- Makes: 1 vase
Description
Transform an empty wine bottle into a stylish vase with minimal supplies, promoting sustainability while enhancing your home decor.
Materials
- Empty wine bottle
- Label remover or warm soapy water
- Paint (non-toxic acrylic suitable for glass)
- Brush
- Twine (optional)
Instructions
- Prepare the Bottle: Remove any labels and adhesive residue, ensuring it is clean and dry.
- Apply the Paint: Choose your paint color and apply it evenly using a brush, allowing each layer to dry.
- Add Twine (Optional): Wrap twine around the neck of the bottle and secure it.
- Style Your Vase: Fill with dried or faux stems to create an eye-catching decor piece.
Notes
Tips for a cleaner finish include proper surface preparation, even paint application, allowing drying time, and using a primer if necessary.