

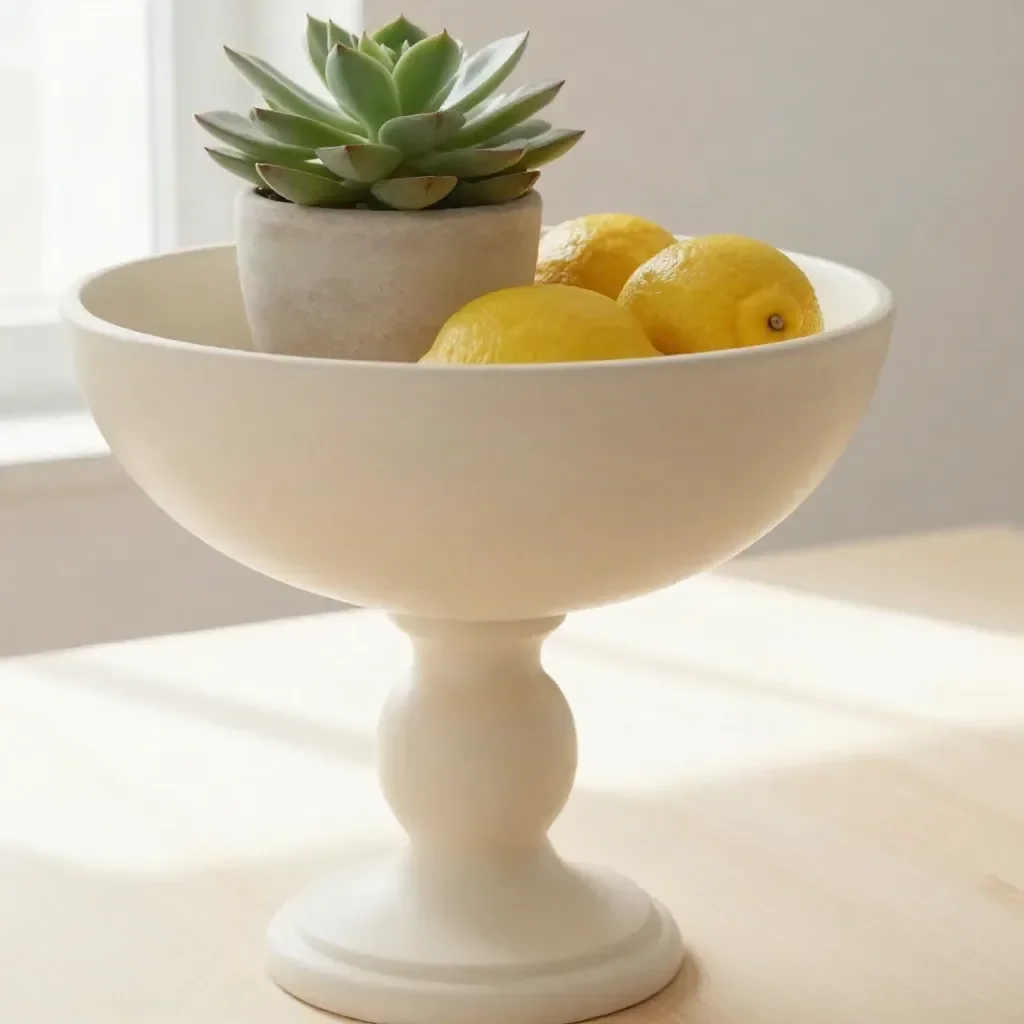
The Wooden Bowl Pedestal Makeover is a delightful DIY project that transforms a thrifted wood bowl into a charming decorative piece by combining it with a base or candlestick. This upcycled creation not only elevates your home decor but also serves as a unique way to display fruits, candles, or seasonal decorations. The project is simple enough for beginners and allows for personal touches through various finishes.
This project is not only budget-friendly, but it also combines the thrill of upcycling with the satisfaction of creating something uniquely yours. Using a thrifted bowl and an unfinished wooden base means you can customize your colors and stains to fit your decor style perfectly.
Why You’ll Love This Project
- Affordable Materials: The primary components can often be sourced from thrift stores, making it budget-friendly.
- Beginner-Friendly Process: The steps are straightforward and require minimal tools, perfect for those new to DIY.
- Creative Upcycling: This project gives new life to items that might otherwise go unused, promoting sustainability.
- Customizable Finish: You can choose whatever paint or stain that fits your home aesthetic, allowing for a personal touch.
- Versatile Display Options: The finished bowl can be used in various rooms, making it a practical addition to any home.
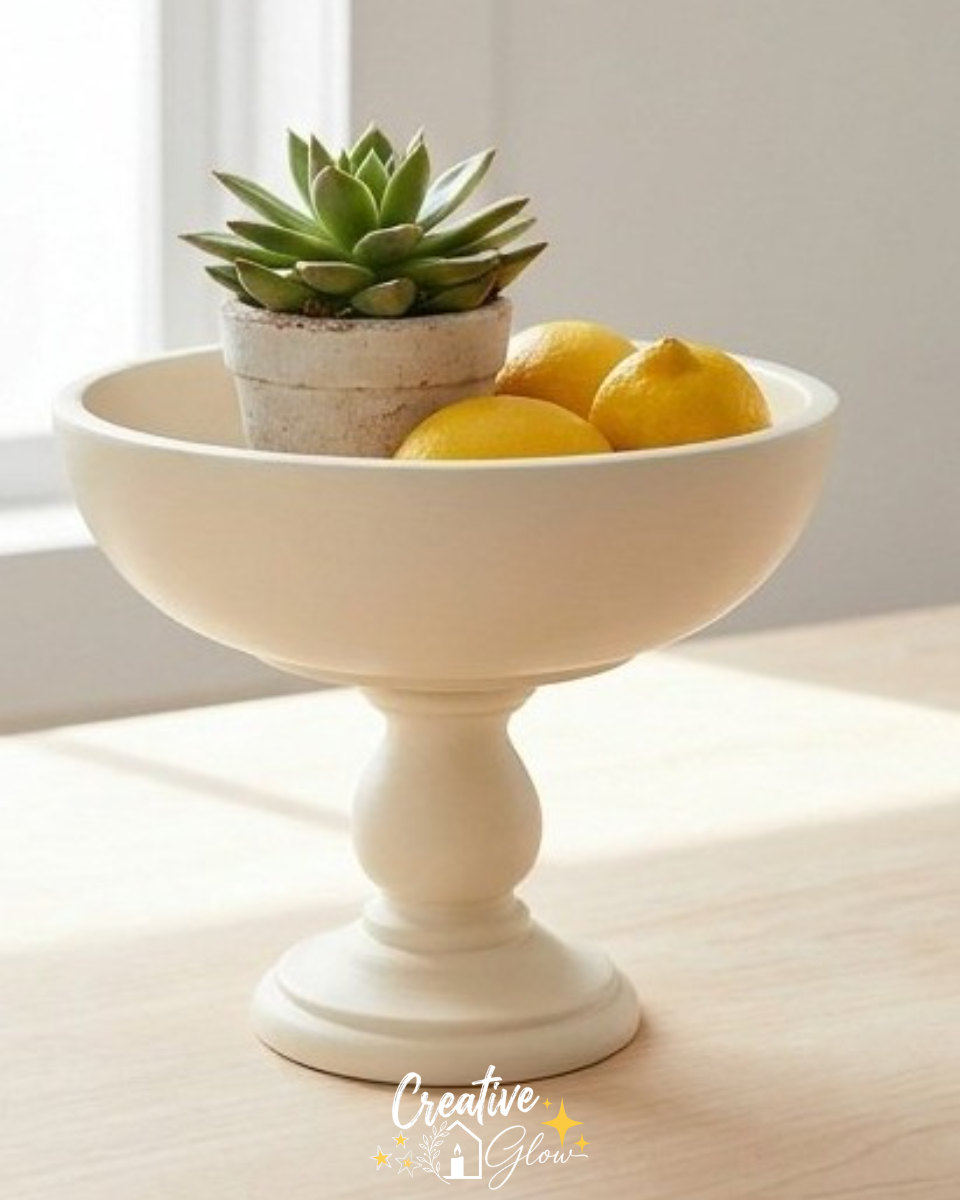
Materials and Supplies
- Thrifted wood bowl
- Unfinished wood base or candlestick
- Wood-safe adhesive
- Paint or stain
A few notes on materials
When selecting your wood bowl and base, look for pieces that complement each other in size and style. Unsure about paint? Choosing a paint that matches existing decor will help create a cohesive look.
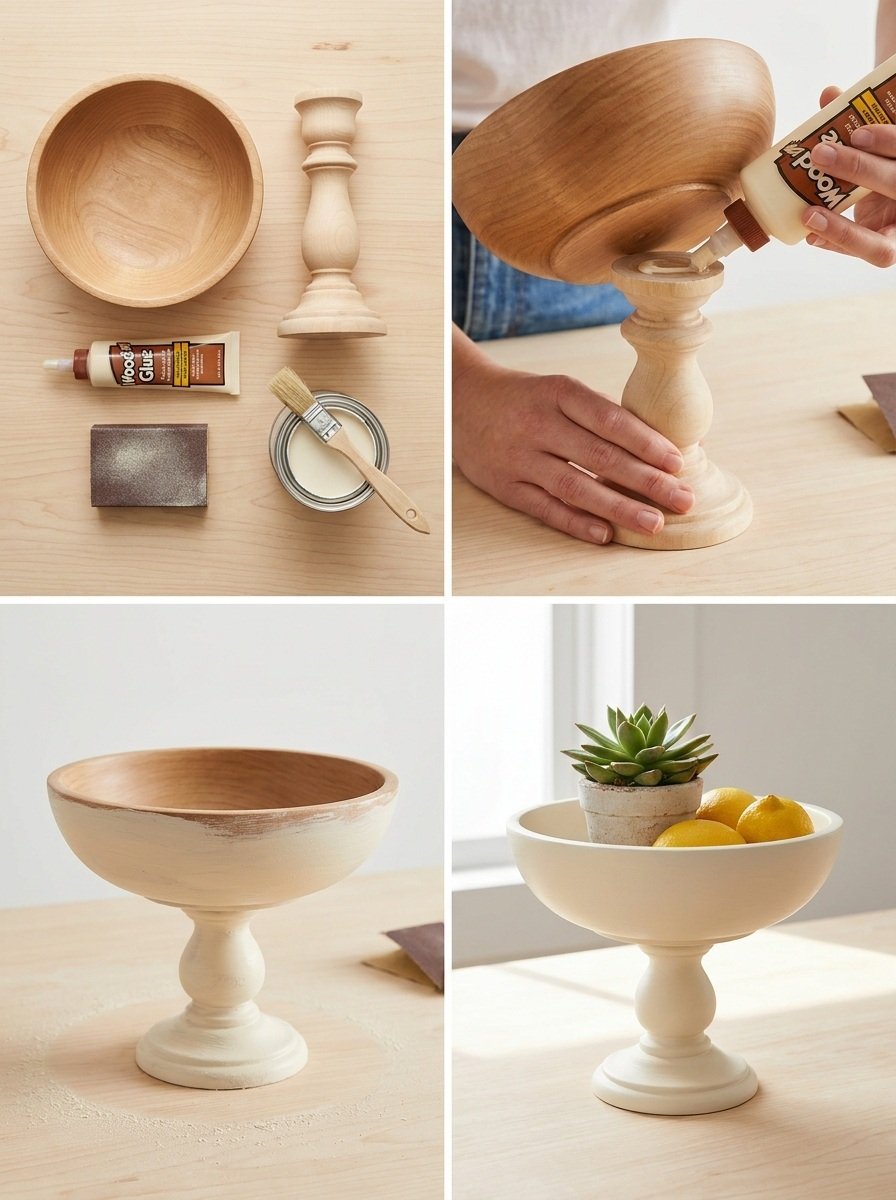
How to Make Wooden Bowl Pedestal Makeover
Step 1: Clean the Pieces
Before beginning your project, thoroughly clean both the wood bowl and the base or candlestick. Make sure they are free from dust and dirt.
Step 2: Center the Base
Position the wood base or candlestick upside down and carefully center the bowl on top of it. This will help you visualize the final product.
Step 3: Attach the Bowl
Using the wood-safe adhesive, securely attach the bowl to the base. Be sure to apply enough adhesive for a strong bond but avoid excess that may ooze out.
Step 4: Allow to Cure
Follow the manufacturer’s instructions for the adhesive regarding curing time to ensure a solid hold between the two pieces.
Step 5: Finish with Paint or Stain
Once the adhesive has fully cured, give your project a beautiful finish with paint or stain of your choice. This step not only enhances the appearance but also protects the wood.
Step 6: Style for Display
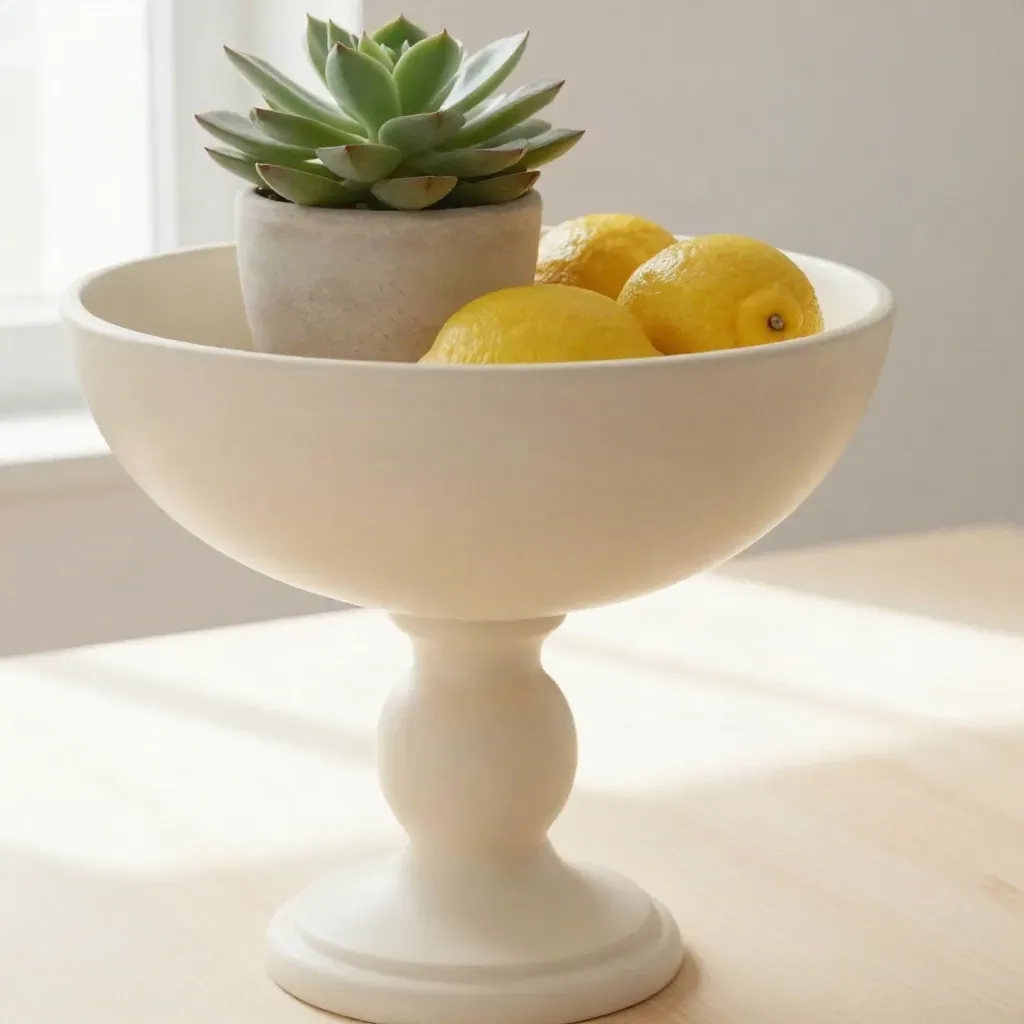
Now your wooden bowl pedestal is ready for decorative display! Use it to hold fruits, candles, or seasonal decorations.
Tips for a Cleaner, More Polished Finish
- Make sure surfaces are completely dry before applying paint or stain for an even finish.
- Use painter’s tape to ensure clean edges if your design involves multiple colors.
- Apply several thin layers of paint instead of one thick coat for better coverage.
- Allow each layer to dry fully before adding the next for a smoother finish.
- Consider distressing the paint lightly after it dries to give it a more vintage feel.
Ways to Customize It
- Experiment with different colors or stains to match room decor.
- Add decorative elements like stenciling or decals for a unique touch.
- Use a taller candlestick for a more dramatic effect.
- Incorporate seasonal themes paint the bowl in festive colors for holidays.
- Try varying the size of the bowl for different display heights.
How to Style and Display It
The finished wooden bowl pedestal can serve as a stunning centerpiece on a dining table or as a decorative item on a console table. You can also place it on a mantel or shelf, where it can showcase seasonal decor or your favorite candles. To create a curated look, consider grouping it with other items of different heights and textures, leaving some visual breathing room for balance.
Care and Storage
To keep your wooden bowl pedestal looking its best, dust it regularly and clean it with a damp cloth when necessary. Avoid prolonged exposure to moisture, as this can damage the wood.
Frequently Asked Questions
1. What type of adhesive works best for this project?
Using a strong wood-safe adhesive ensures a lasting bond between the bowl and the base.
2. Can I use any type of bowl for this project?
Yes, any decorative bowl that fits well with the base or candlestick can be used.
3. How can I customize the color of my bowl pedestal?
You can paint or stain it to fit your personal style, allowing for endless customization.
4. What should I do if the adhesive oozes out?
Wipe away excess adhesive with a damp cloth before it dries for a cleaner look.
5. Can I use it outdoors?
It’s best to keep this project indoors, as exposure to the elements may damage the wood.
Conclusion
The Wooden Bowl Pedestal Makeover project is a fantastic way to bring new life to thrifted finds while creating a stunning decor piece. If you’re looking for more ideas on similar DIY projects, check out this Thrift Store Pedestal Bowl Makeover for additional inspiration!
Print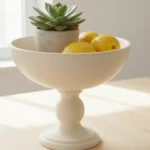
Wooden Bowl Pedestal Makeover
- Total Time: 15 minutes
- Makes: 1 wooden bowl pedestal
Description
Transform a thrifted wood bowl into a charming decorative piece with this simple and budget-friendly DIY project.
Materials
- Thrifted wood bowl
- Unfinished wood base or candlestick
- Wood-safe adhesive
- Paint or stain
Instructions
- Clean the pieces thoroughly to remove dust and dirt.
- Center the bowl on top of the upside-down base or candlestick.
- Attach the bowl to the base using wood-safe adhesive.
- Allow the adhesive to cure according to manufacturer’s instructions.
- Finish with paint or stain to enhance the appearance.
- Style the pedestal for decorative display with fruits, candles, or decorations.
Notes
Ensure surfaces are completely dry before applying finishes, and use painter’s tape for clean edges.