

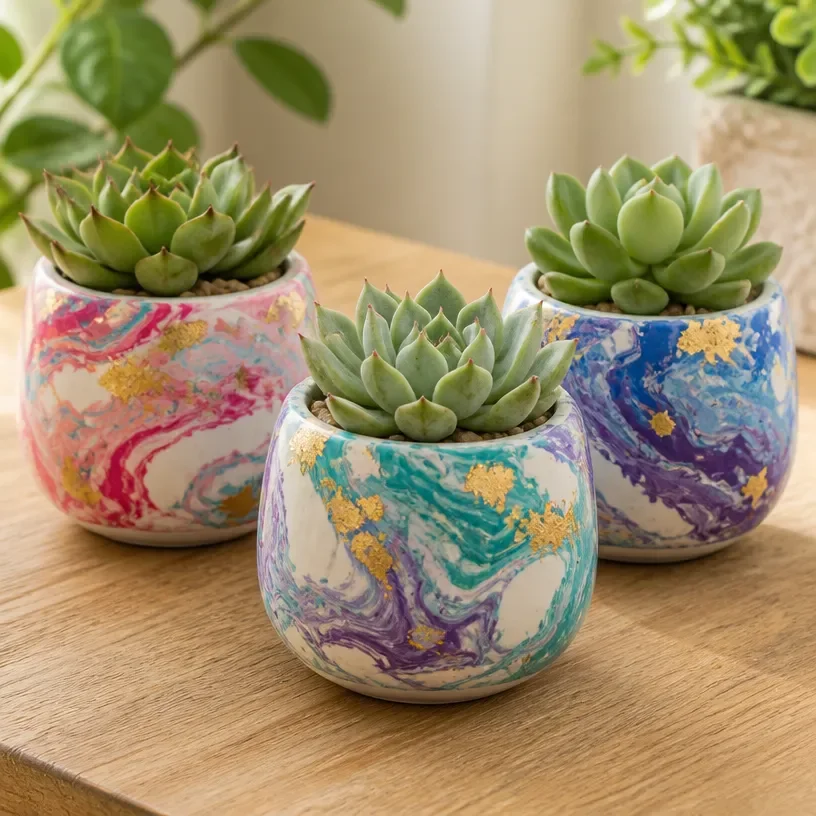
Marble-Effect Clay Pots: Handcrafted Planters for Stylish Home Decor
Creating your own marble-effect clay pots is a delightful way to add a touch of elegance to your home decor. These versatile planters can be used to display houseplants or as standalone decorative pieces. With the right materials and a bit of creativity, you can elevate your space without breaking the bank. By utilizing air-drying clay and paint, you can achieve a beautiful marble finish that looks sophisticated but is surprisingly simple to create.
This project is perfect for anyone wishing to practice their DIY skills while ensuring they remain budget-conscious. Plus, if you’re interested in other DIY decor projects, you might want to explore different options such as this DIY decorative book stack for a coordinated aesthetic in your home.
Why You’ll Love This Project
There are several reasons to dive into creating these marble-effect clay pots:
- Affordable materials: The project relies on inexpensive items like air-drying clay and acrylic paint, making it great for budget-friendly decor.
- Beginner-friendly process: With straightforward steps, even DIY novices will feel confident tackling this project.
- Customizable finish: You can choose your color palette, making it easy to personalize the pots to fit your home’s decor.
- Attractive display possibilities: These pots can be styled in various settings, from a coffee table to a window sill.
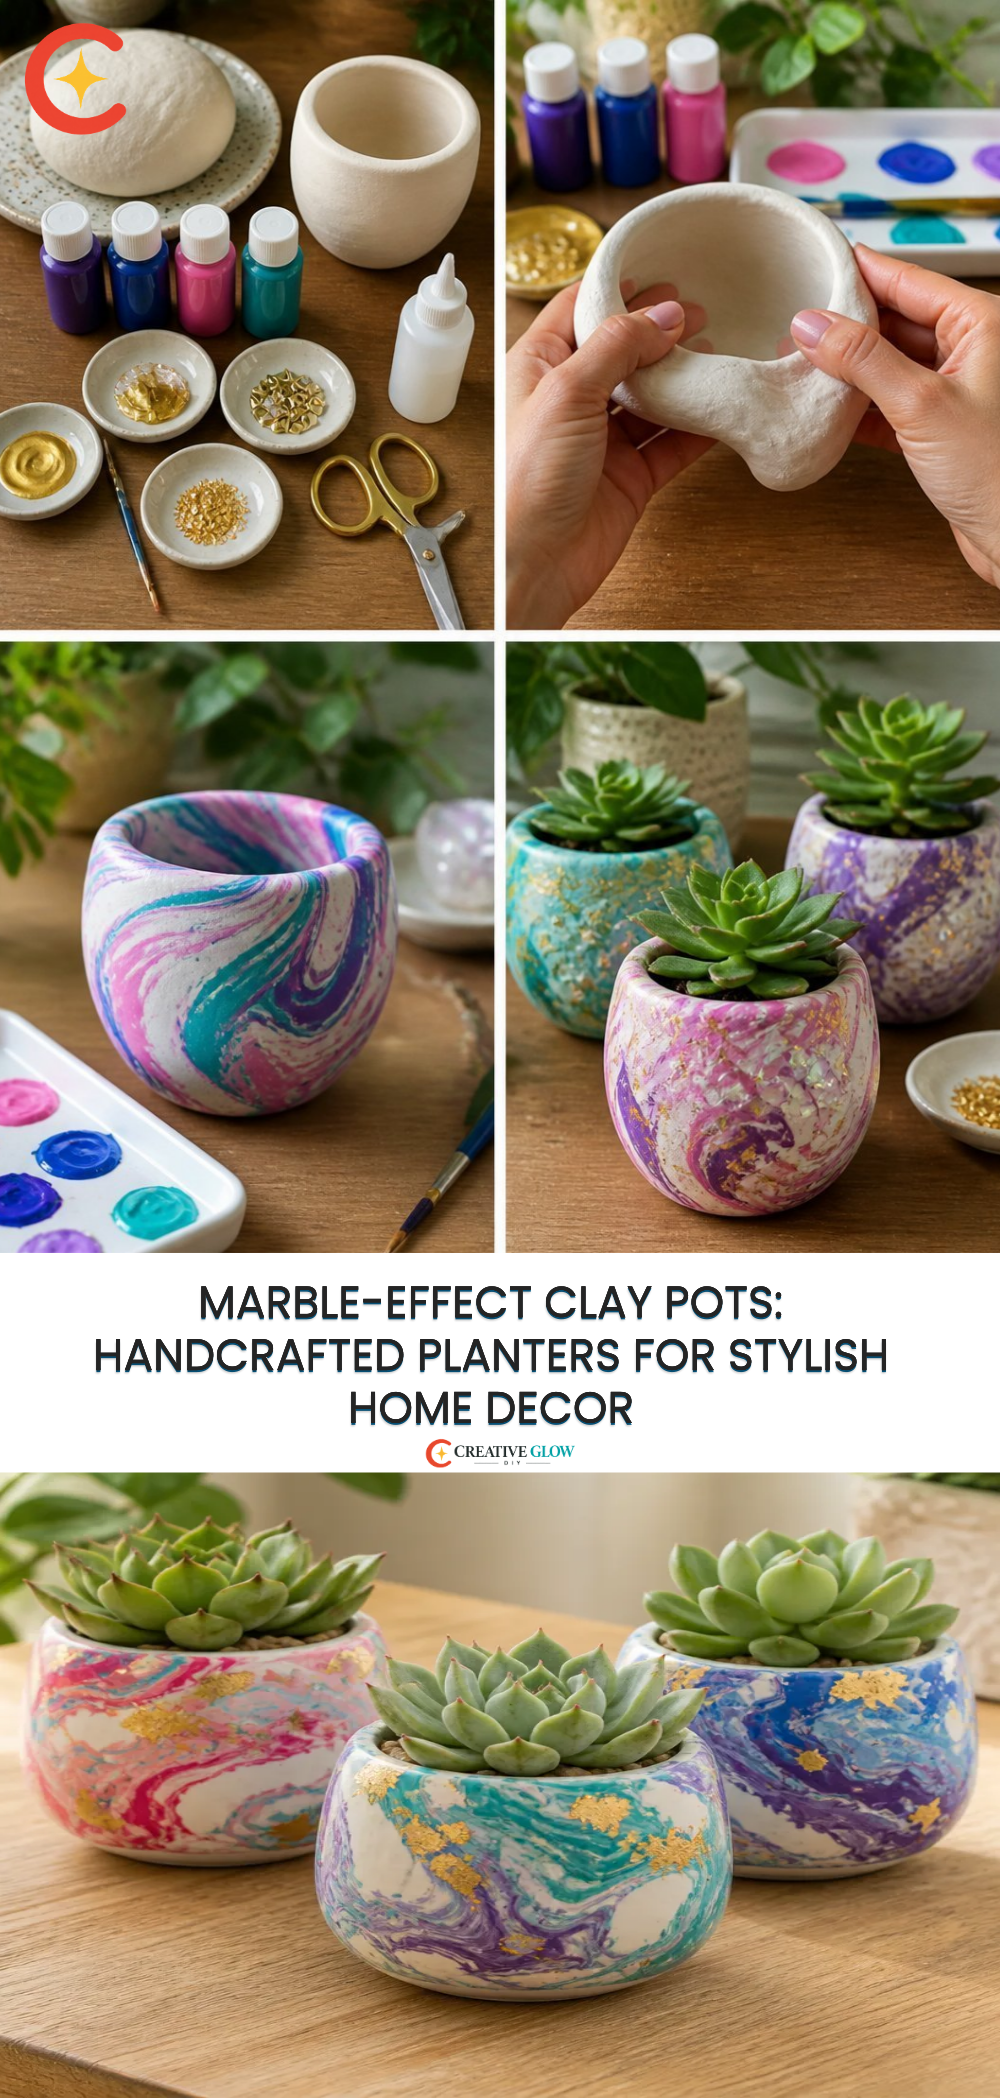
Materials and Supplies
- Air-drying clay (enough for 2-3 pots, depending on size)
- Acrylic paint (white and one or two additional colors for the marble effect)
- Paintbrush
- Small bowl of water for smoothing the clay
- Cutting tool or knife
A few notes on materials
When selecting acrylic paint, consider using a brand that offers high pigmentation, as it will create a more vibrant and realistic marble effect. Additionally, air-drying clay is convenient as it doesn’t require baking, perfect for quick projects.
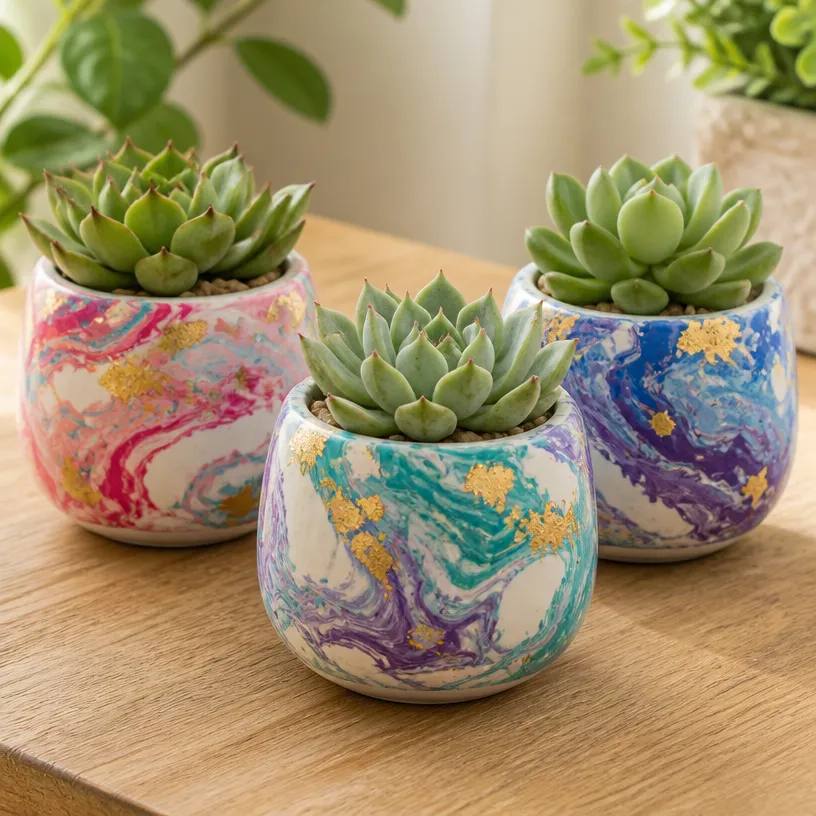
How to Make Marble-Effect Clay Pots: Handcrafted Planters for Stylish Home Decor
Step 1: Prepare the Clay
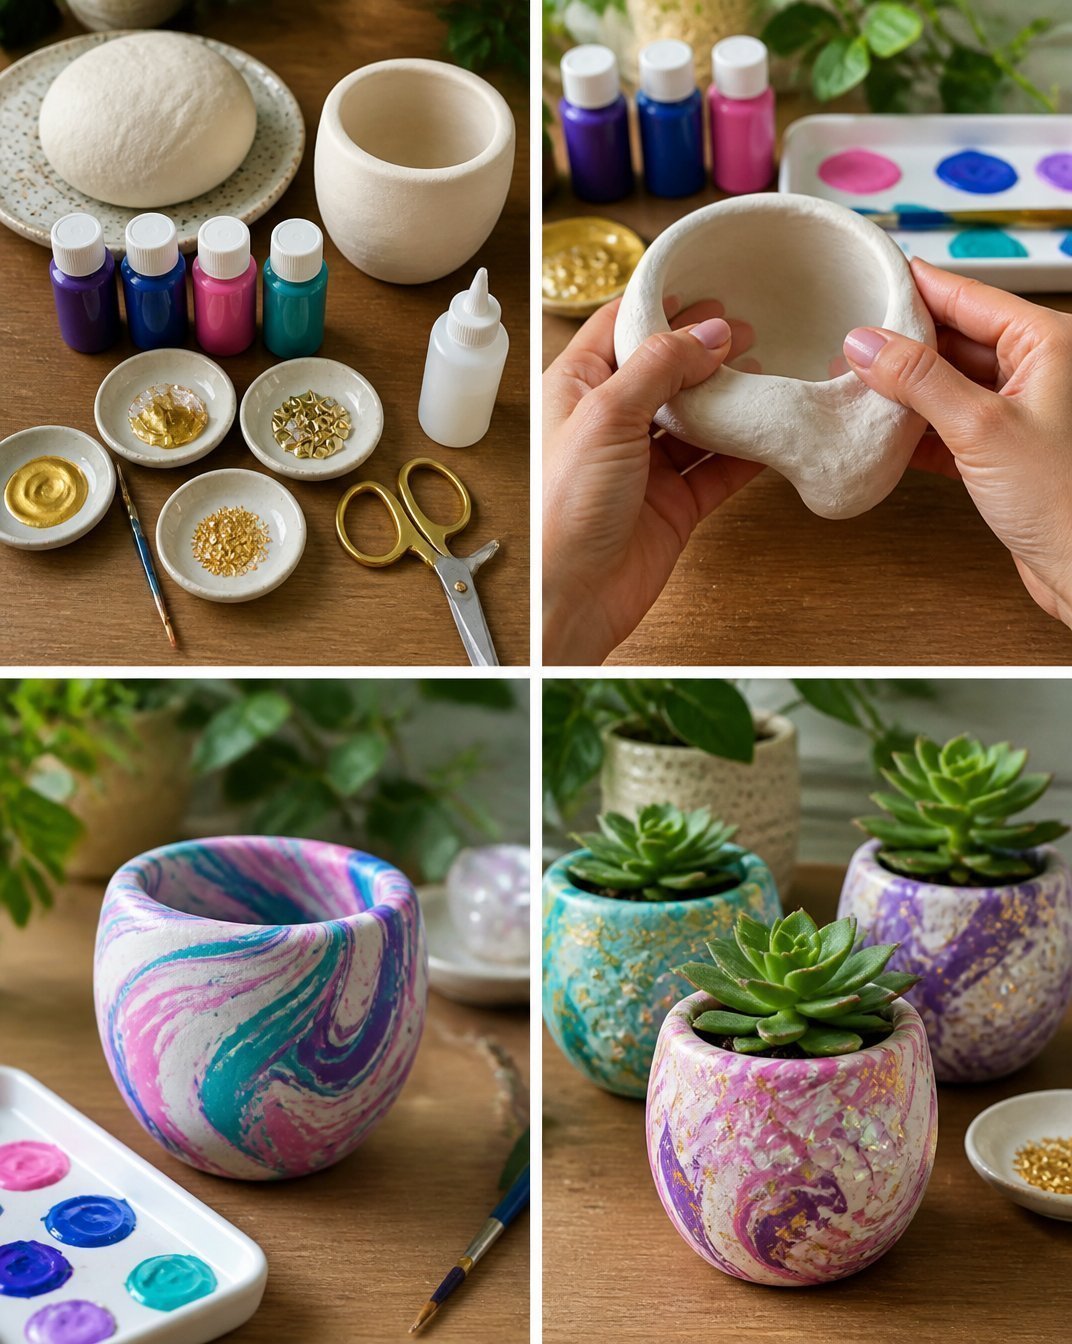
Start by kneading the air-drying clay until it’s smooth. This will help eliminate any air pockets and ensure even consistency throughout your pots.
Step 2: Form the Pots
Divide the clay into equal portions based on how many pots you’d like to create. Roll each portion into a ball and then shape it into a pot by pressing the clay into a round mold, or freehand shape it on a flat surface. Aim for a thickness of about half an inch.
Step 3: Create the Marble Effect
To achieve the marble look, roll different colors of clay into thin snakes and twist them together. Gently knead the twisted clay to blend the colors slightly, but be careful not to overmix. Then, shape your pot again if necessary.
Step 4: Let the Pots Dry
Once shaped, set your pots aside on a clean surface to dry according to the manufacturer’s instructions. This is typically around 24 hours, but check the package for specific instructions.
Step 5: Paint the Pots
After the pots have completely dried, use a paintbrush to add layers of acrylic paint. You can follow the contours of the marble effect for a more natural look. Let the paint dry fully.
Tips for a Cleaner, More Polished Finish
- Smooth surfaces: Before the paint application, make sure the surface of your pots is free of fingerprints and dust for a clean look.
- Use even strokes: When painting, use long, even strokes to avoid brush marks and create a sleek finish.
- Balance colors: If you’re using multiple colors for the marble effect, think about how they complement each other for the best visual appeal.
Ways to Customize It
- Different sizes: You can create various sizes of pots to add visual interest to your display.
- Color variations: Opt for a monochromatic palette or vivid contrasts depending on your home decor theme.
- Adding hardware: Consider attaching small handles or embellishments to the pots for added charm.
How to Style and Display It
These handcrafted marble-effect clay pots can enhance various areas in your home. Place them on a console table for an inviting entrance, use them on a mantel for seasonal decor, or arrange a few on your dining table for a fresh, natural element. Grouping the pots unevenly will create a more relaxed and visually appealing display.
Care and Storage
To keep your clay pots looking fresh, clean them gently with a damp cloth. Avoid using harsh cleaners that could damage the paint finish. If you plan to store them during off-seasons, make sure they are kept in a cool, dry place to prevent any damage.
Frequently Asked Questions
Can I use other types of clay?
While air-drying clay is ideal for this project due to its convenience, you can experiment with polymer clay, though it requires baking.
What type of paint is best?
Acrylic paint works well for this project due to its quick drying time and compatibility with air-drying clay.
How do I fix cracks in the clay?
If cracks occur during drying, you can smooth over them with a bit of water and extra clay, or fill them in with paint after the pot is dry.
Can I use these pots outdoors?
While the pots can be displayed outdoors, it is recommended to keep them in a sheltered area as they are not waterproof.
How do I prevent the clay from drying out while I work?
Cover any unused clay with a damp cloth to keep it from hardening while you’re shaping your pots.What kind of plants can I put in these pots? These clay pots work best with small, lightweight plants or succulents. If you want to add drainage, consider placing a small layer of rocks at the bottom before adding soil and plants.Creating your own marble-effect clay pots not only provides a beautiful addition to your home decor but also encourages crafting and creativity. To further enhance your plant display, you might consider getting high-quality planters such as this set of white plant pots that coordinate well with DIY projects.
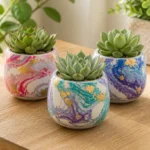
Marble-Effect Clay Pots: Handcrafted Planters for Stylish Home Decor
- Total Time: 1440 minutes
- Makes: 2-3 pots
Description
Create elegant marble-effect clay pots using air-drying clay and acrylic paints. A fun, budget-friendly DIY project for home decor.
Materials
- Air-drying clay (enough for 2-3 pots)
- Acrylic paint (white and one or two additional colors)
- Paintbrush
- Small bowl of water
- Cutting tool or knife
Instructions
- Knead the air-drying clay until it’s smooth.
- Divide the clay into equal portions and shape into pots.
- Roll different colors of clay into thin snakes for the marble effect.
- Set your pots aside to dry according to package instructions.
- Use a paintbrush to add layers of acrylic paint after the pots have dried.
Notes
Make sure surfaces are clean before painting for a polished finish.