

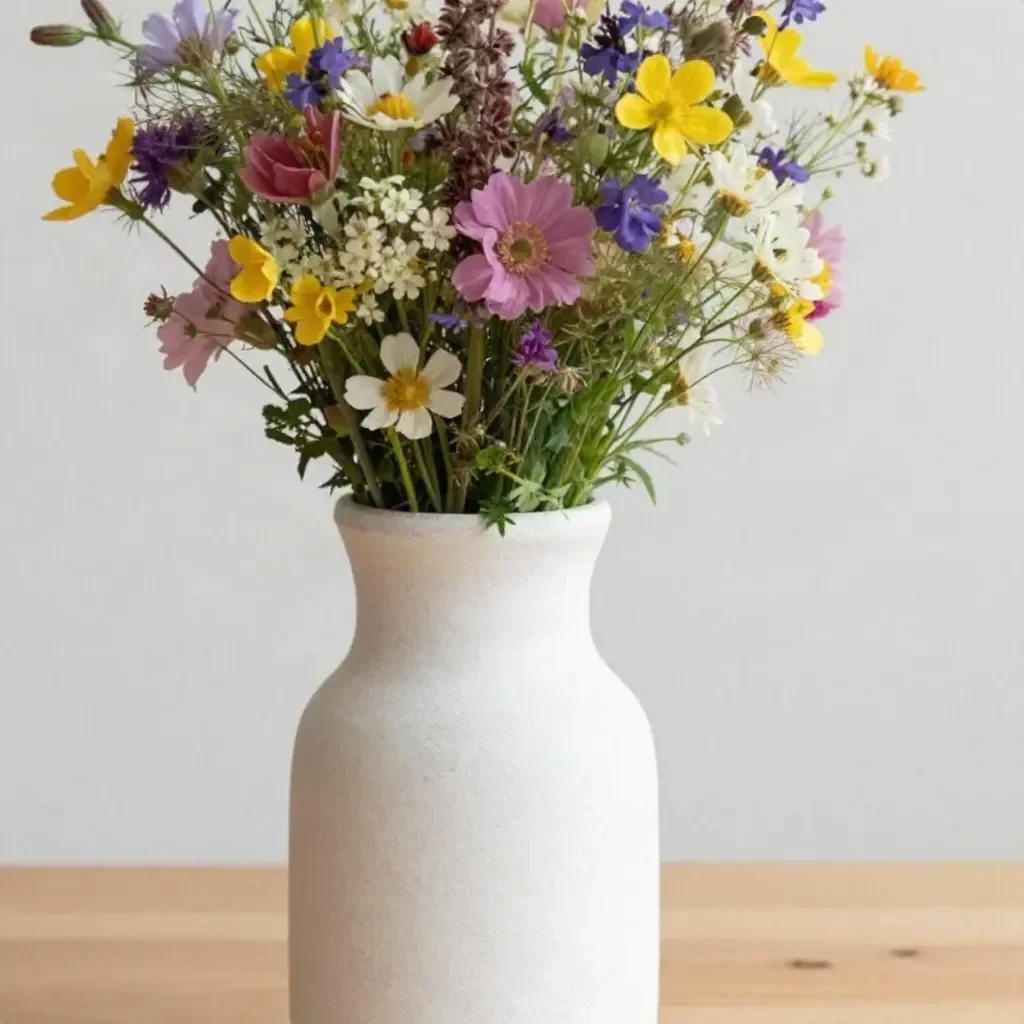
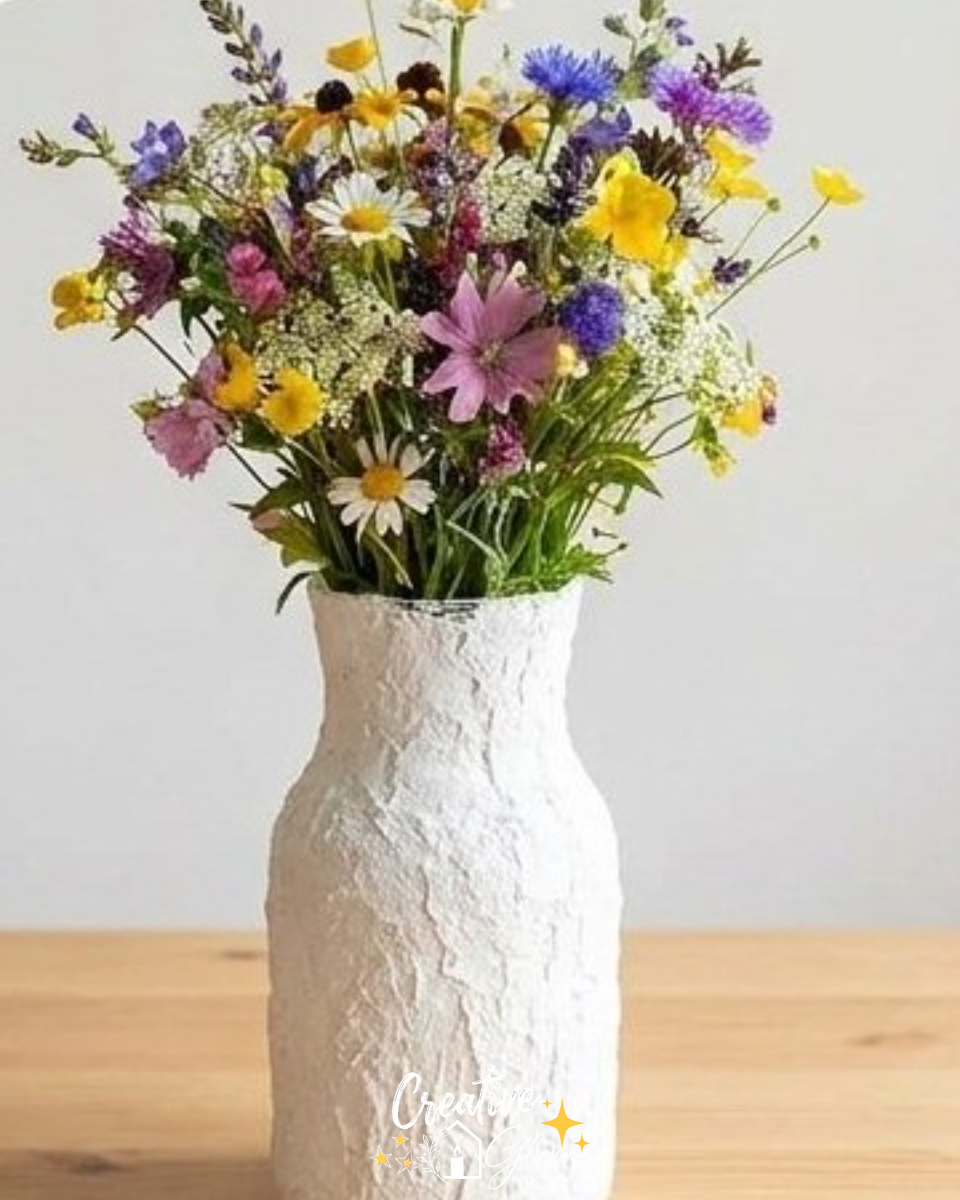
Creating a textured glass vase is an enjoyable and rewarding DIY project that allows you to breathe new life into simple decorative items. By using just a few key materials clear glass, acrylic paint, and baking soda you can achieve a beautifully unique look that feels elevated yet remains budget-friendly. This project is perfect for brightening up any room and can be styled in various ways, making it a versatile addition to your home decor.
Not only is this DIY project easy to execute, but it also gives you the chance to personalize your finishes and display a one-of-a-kind vase. This textured glass vase can be filled with fresh flowers, grasses, or left empty as a stunning design piece in its own right.
Why You’ll Love This Project
- Affordable materials: The supplies are not only budget-friendly but are also easily obtainable from craft or home improvement stores.
- Beginner-friendly process: The steps are straightforward, making it a perfect project for anyone new to DIY.
- Useful upcycling: This technique takes a simple glass vase and transforms it into something special, reducing waste while enhancing your home.
- Customizable finish: You can easily alter the colors or texture based on your preferences.
- Attractive display possibilities: The finished vase can serve as a striking centerpiece on a dining table or a decorative item on a shelf.
Materials and Supplies
- Clear glass vase
- Acrylic paint
- Baking soda
- Paintbrush
- Rubbing alcohol
- Optional greenery
A few notes on materials
Opt for a glass vase that’s either new or thrifted; just ensure it’s clean and free of dust. When selecting acrylic paint, consider colors that complement your existing decor or the theme you’re aiming for.
How to Make Textured Glass Vase DIY
Step 1: Prepare the Vase
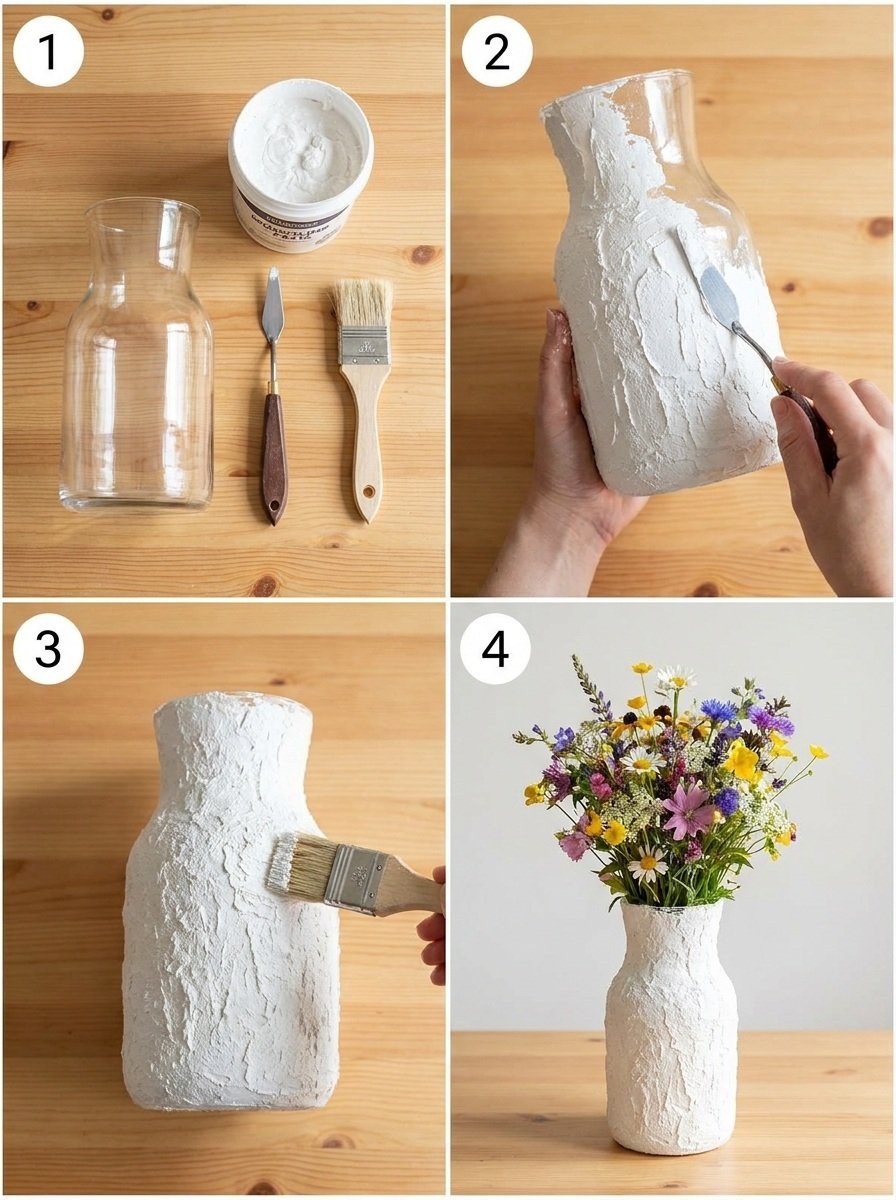
Begin by thoroughly cleaning and drying your clear glass vase. Use rubbing alcohol to wipe it down; this will ensure the paint adheres properly.
Step 2: Mix the Texturing Paste
In a small container, mix a bit of baking soda into your acrylic paint. This will create a textured finish. Start with a small amount and adjust based on the depth of texture you desire.
Step 3: Apply the Texture
Using your paintbrush, apply the textured paint mixture onto the vase in thin coats. For best results, use light brush strokes to create a subtle depth on the surface.
Step 4: Let It Dry
Allow each coat of paint to dry thoroughly according to the manufacturer’s instructions. You may need to apply two or three coats to achieve your desired look.
Step 5: Style Your Vase
Once completely dry, you can style your vase with fresh greenery or simply place it on display as a beautiful decor item.
Tips for a Cleaner, More Polished Finish
- Use a steady hand for even paint application to avoid drips or uneven texture.
- Clean the edges of the vase immediately after painting if any paint spills onto the rim.
- Allow adequate drying time between coats to enhance the overall finish.
- Experiment with different brush techniques to discover a texture that suits your style.
Ways to Customize It
- Color palette: Choose paint colors that suit the season, like pastels for spring or warm tones for autumn.
- Finish: Add more or less baking soda to achieve various levels of texture.
- Height Variation: If making multiple vases, use different heights and shapes to create a cohesive display.
- Seasonal Styling: Fill the vase with seasonal decor items such as pinecones in winter or sand and seashells in summer.
How to Style and Display It
Once your textured vase is complete, think about the best place to showcase it. Here are a few ideas:
- Dining Table: It makes a charming centerpiece with flowers.
- Shelf: Pair it with books or other decorative items for an updated look.
- Entryway Console: Use it to greet guests with a touch of nature.
- Coffee Table: It can serve as a conversation starter when displayed with interesting books or decor.
When styling, remember to balance object heights and group items in odd numbers for a more visually appealing display.
Care and Storage
To clean your textured vase, gently wash it by hand with mild soap and water. Avoid placing it in the dishwasher as the harsh environment could damage the texture. Store it in a safe place to prevent breakage.
Frequently Asked Questions
1. What type of acrylic paint works best?
Choose high-quality acrylic paint for a better finish. Matte finishes give a more sophisticated look.
2. Can I use a different type of adhesive?
While this project focuses on paint and baking soda, using a seam sealer might enhance durability if you plan to use the vase for water.
3. How can I fix paint drips?
If you notice drips, wait for the paint to fully dry before lightly sanding the area and then repainting.
4. How do I ensure the texture is uniform?
Apply with a consistent technique, and avoid overloading your brush.
Conclusion
This DIY textured glass vase is an excellent way to elevate your home decor while engaging in a fun and simple project. It’s a creative outlet that transforms ordinary materials into something beautiful. If you’re interested in exploring different techniques, consider checking out this DIY textured vase aged with paint and baking soda tutorial for more inspiration. Happy crafting!
Print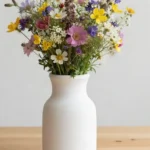
Textured Glass Vase DIY
- Total Time: 15 minutes
- Makes: 1 vase
Description
Create a unique and textured glass vase using simple materials like acrylic paint and baking soda for an elevated home decor piece.
Materials
- Clear glass vase
- Acrylic paint
- Baking soda
- Paintbrush
- Rubbing alcohol
- Optional greenery
Instructions
- Prepare the vase by cleaning and drying it with rubbing alcohol.
- Mix a bit of baking soda into your acrylic paint to create a textured finish.
- Apply the textured paint mixture onto the vase in thin coats using a paintbrush.
- Let it dry thoroughly according to the manufacturer’s instructions, applying additional coats as needed.
- Style your vase with greenery or display it as is.
Notes
Use a steady hand for even application and allow adequate drying time between coats for the best finish.