

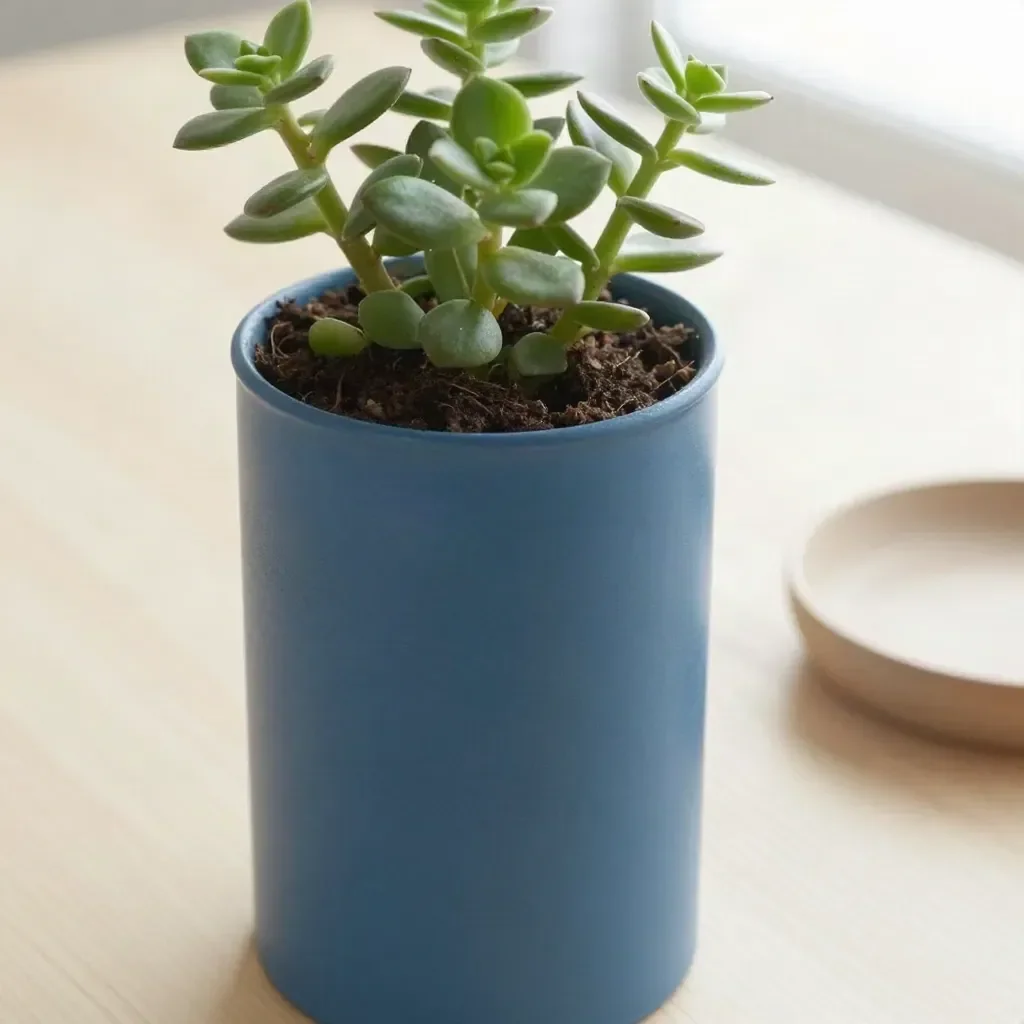
Tin Can Ribbed Planter Makeover
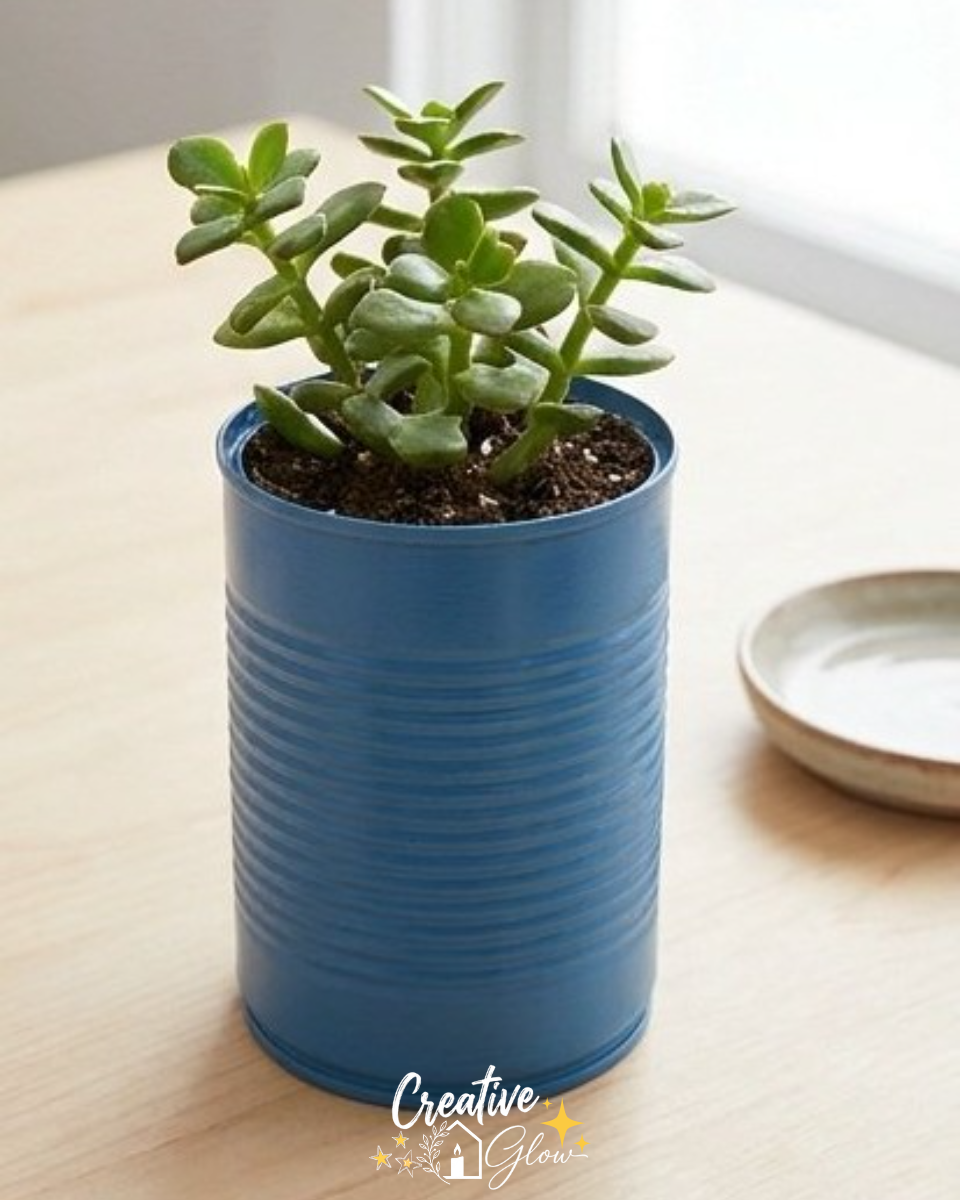
Creating a unique planter from a simple tin can is an easy and rewarding DIY project. Not only does this ribbed planter serve as a stylish home decor piece, but it’s also an excellent upcycling opportunity that gives a second life to materials you might otherwise throw away. The combination of wood and paint adds a chic touch, while the small plant brings a lively element to your space.
This project is perfect for beginners and delivers impressive results without a hefty budget. Plus, you can customize the colors and finishes to match your decor.
Why You’ll Love This Project
- Affordable Materials: All you need is a clean tin can and a few craft supplies.
- Beginner-Friendly Process: With just a few steps, you can create a lovely planter.
- Useful Upcycling: Turn potentially discarded materials into a charming home accessory.
- Customizable Finish: Choose your paint and wood stain colors to fit your style.
- Attractive Display Possibilities: This planter can brighten up any shelf, table, or window sill.
Materials and Supplies
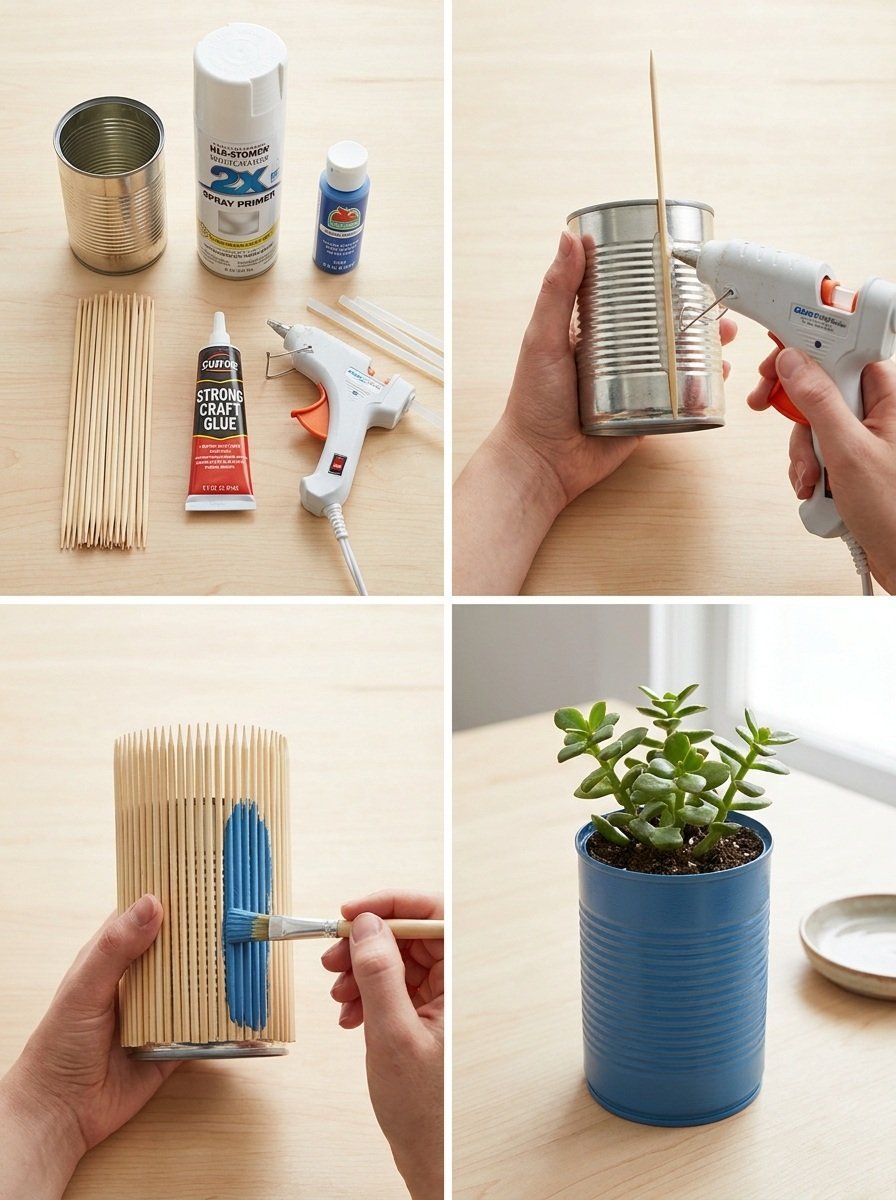
- Clean metal can with safe edges
- Wood craft sticks or half-round trim
- Adhesive
- Paint
- Small plant in inner pot
A few notes on materials: Choose a water-resistant adhesive for attaching the wood, especially if the planter will be exposed to moisture. For the paint, using a non-toxic variety is a good idea since you’re working on something that will hold a plant.
How to Make Tin Can Ribbed Planter Makeover
Step 1: Prepare the Can
Make sure the can is clean and free from any sharp edges. If there are any rough spots, carefully smooth them out to ensure safety during handling.
Step 2: Attach the Wood Trim
Using your adhesive, attach vertical wood pieces around the tin can. Space them evenly for a ribbed appearance. Let the adhesive set according to the manufacturer’s instructions before moving on.
Step 3: Paint or Stain the Exterior
Once the adhesive is dry, paint or stain the exterior of the can (and wood trim if stained) to your desired color. This is where you can get creative! Allow everything to dry completely.
Step 4: Insert the Plant
Take a small plant in its inner pot and place it inside the newly made ribbed planter. This allows for easy watering and plant care, as you can remove the inner pot when necessary.
Tips for a Cleaner, More Polished Finish
- Surface Preparation: Sand the wood lightly before painting for a smooth surface.
- Even Paint Application: Use light coats of paint to avoid drips and ensure an even finish.
- Clean Edges: Use painter’s tape if you want crisp lines when painting.
- Balanced Placement: Ensure the wooden trim doesn’t stick out unevenly as you attach it.
- Allow to Dry Properly: Be patient and let each layer dry thoroughly before proceeding.
Ways to Customize It
- Color Palette: Experiment with bright colors for a playful look or muted tones for a more sophisticated finish.
- Finish: Use a gloss finish for a modern touch or a matte finish for a softer look.
- Decorative Details: You can add twine around the top for a rustic finish or even paint small patterns on the wood for added personality.
- Size: Consider using different sizes of cans to create a set of planters.
- Seasonal Styling: Change the paint color or add seasonal decorations like ribbons or holiday-themed accents.
How to Style and Display It
This planter can make a beautiful statement piece on a shelf, console table, or entryway. Consider placing it on a coffee table or dining table to enhance your decor. Mixing different heights and group sizes can create a dynamic arrangement. Remember to vary your objects’ heights for visual interest and balance decorative elements with functional pieces.
Care and Storage
To keep your planter looking fresh, ensure to water the plant without over-soaking. Wipe down the exterior gently with a damp cloth as needed.
Frequently Asked Questions
1. Can I use any type of paint?
It’s best to use non-toxic acrylic paint for ease of application and safe use around plants.
2. What can I use instead of wood trim?
You can use thick rope or fabric strips if you want a different texture.
3. How can I ensure the plant receives enough water?
Always use a pot with drainage holes inside the tin can to prevent water from accumulating.
4. Can this project be done with larger cans?
Yes! Larger cans can create dramatic planters that are perfect for bigger plants.
5. What if I want to change the plant later?
Inserting the plant in a separate pot makes swapping out flowers effortless and easy.
Conclusion
By transforming a simple tin can into a stylish ribbed planter, you’re not just enhancing your decor, but also engaging in a sustainable practice. This DIY project is an excellent opportunity to explore your creativity and customize your living space. If you’re looking for more home makeover inspiration, check out our front porch makeover for additional ideas!