

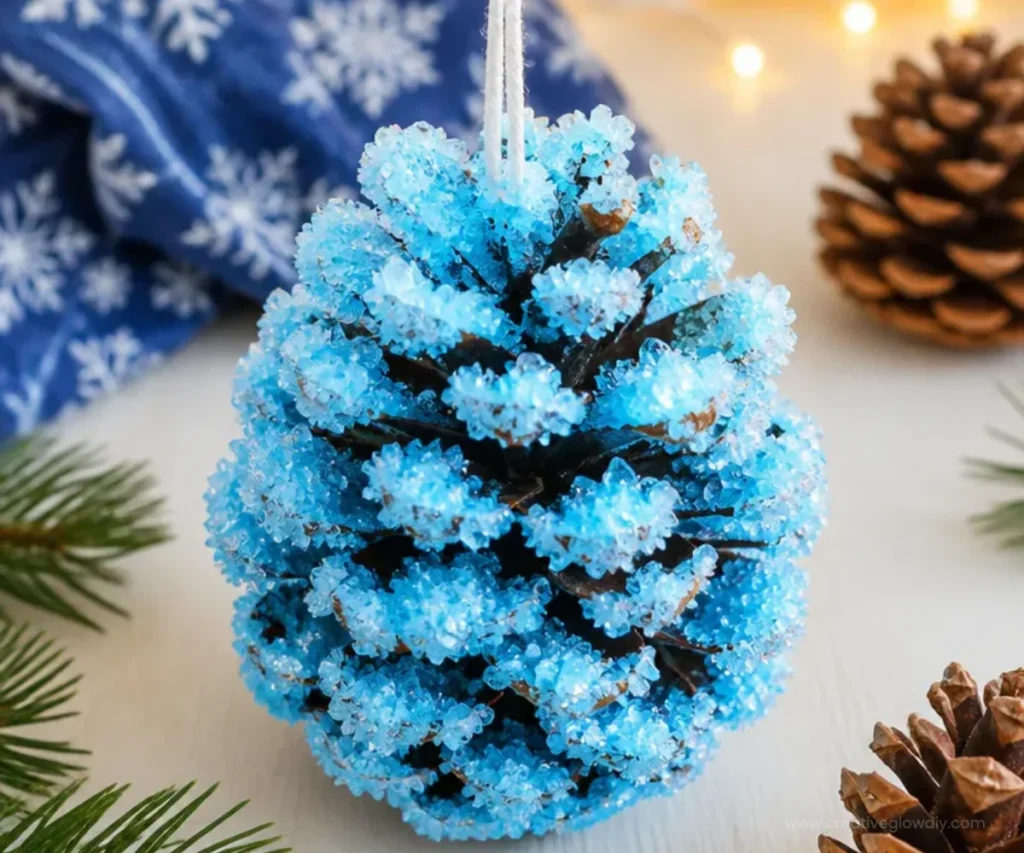
Snow Day Crafts: Winter Fun with Pinecones
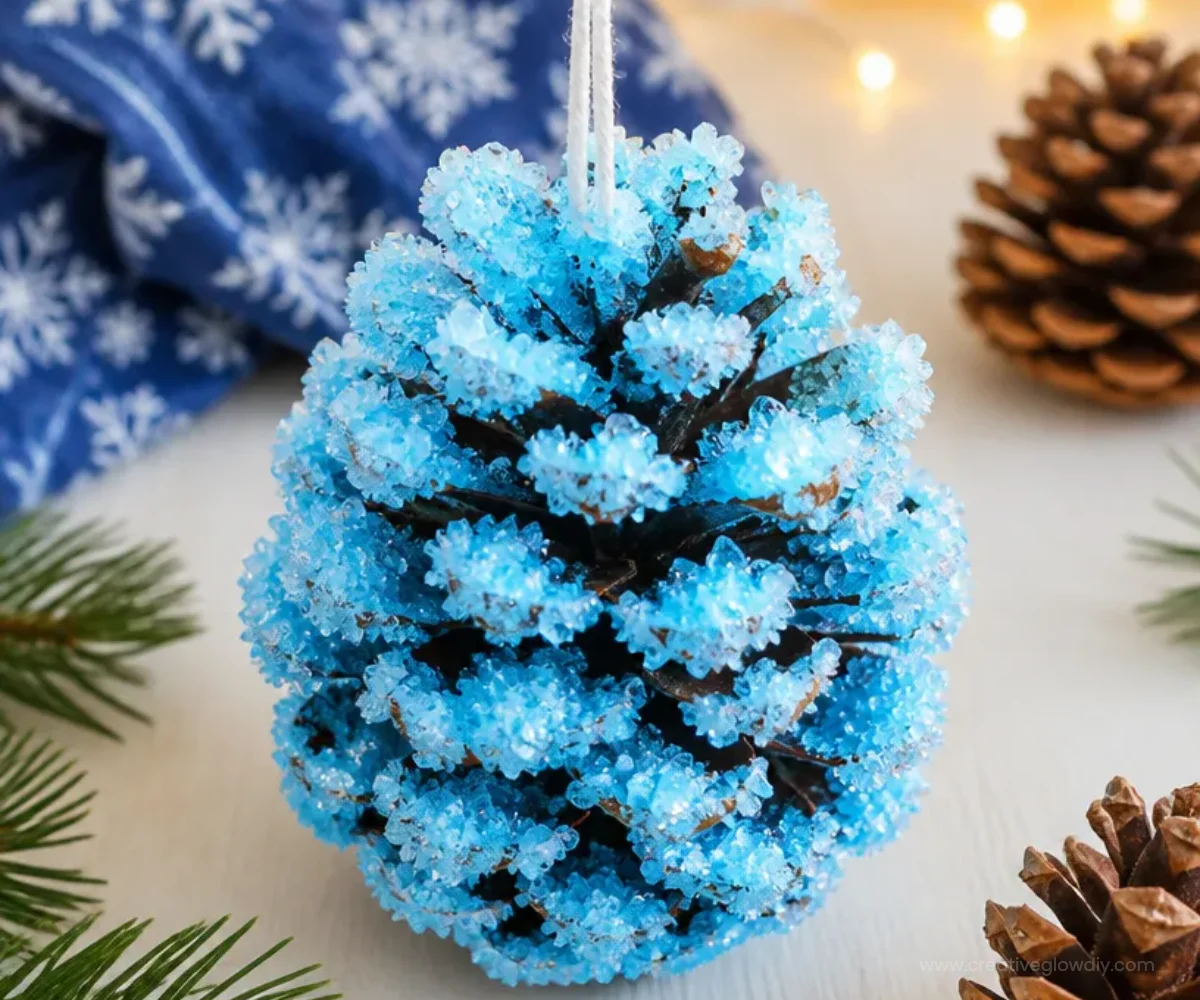
Creating beautiful crafts with pinecones can be an exciting way to spend a snowy day with your family. This project introduces you to the delightful process of making crystal pinecones, offering a wonderful opportunity for kids to explore their creativity while enjoying a winter-themed activity. Let’s dive into why this craft is enjoyable and how you can bring these sparkly creations to life. You may also find How To Create Crystal Butterfly Light Catcher useful.
Why You’ll Love This Project
- Easy to Follow: The steps are simple, making it accessible for kids and beginners.
- Educational Experience: This craft introduces kids to crystal formation, blending science with creativity.
- Perfect for Winter: These beautiful decorations will brighten up your home during the cold months.
- Customizable: Children can choose their favorite colors and patterns to personalize their pinecones.
- Great for All Ages: This project can be adapted for different skill levels, ensuring everyone has fun.
You may also find How To Create Glowing Bubble Lamps With Leds 2 useful.
Materials You’ll Need
- Pinecones
- Borax powder
- Water
- A heat-resistant container
- A spoon for stirring
- String (optional for hanging)
How to Make Snow Day Crafts: Winter Crafts with Pinecones
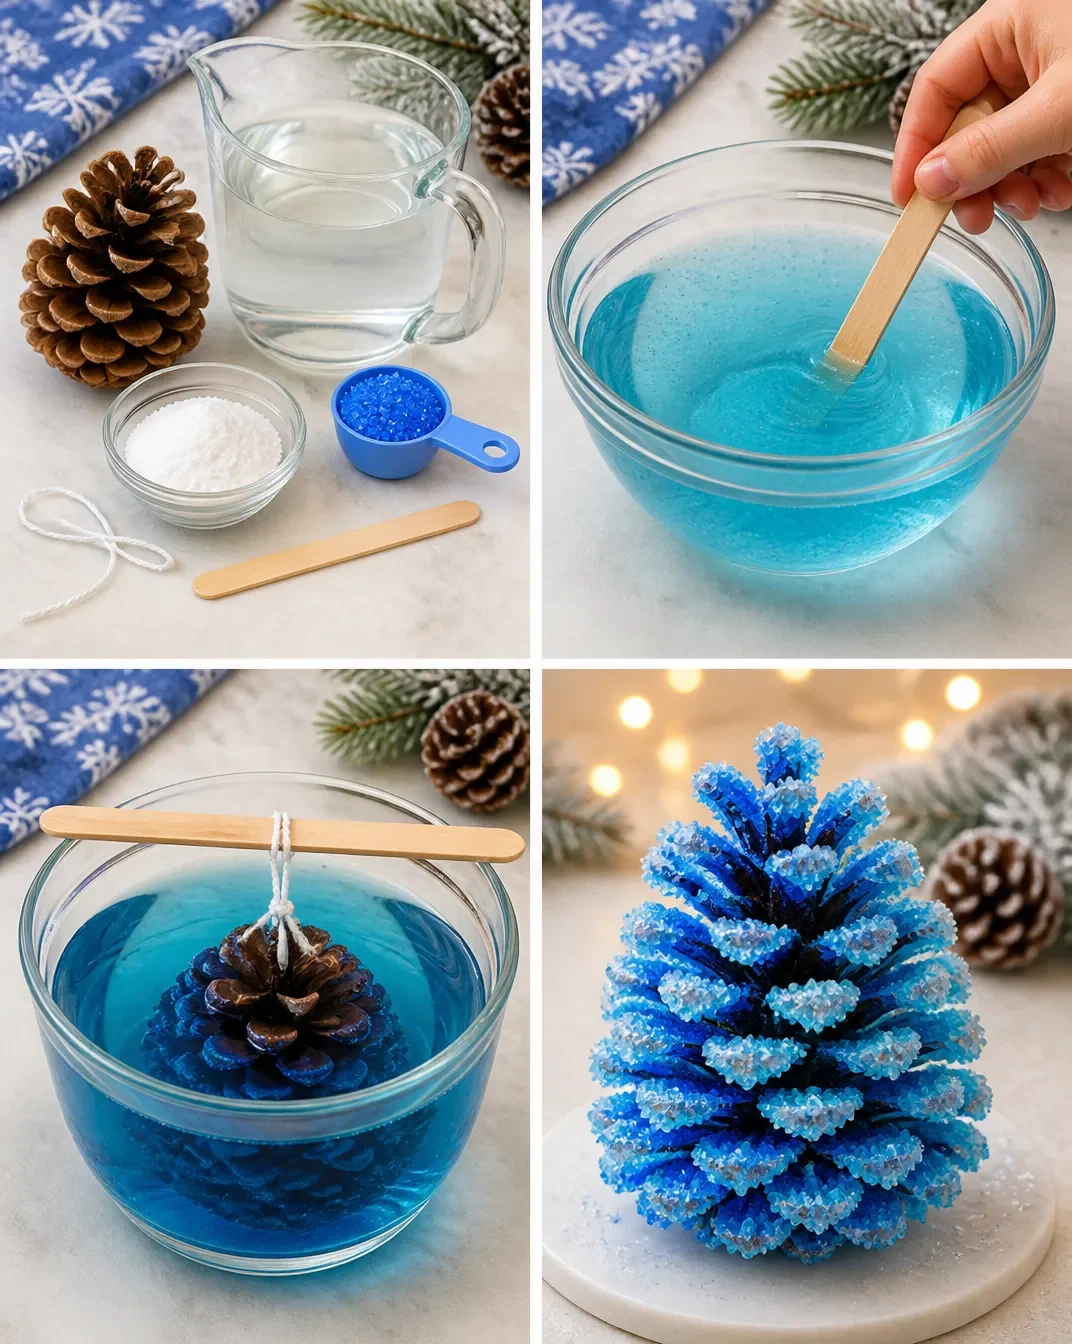
- Prepare the Solution: Begin by boiling water in a heat-resistant container. Use approximately three cups of water for every cup of Borax powder. Slowly add the Borax to the water while stirring until it is fully dissolved.
- Set Up the Pinecones: If desired, attach a string to the top of the pinecone for easy hanging. This can help later when you want to display your creation.
- Submerge the Pinecones: Gently place the pinecone into the Borax solution, ensuring it’s fully submerged. You may want to use a spoon to keep it in place.
- Let It Sit: Allow the mixture to cool at room temperature for several hours, or overnight, for the best crystallization results.
- Remove and Rinse: After the waiting period, take the pinecone out and rinse it under cool water. This will remove any excess Borax and show off the beautiful crystals formed.
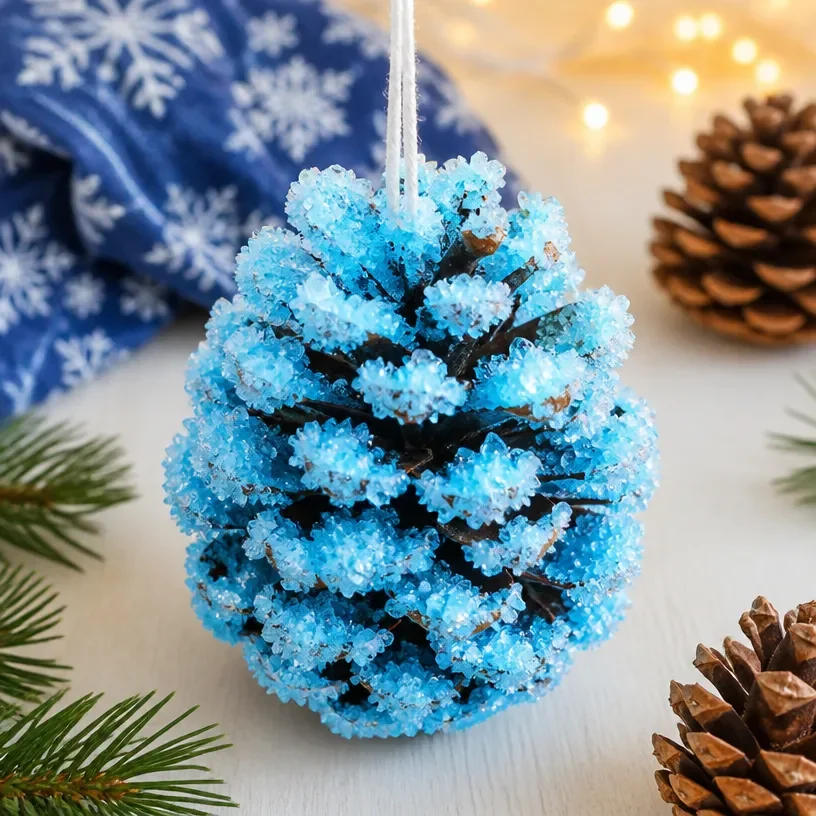
- Dry and Display: Let your pinecone dry completely. Once it’s dry, you can place it in a sunny window, or add it as a winter decoration around your home.
Helpful Tips
- Work in a Well-Ventilated Area: When using Borax, ensure your crafting space is well-ventilated to avoid inhaling any dust.
- Use Different Types of Pinecones: Experiment with different sizes and types of pinecones to see how they change in appearance with the crystals.
- Control the Crystal Size: By adjusting the amount of Borax used or cooling time, you can create larger or smaller crystals to suit your artistic preferences.
Creative Variations
- Painted Pinecones: Before dipping them into the Borax solution, consider painting your pinecones in vibrant colors for a unique touch.
- Glitter Accents: After drying, sprinkle some glitter on your pinecones for an extra sparkle.
- Seasonal Themes: Add embellishments like snowflakes or holiday decorations to make them festive for the season.
Making It With Kids
This project is perfect for family bonding time. Just remember, while the steps are easy, it’s essential to supervise young children when working with hot water. Older kids might enjoy taking the lead and experimenting with different colors and techniques. You may also find How To Create Glowing Bubble Lamps With Leds useful.
How to Display, Use, or Gift It
Once your crystal pinecones are complete, they make delightful holiday decorations or thoughtful gifts. You can decorate your home by placing them in bowls, hanging them from branches, or giving them as unique presents for family and friends.
Frequently Asked Questions
Can I use other types of glue instead of Borax?
It’s best to stick with Borax for crystal formation. Other glues may not produce the desired effect.
How long do the crystals last?
The crystals should last indefinitely if kept out of moisture. Store them in a dry place.
Will the crystals melt if placed outside?
Yes, if exposed to moisture or rain, they might dissolve or lose their shape.
Can I modify my Borax solution?
Feel free to adjust the ratio of Borax to water. Just keep in mind that it affects the crystal size and density.
What should I do if I don’t see crystals forming?
Make sure the solution was saturated; if not, adding more Borax one tablespoon at a time while stirring can help.
Is Borax safe for children?
While Borax is generally safe when handled properly, it’s best to supervise and discourage ingestion.
Conclusion
Incorporating winter crafts like crystal pinecones into your seasonal activities is a fantastic way to enjoy time with your family. For an even more delightful experience, consider learning about another crystal craft, such as how to make crystal pinecones with Borax, which can add an educational twist to your projects!
Print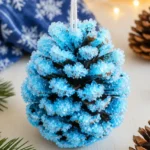
Crystal Pinecones Craft
- Total Time: 720 minutes
- Makes: Varies
Description
Create stunning crystal pinecones with your family for a fun winter activity.
Materials
- Pinecones
- Borax powder
- Water
- A heat-resistant container
- A spoon for stirring
- String (optional for hanging)
Instructions
- Prepare the solution: Begin by boiling water in a heat-resistant container. Use approximately three cups of water for every cup of Borax powder. Slowly add the Borax to the water while stirring until it is fully dissolved.
- Set up the pinecones: If desired, attach a string to the top of the pinecone for easy hanging.
- Submerge the pinecones: Gently place the pinecone into the Borax solution, ensuring it’s fully submerged.
- Let it sit: Allow the mixture to cool at room temperature for several hours, or overnight, for the best crystallization results.
- Remove and rinse: After the waiting period, take the pinecone out and rinse it under cool water.
- Dry and display: Let your pinecone dry completely and then place it in a sunny window for decoration.
Notes
Work in a well-ventilated area when using Borax and supervise young children, especially around hot water.