

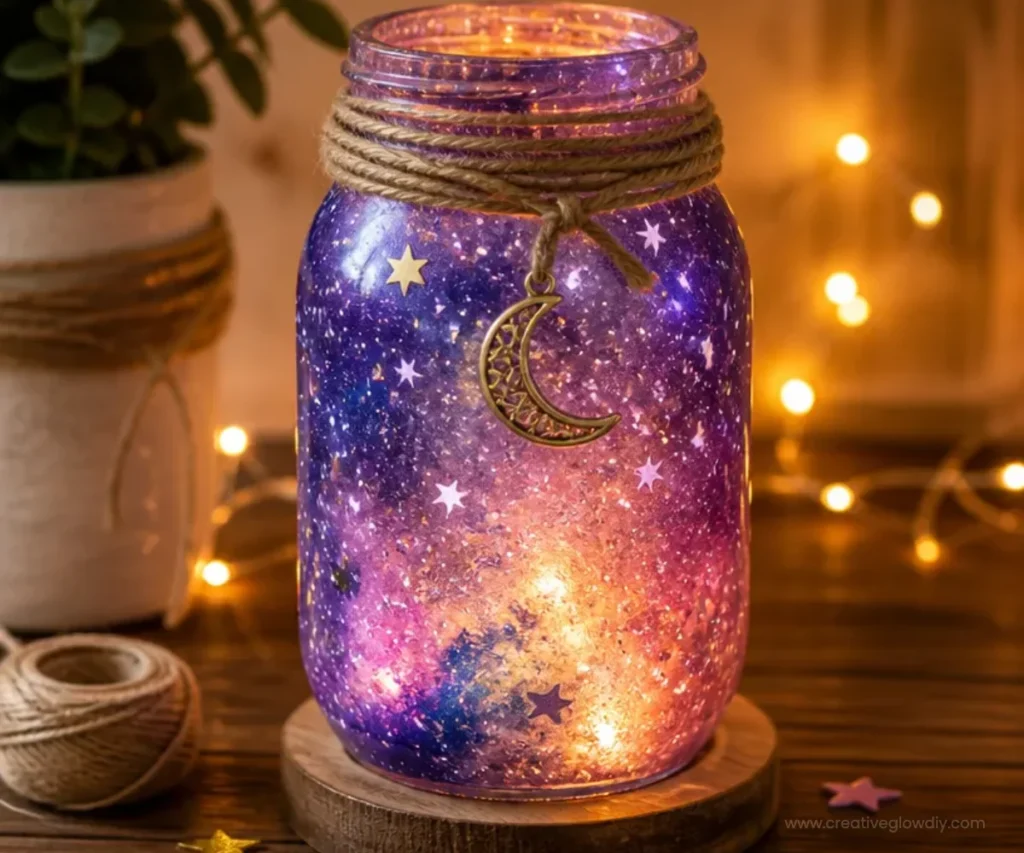
DIY Galaxy Jar Lamp | Easy Starry Mason Jar Light
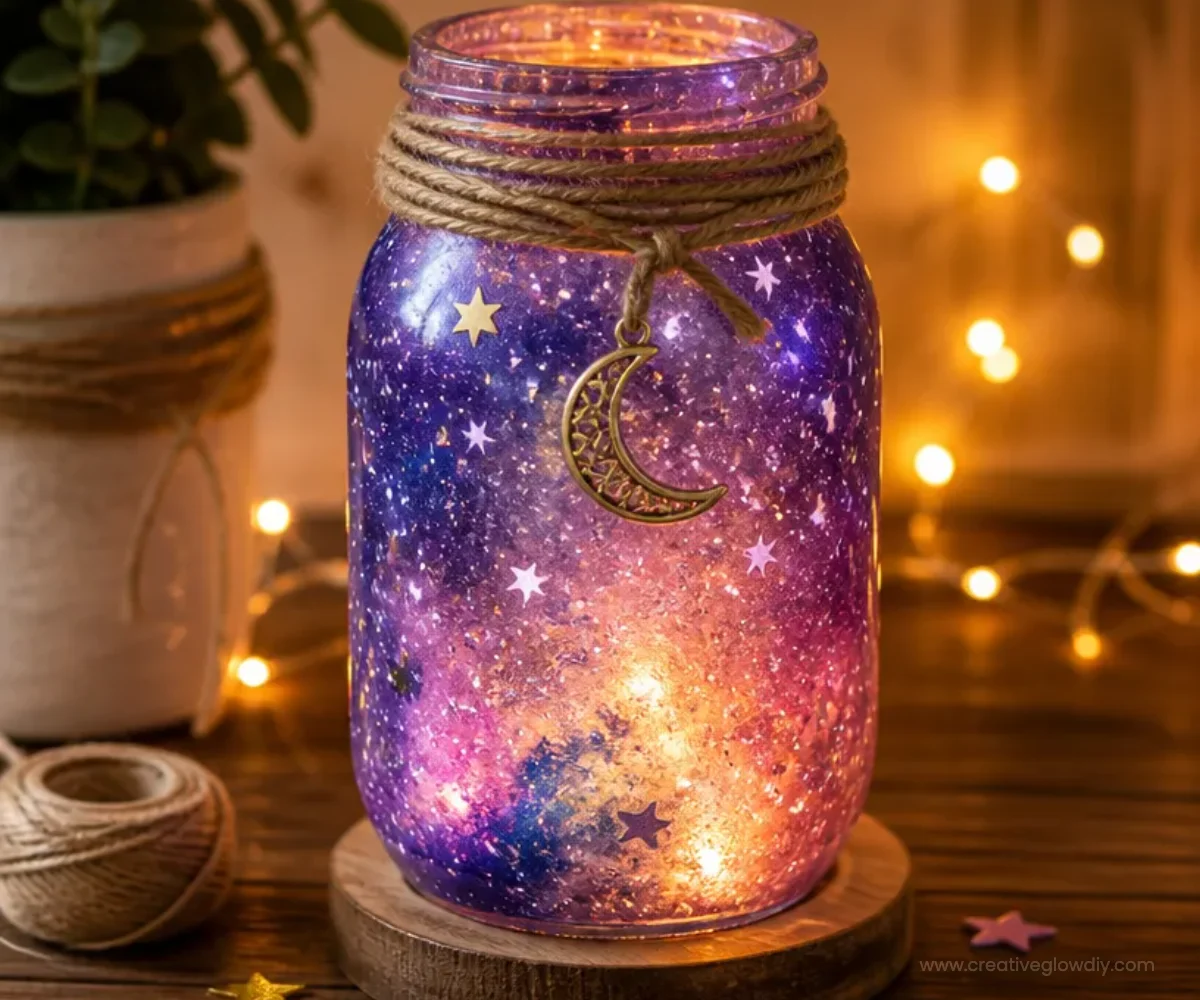
Creating a glowing galaxy jar lamp can be an exciting project for anyone interested in DIY decor. This easy-to-follow craft not only brightens up your home but also allows for creativity in design, making it a delightful way to spend an afternoon. You may also find Diy Mason Jar Lanterns Glow Sticks Outdoor Lighting 2 useful.
Why You’ll Love This Project
There are several reasons to enjoy making a galaxy jar lamp:
- Customizable: You can choose your colors and patterns, creating a truly personal touch.
- Budget-Friendly: This project uses inexpensive materials, ensuring you won’t break the bank.
- Fun for Everyone: It’s suitable for crafters of all ages, making it an ideal family activity.
- Beautiful Ambient Light: Once complete, it adds a soft, inviting glow to any room.
Materials You’ll Need
- Mason jar (any size)
- Black paint (acrylic or spray)
- Glow-in-the-dark paint
- Paintbrushes
- Star stickers or stencils
- Battery-operated tealight or fairy lights
How to Make DIY Galaxy Jar Lamp | Easy Starry Mason Jar Light
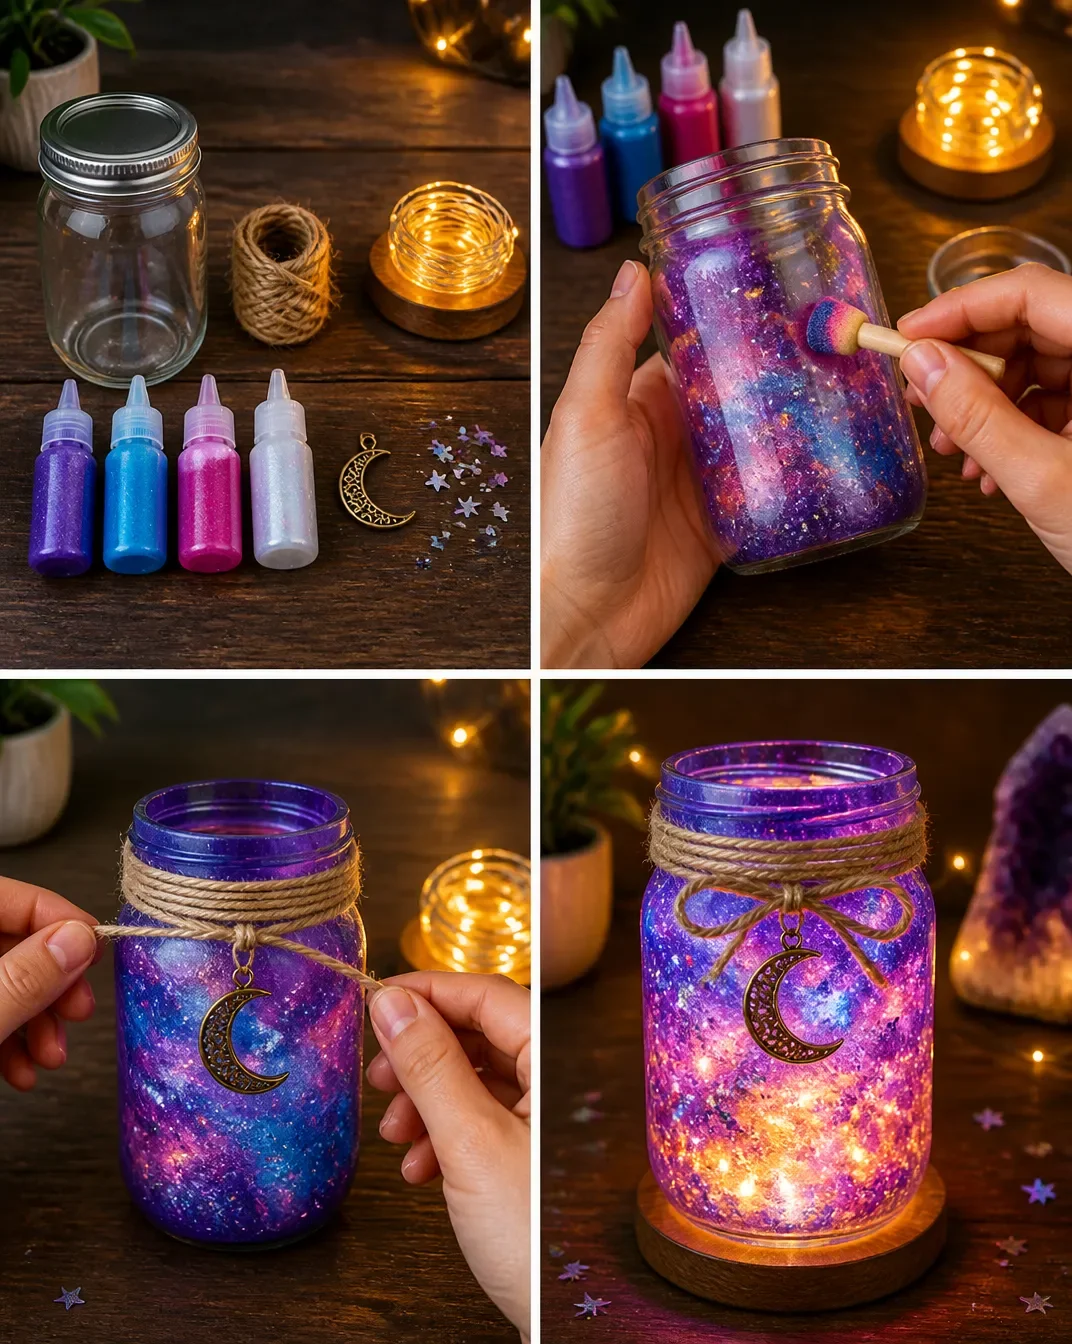
Prepare Your Jar: Start by cleaning your mason jar thoroughly. Ensure there are no labels or residue left on it.
Paint the Inside: Use a black paint to cover the inside of the jar. You can use a paintbrush for precision. Let it dry completely.
Add Stars: Once the black paint is dry, stick star stickers or use stencils to create your desired star designs. You can also paint stars if you prefer that look.
Apply Glow Paint: Lightly apply glow-in-the-dark paint over the stars. This will be what really makes your lamp shine in the dark. Allow the paint to dry according to the package instructions.
Add Lights: Place the battery-operated tealight or fairy lights inside the jar. If using fairy lights, make sure to wrap them carefully around the inside before securing the lid.
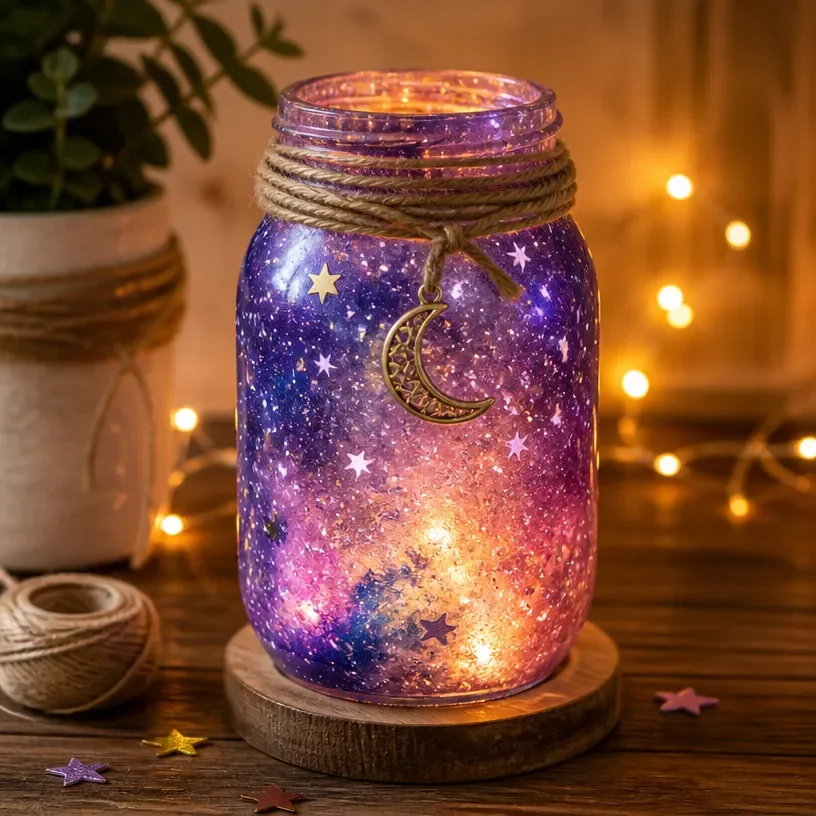
Display Your Creation: Your DIY galaxy jar lamp is now finished! Find a charming spot to place it, or gift it to someone special.
Helpful Tips
- Layering: For a more vibrant effect, consider layering different shades of glow paint.
- Painting Technique: Use a sponge for a whimsical application of paint, giving it more texture.
- Child-Friendly: If crafting with children, supervise them when using paint and small items like stickers.
Creative Variations
You can personalize your galaxy jar lamp in several ways:
- Try different color combinations for your glow paint.
- Use mini figurines or other decorative elements inside the jar for added flair.
- Create themed jars for holidays or seasons.
Making It With Kids
Involving kids in this project can be a fantastic bonding experience. Ensure they understand safe paint usage and assist with applying paint and arranging decorations. Adult supervision is recommended when handling small tools or items.
How to Display, Use, or Gift It
These galaxy jar lamps make stunning decor pieces for bedrooms, nurseries, or living rooms. You can even create customized jars for friends as thoughtful gifts!
Frequently Asked Questions
1. How does the glow-in-the-dark paint work?
The paint absorbs light during the day and glows in darkness. Make sure to expose it to light for the best effect.
2. Can I reuse the mason jar?
Absolutely! Just clean the inside out thoroughly before starting a new project.
3. What type of glow paint should I buy?
Look for glow-in-the-dark paint that specifies it is suitable for surfaces like glass. Acrylic paints work great!
4. Will the paint wash off?
Once dried, acrylic paint should remain intact unless scrubbing hard. It’s best to use a protective seal if desired.
5. Are there any safety precautions I should follow?
Always use paint in a well-ventilated area and avoid ingesting any materials. Supervise children to ensure safe crafting.
6. What other mason jar projects can I try?
Consider exploring other creative projects like DIY mason jar lanterns or pressed wildflower jars for more fun ideas!
Conclusion
Crafting a DIY galaxy jar lamp is a wonderful way to unleash your creativity while making unique decor for your home. If you’re looking for even more ideas, check out this galaxy mason jar project for inspiration!
Print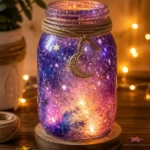
DIY Galaxy Jar Lamp
- Total Time: 15 minutes
- Makes: 1 galaxy jar lamp
Description
Create a glowing galaxy jar lamp with this easy and customizable craft project, perfect for brightening up your home.
Materials
- Mason jar (any size)
- Black paint (acrylic or spray)
- Glow-in-the-dark paint
- Paintbrushes
- Star stickers or stencils
- Battery-operated tealight or fairy lights
Instructions
- Prepare your jar: Start by cleaning your mason jar thoroughly. Ensure there are no labels or residue left on it.
- Paint the inside: Use a black paint to cover the inside of the jar. You can use a paintbrush for precision. Let it dry completely.
- Add stars: Once the black paint is dry, stick star stickers or use stencils to create your desired star designs. You can also paint stars if you prefer that look.
- Apply glow paint: Lightly apply glow-in-the-dark paint over the stars. This will be what really makes your lamp shine in the dark. Allow the paint to dry according to the package instructions.
- Add lights: Place the battery-operated tealight or fairy lights inside the jar. If using fairy lights, make sure to wrap them carefully around the inside before securing the lid.
- Display your creation: Your DIY galaxy jar lamp is now finished! Find a charming spot to place it, or gift it to someone special.
Notes
Consider layering different shades of glow paint for a vibrant effect. Supervise children when using paints and small items.