

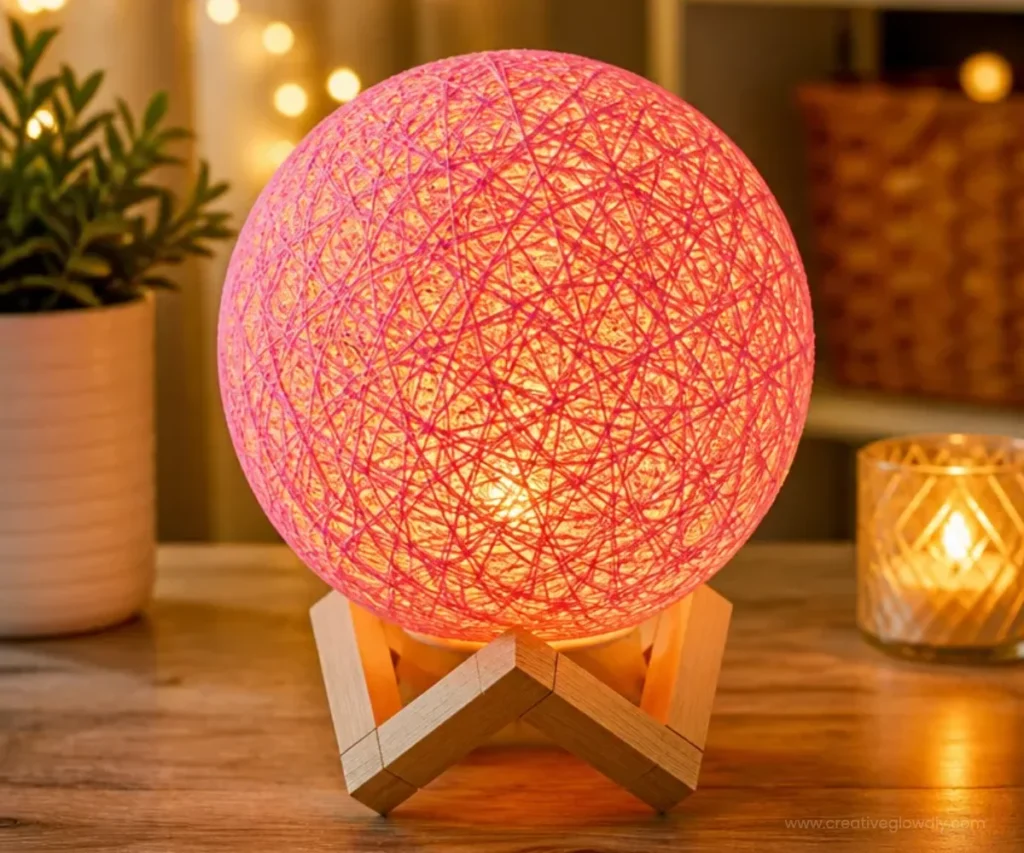
DIY Thread Balloon Lamp
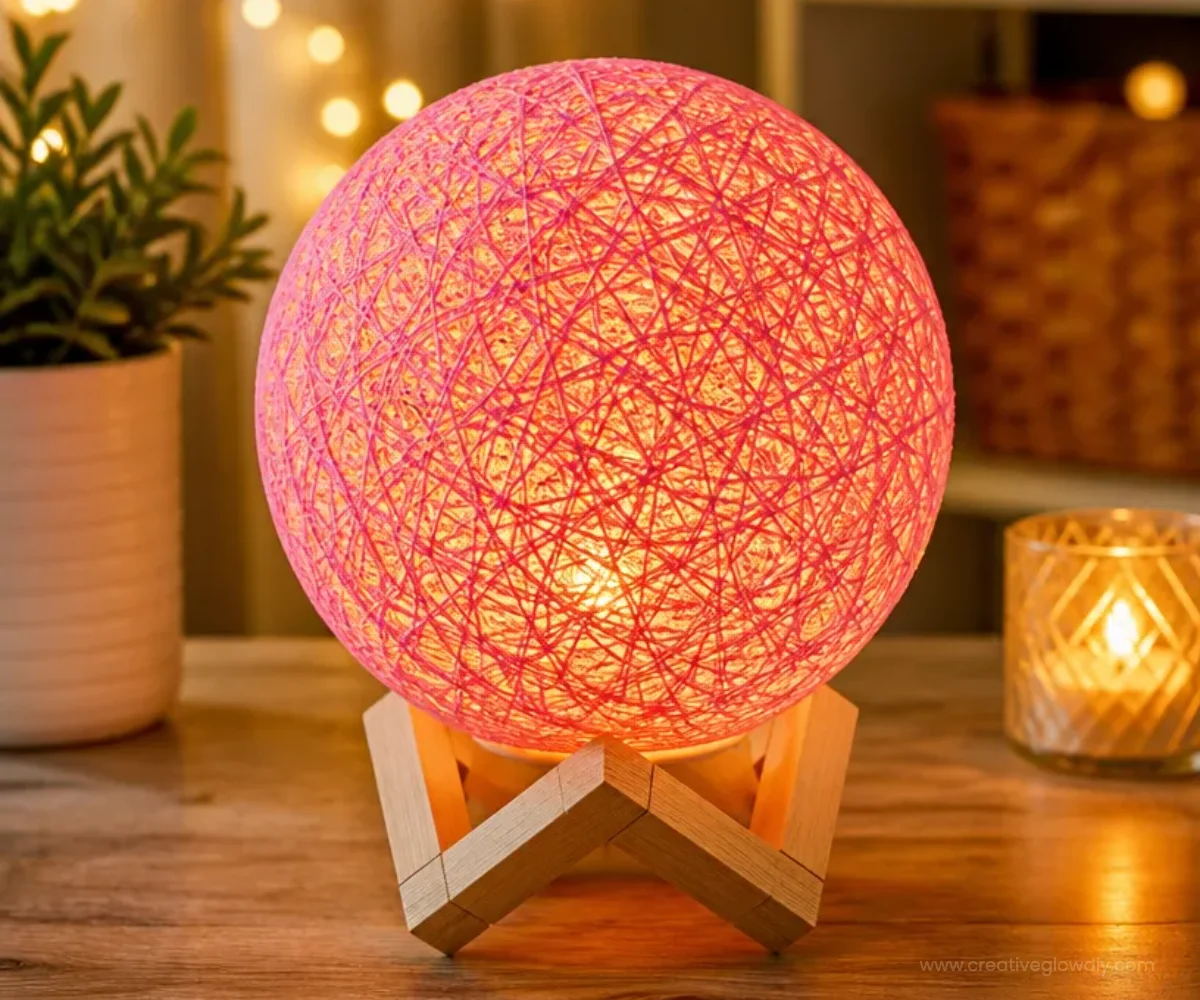
Creating a thread balloon lamp is a delightful way to add a unique and artistic touch to your home decor. This craft not only brightens up your living space but also gives you the opportunity to express your creativity. It’s an enjoyable project that’s both simple and rewarding, perfect for any skill level! You may also find Diy Cloud Glow Lamp Soft Led Night Light useful.
Why You’ll Love This Project
Here are a few reasons to dive into making your own thread balloon lamp: You may also find Diy Thrifted Lamp Base Makeover useful.
- Personalization: Choose your colors and patterns to match your home decor, making each lamp truly one-of-a-kind.
- Budget-Friendly: This project utilizes inexpensive materials, so you can create stunning decor without breaking the bank.
- Fun with Family: Involve your kids in this craft for a fun family activity. It’s sure to spark their creativity!
- Stylish Aesthetic: Once completed, the lamp adds a modern and whimsical touch to your space.
- Great Gift Idea: Handmade gifts are always cherished. This lamp is perfect for birthdays, holidays, or just to say thank you.
You may also find All Season Diy Floating Flower Bowl Centerpiece useful.
Materials You’ll Need
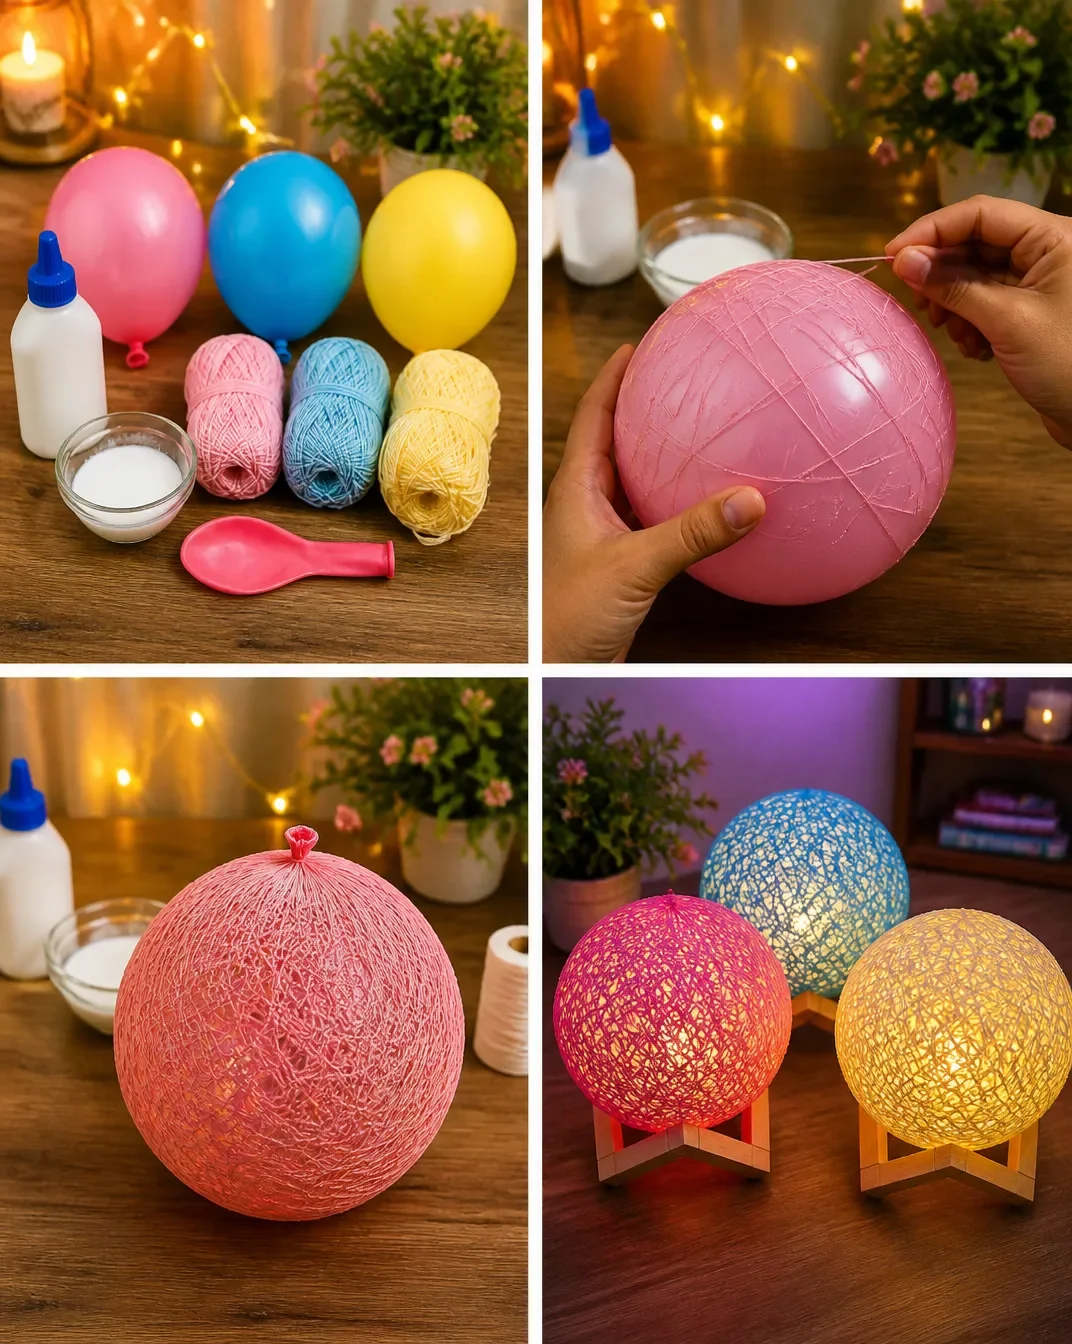
To create your thread balloon lamp, gather these materials:
- Balloons
- Cotton thread or twine
- White glue or fabric stiffener
- A bowl or container (to hold the balloon)
- LED light source or fairy lights
- Scissors
- A paintbrush (for applying the glue)
How to Make DIY Thread Balloon Lamp
Follow these steps to craft your thread balloon lamp:
- Prepare the Balloon: Inflate a balloon to your desired size. Secure it properly so it holds air during the crafting process.
- Mix the Glue Solution: In a bowl, mix equal parts of water and white glue, or use fabric stiffener according to the instructions on the bottle.
- Apply Thread: Soak the cotton thread in the glue solution. Start wrapping the thread around the balloon in random patterns. Ensure you layer the thread closely but don’t overcrowd it.
- Dry the Balloon: Once you’ve fully covered the balloon with thread, place it in a bowl to maintain its shape. Let it dry completely, which may take several hours or overnight.
- Pop the Balloon: After the thread has dried, carefully pop the balloon and remove it from inside the thread structure.
- Add the Light Source: Insert the LED light source into the thread lamp. This will illuminate your beautiful creation.
Helpful Tips
- Careful With Glue: Avoid getting glue on your fingers as it may stick to the thread and make wrapping difficult.
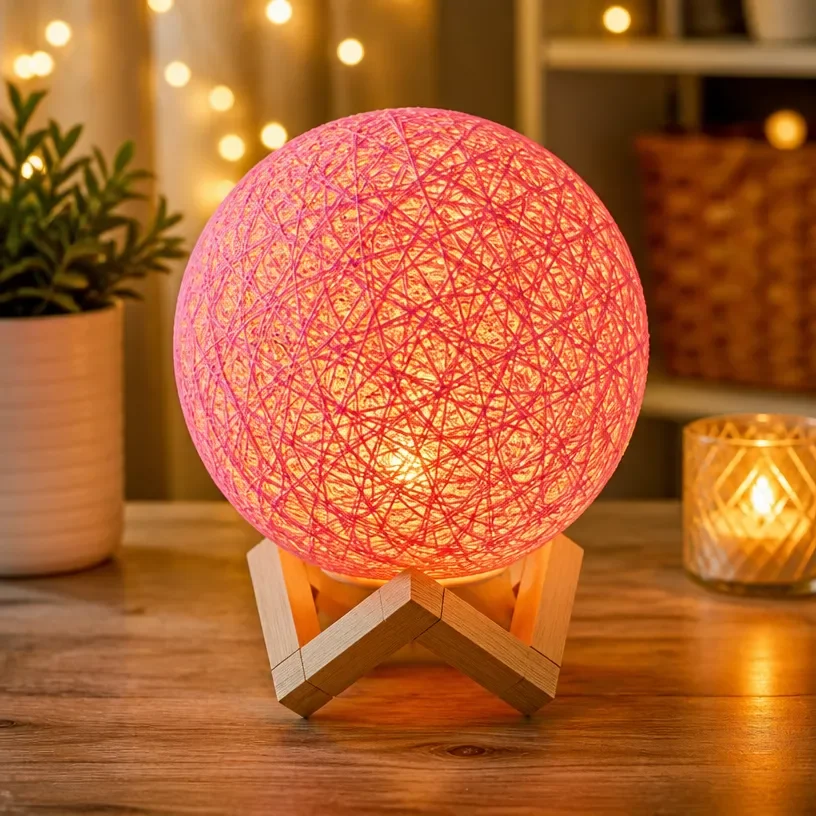
- Colorful Variations: Consider using colored thread or yarn for a more vibrant look. You could also try adding glitter for a sparkling effect.
- Choose the Right Light: Stick to LED fairy lights to prevent any risk of fire and ensure your lamp remains cool to the touch.
Creative Variations
- Different Sizes: Experiment with various balloon sizes to create a set of lamps that coordinate with one another.
- Seasonal Themes: Decorate with seasonal colors or add themes by altering the thread colors to match holidays (e.g., red and green for Christmas).
- Layering: For a more dynamic look, try using multiple layers of threads in complementing colors.
Making It With Kids
This project is perfect for involving the kids. Just ensure that adults handle any sharp tools or hot glue to ensure safety. In giving guidance and assistance, you can foster creativity and cooperation while making beautiful decorations together.
How to Display, Use, or Gift It
Your finished thread balloon lamp can be displayed in a variety of ways! Use them as bedside lamps, unique accent decor pieces on a side table, or even as part of a larger lighting arrangement in your living space. If gifting, consider combining it with a note about the sweet memories you shared while making it.
Frequently Asked Questions
How long do I need to wait for the glue to dry?
The drying time can vary, but it’s generally best to let the glue dry for at least 6-8 hours or overnight for optimal results.
Can I use regular balloons?
Yes, regular balloons will work, but ensure they are strong enough to hold the thread while it dries.
What type of glue is best for this project?
A white school glue mixed with water works well, or you can use fabric stiffener for a more durable finish.
Can I use other materials instead of thread?
Yes, thin yarns or even string can work, but keep in mind that each material will yield different textures and thicknesses.
Is this project safe for kids?
Yes, but always supervise them while crafting and ensure that they use safe methods when wrapping the thread.
Conclusion
Creating a DIY thread balloon lamp is an engaging activity that results in a stylish and functional piece of home decor. If you’re inspired to explore lighting projects further, check out this guide on making a string pendant lamp for more beautiful lighting options! Enjoy crafting!
Print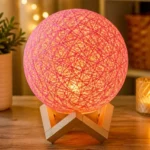
DIY Thread Balloon Lamp
- Total Time: 495 minutes
- Makes: 1 lamp
Description
Create a unique and artistic thread balloon lamp for a stylish home decor piece that is budget-friendly and perfect for family fun.
Materials
- Balloons
- Cotton thread or twine
- White glue or fabric stiffener
- A bowl or container (to hold the balloon)
- LED light source or fairy lights
- Scissors
- A paintbrush (for applying the glue)
Instructions
- Prepare the balloon: Inflate a balloon to your desired size and secure it properly.
- Mix the glue solution: In a bowl, mix equal parts of water and white glue, or use fabric stiffener as per instructions.
- Apply the thread: Soak the cotton thread in the glue solution and wrap it around the balloon in random patterns without overcrowding.
- Dry the balloon: Place the wrapped balloon in a bowl and let it dry completely for several hours or overnight.
- Pop the balloon: Once dried, carefully pop the balloon and remove it from inside the thread structure.
- Add the light source: Insert the LED light source into the thread lamp for illumination.
Notes
Consider using colored thread or yarn for vibrant looks, and ensure adult supervision when crafting with kids.