

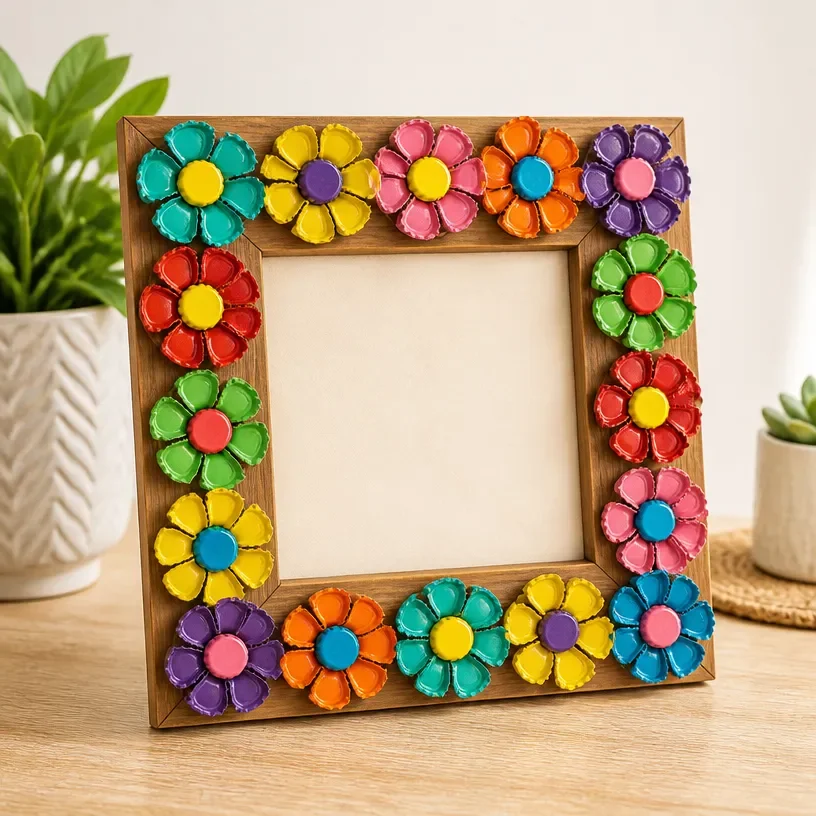
Upcycled Bottle Cap Floral Wall Art You may also find Diy Upcycled Bottle Cap Flower Magnets useful.
Creating beautiful home decor doesn’t have to break the bank or require extensive crafting skills. With the fun and versatile technique of upcycling, you can transform everyday materials into something unique, like an Upcycled Bottle Cap Floral Wall Art piece. This project not only allows you to creatively repurpose those bottle caps you might otherwise throw away but also adds a charming decorative element to your home. You may also find Diy Upcycled Bottle Christmas Village useful.
Using bottle caps as colorful flower petals offers an innovative way to showcase your creativity. The finished piece can brighten up walls in any room, making it perfect for a guest room, kitchen, or even a child’s play area. Plus, it’s a fun project to do with kids, encouraging their imagination while being budget-friendly. You may also find Diy Upcycled Wine Bottle Vase useful.
Why You’ll Love This Project
- Affordable Materials: Bottle caps can often be found for free, making this project easy on the wallet.
- Beginner-Friendly Process: This project doesn’t require advanced crafting skills, making it accessible for everyone.
- Useful Upcycling: Repurposing materials that would otherwise go to waste is a great way to contribute to a more sustainable lifestyle.
- Customizable Finish: You can personalize the color scheme and arrangement to match your home decor style.
- Attractive Display Possibilities: This wall art can complement various design themes, from rustic to modern.
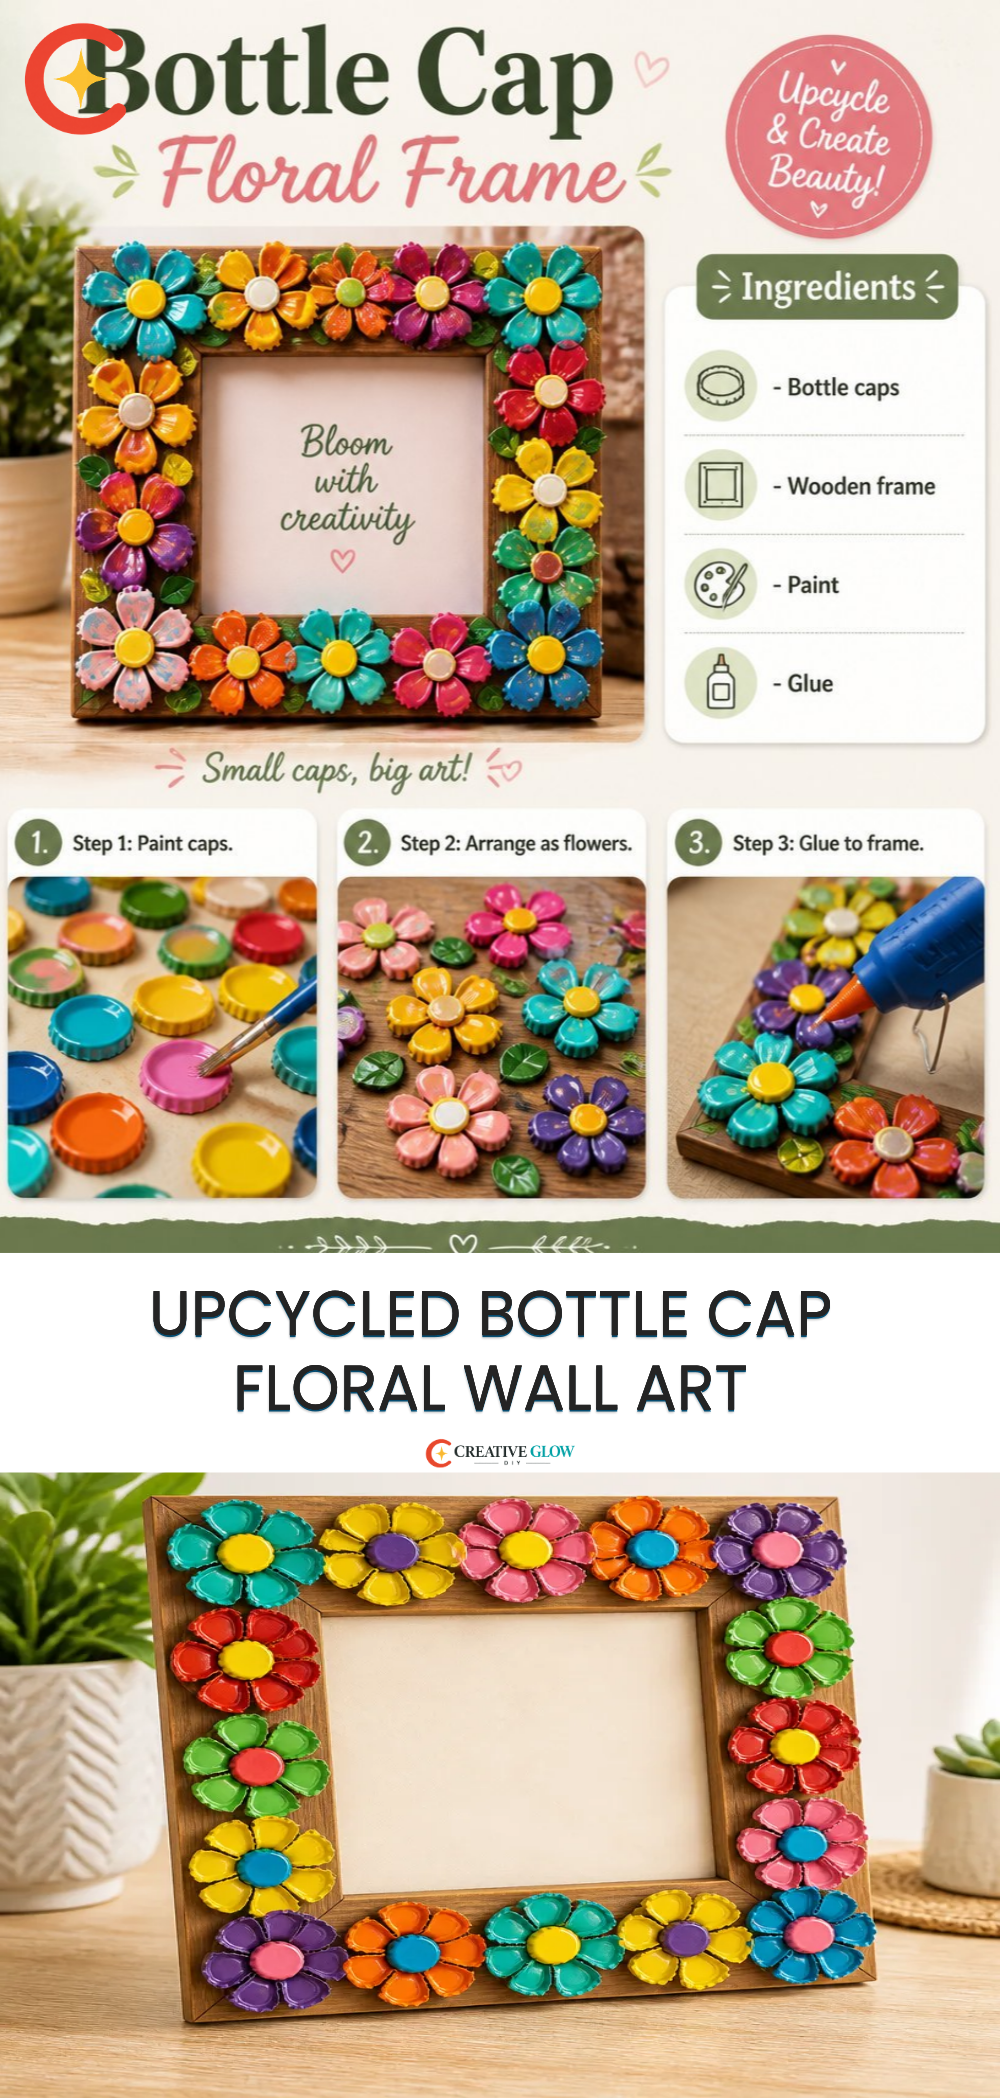
Materials and Supplies
- Assorted bottle caps (preferably colorful)
- Wooden board or canvas (size depends on your design preference)
- Hot glue gun and glue sticks
- Acrylic paints (optional, for additional color)
- Paintbrush (if painting the board)
- Optional embellishments (like buttons or beads for the center of flowers)
A few notes on materials
When selecting your bottle caps, aim for a mix of colors and shapes for visual interest. If you’d like to add a personalized touch, consider painting the wooden board or canvas in a color that coordinates with your home. Also, think about how you want to arrange the bottle caps some may work better as flower centers, while others serve as petals.
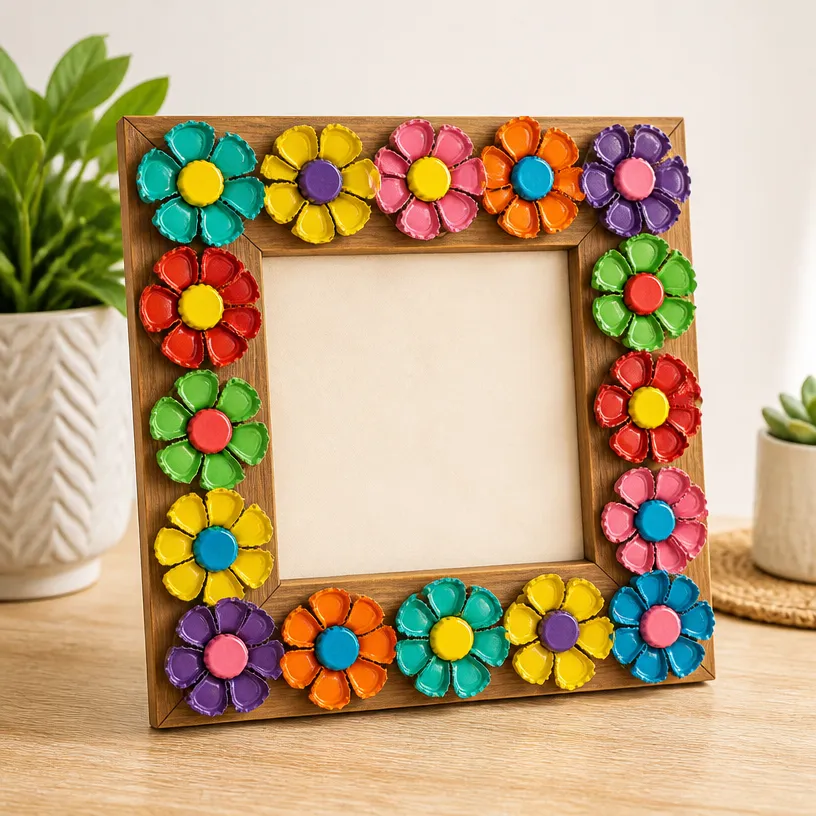
How to Make Upcycled Bottle Cap Floral Wall Art
Step 1: Prepare the Board or Canvas
Begin by deciding whether you want to paint your board or canvas. If you choose to do so, apply a coat of acrylic paint and allow it to dry completely. This will serve as the base for your artwork and may enhance the vibrancy of your bottle caps.
Step 2: Arrange the Bottle Caps
Before securing anything, lay out your bottle caps on the board to create a floral pattern. Experiment with different arrangements, layering caps to form flowers and leaves. Trust your instincts, and go for a design that feels balanced yet playful.
Step 3: Secure the Bottle Caps
Once satisfied with your layout, use a hot glue gun to carefully attach each bottle cap to the board. Make sure to apply enough glue to secure them firmly, as this will ensure the durability of your artwork.
Step 4: Add Embellishments
If you’d like to further personalize your floral art, consider adding decorative elements such as buttons or beads in the center of the bottle caps. This extra detail can enhance the overall design, making your piece even more charming.
Step 5: Final Touches
After your artwork is fully assembled, allow the glue to set according to the product’s instructions. Once everything is securely in place, consider applying a clear sealant over the entire piece to protect it from dust and damage.
Tips for a Cleaner, More Polished Finish
- Surface Preparation: Ensure the board or canvas is clean and dry before starting your project to ensure the glue adheres properly.
- Balanced Placement: As you arrange your bottle caps, step back frequently to assess the balance and flow of your design.
- Avoiding Excess Adhesive: Use just enough hot glue to secure each cap without allowing it to spill over, which can create a messy appearance.
- Allow Adequate Drying Time: Be sure to follow the adhesive instructions, allowing ample time for everything to dry completely.
Ways to Customize It
- Color Palette: Play around with different paint colors for the base or choose bottle caps that reflect seasonal colors.
- Finish: Consider distressing the wood for a rustic look, or apply a glossy topcoat for a modern feel.
- Size Variations: Create smaller pieces for a gallery wall or larger ones to serve as statement art.
- Seasonal Styling: Change out the embellishments according to the season (like autumn leaves or winter snowflakes).
How to Style and Display It
The Upcycled Bottle Cap Floral Wall Art can be a perfect addition to any space in your home, especially when styled thoughtfully. Consider displaying it on a shelf or a mantel to add a pop of color. You could also hang it in your entryway for a warm welcome or on a gallery wall alongside other artworks. When styling, remember to vary the heights of your other decor to create a more dynamic arrangement. Group in odd numbers for visual interest and ensure there’s enough breathing room between objects.
Care and Storage
To clean your bottle cap wall art, lightly dust with a soft cloth. If your piece has a protective sealant, it should remain fairly resilient. During seasonal changes, you can store it in a safe, dry place to avoid any unnecessary wear.
Frequently Asked Questions
Can I use plastic bottle caps?
Yes! Plastic bottle caps can also be used for this project, and they come in many colors, making them a great choice.
What type of paint works best for the board?
Acrylic paints work well for this type of project, as they adhere easily and come in a wide variety of colors.
How do I hang my bottle cap wall art?
You can use picture hangers or command strips, depending on the weight of your piece. Ensure they’re secured properly for safe display.
Can I swap out the bottle caps for other materials?
Absolutely! Consider using other materials like buttons, glass marbles, or even scrap metal pieces to create a similar effect.
How can I make sure my flower caps stay secure?
Ensure you use a strong adhesive and allow it to dry completely before handling the artwork.
Conclusion
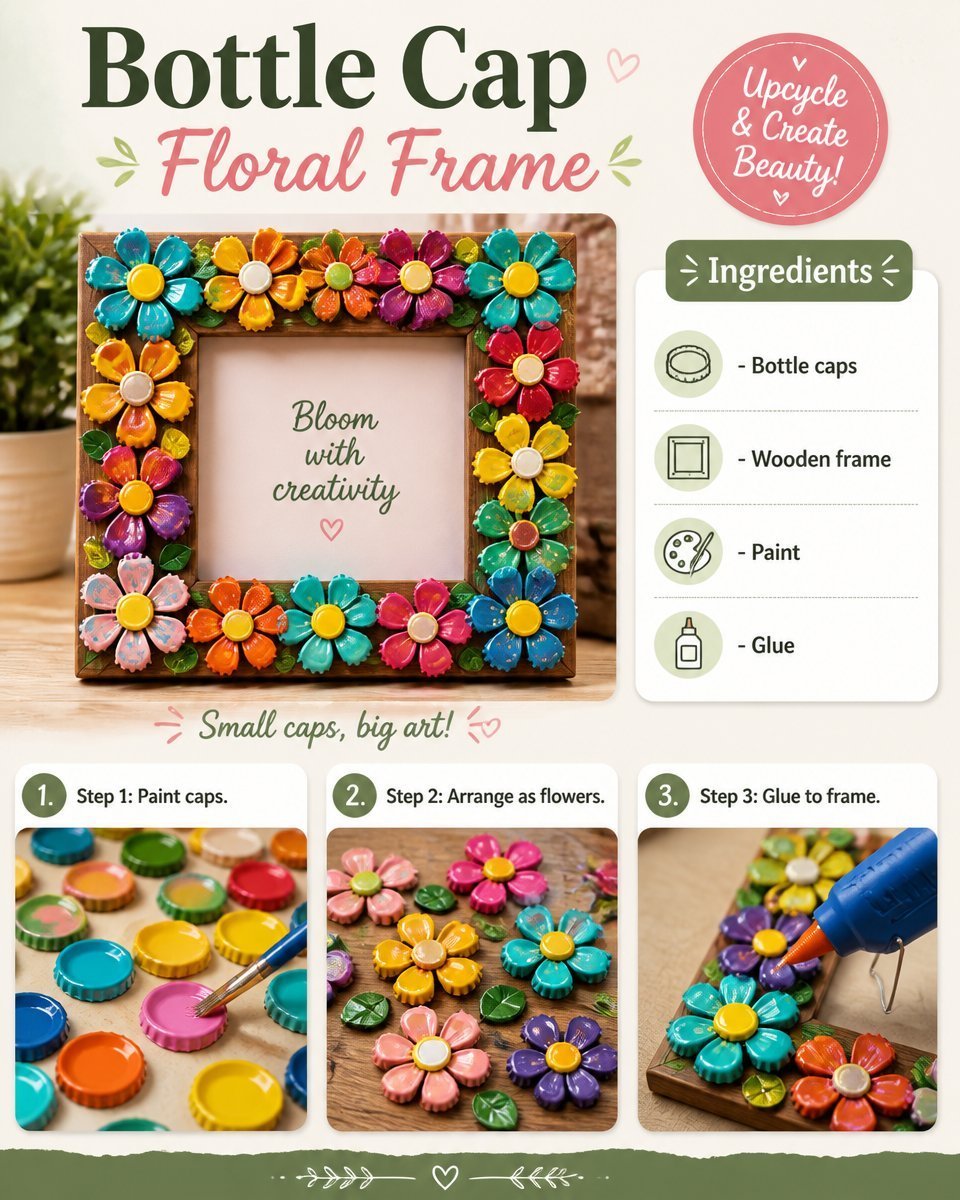
Creating your own Upcycled Bottle Cap Floral Wall Art is not only a rewarding project but also a sustainable way to add charm to your decor. You can further explore creative upcycling ideas, such as making Bottle Cap Crab Art, which can serve as a fun and unique accent in your home. For more inspiration, check out this lovely upcycled beer lover gift that showcases the potential of bottle caps in new, artistic ways!
Print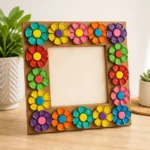
Upcycled Bottle Cap Floral Wall Art
- Total Time: 15 minutes
- Makes: 1 decorative wall art piece
Description
Transform everyday bottle caps into beautiful floral wall art with this easy upcycling project.
Materials
- Assorted bottle caps (preferably colorful)
- Wooden board or canvas
- Hot glue gun and glue sticks
- Acrylic paints (optional)
- Paintbrush (if painting)
- Optional embellishments (like buttons or beads)
Instructions
- Prepare the board or canvas by painting it if desired and allowing it to dry.
- Arrange the bottle caps on the board to create a floral pattern, experimenting with different layouts.
- Secure the bottle caps using a hot glue gun, ensuring they are firmly attached.
- Add embellishments like buttons or beads in the center of the caps for decorative flair.
- Allow the glue to set, and consider applying a protective sealant to finish.
Notes
Ensure the surface is clean before starting and allow adequate drying time for the glue to prevent any mess. Customize colors and sizes for a personalized touch.