
DIY Upcycled Plastic Bottle Flower Art Tutorial You may also find Diy Upcycled Bottle Christmas Village useful.
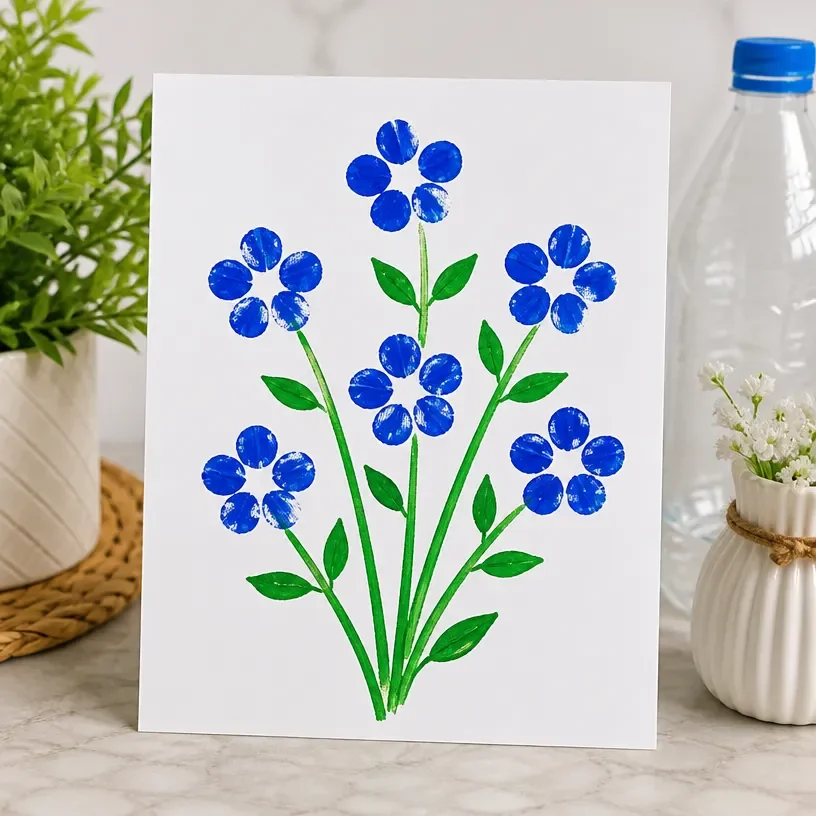
Creating beautiful decor can be easy, especially when you use materials that might otherwise go to waste. In this DIY project, we’ll transform simple plastic bottles into lovely flower art that can enhance any space in your home. This project is not only environmentally friendly but also budget-friendly, making it an ideal choice for those looking to add a touch of charm without spending much. You may also find Diy Upcycled Wine Bottle Vase useful.
The vibrant flowers made from upcycled plastic are perfect for brightening up your living room or filling a cozy corner. Each flower can be customized in color and design, ensuring that your finished product is unique and reflective of your personal style. If you’re looking for an additional inspiration, consider creating matching bottle cap flower magnets for a fun touch on your fridge or bulletin board.
Why You’ll Love This Project
- Affordable Materials: This project primarily uses plastic bottles, which are often readily available and free, making it a cost-effective solution for home decor.
- Beginner-Friendly Process: The steps are simple enough for anyone to follow, making it an excellent introduction to DIY projects.
- Useful Upcycling: Rather than throw away plastic bottles, you can breathe new life into them, contributing to a more sustainable lifestyle.
- Customizable Finish: You can paint or decorate the flowers in any color scheme to match your existing decor.
- Attractive Display Possibilities: The finished flower art can brighten up numerous spaces, whether indoors or out, and can be displayed in vases, wall hangings, or as part of a seasonal arrangement.
Materials and Supplies
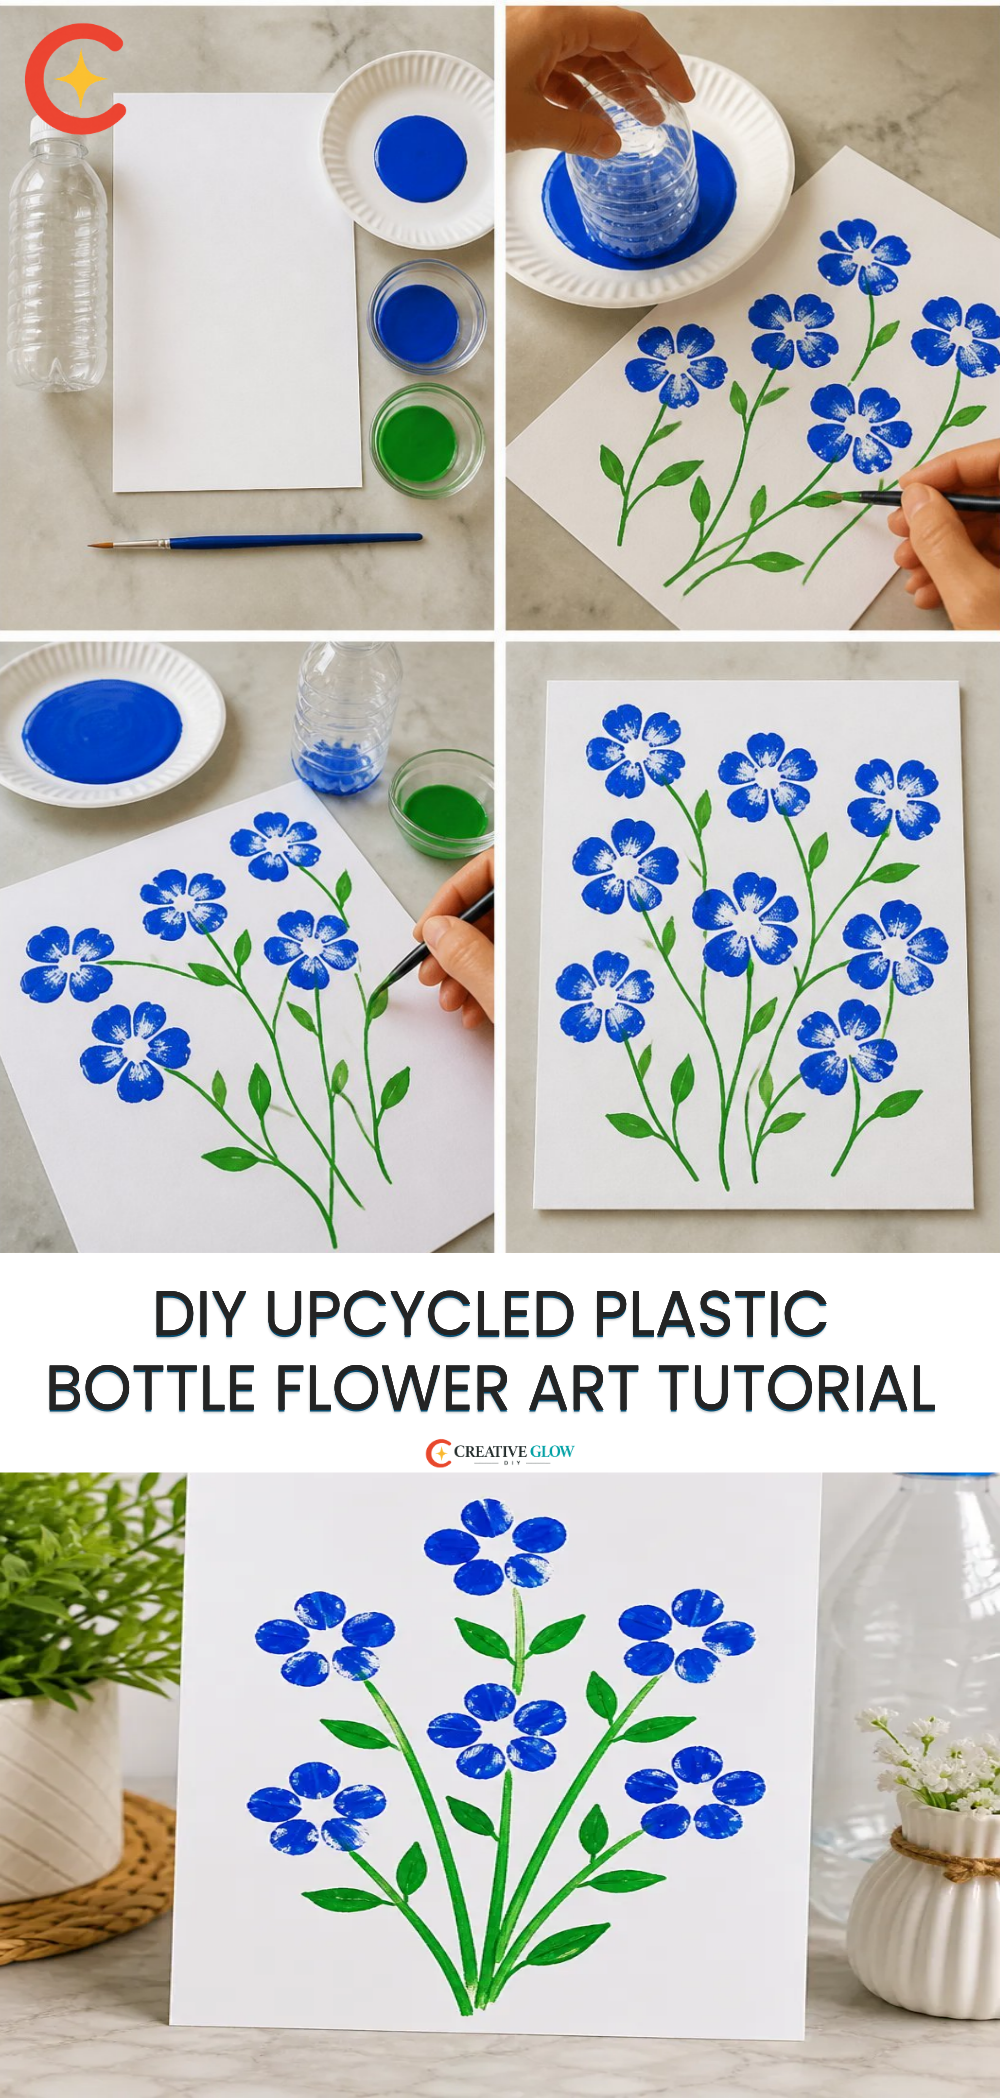
- Empty plastic bottles (any size)
- Acrylic paint (various colors)
- Scissors
- Hot glue gun and glue sticks
- Paintbrush
- Wire or sturdy stem materials (optional)
- Decorative embellishments (optional, such as glitter or beads)
A few notes on materials
Consider using bottles in different shapes and colors for a more dynamic look. If you have some old paint just lying around, that can be a great way to use what you already have for this upcycling project.
How to Make DIY Upcycled Plastic Bottle Flower Art Tutorial
Step 1: Prepare the Bottles
Start by cleaning the plastic bottles thoroughly. Remove any labels and rinse out any residue. Let them dry completely.
Step 2: Cut the Flowers
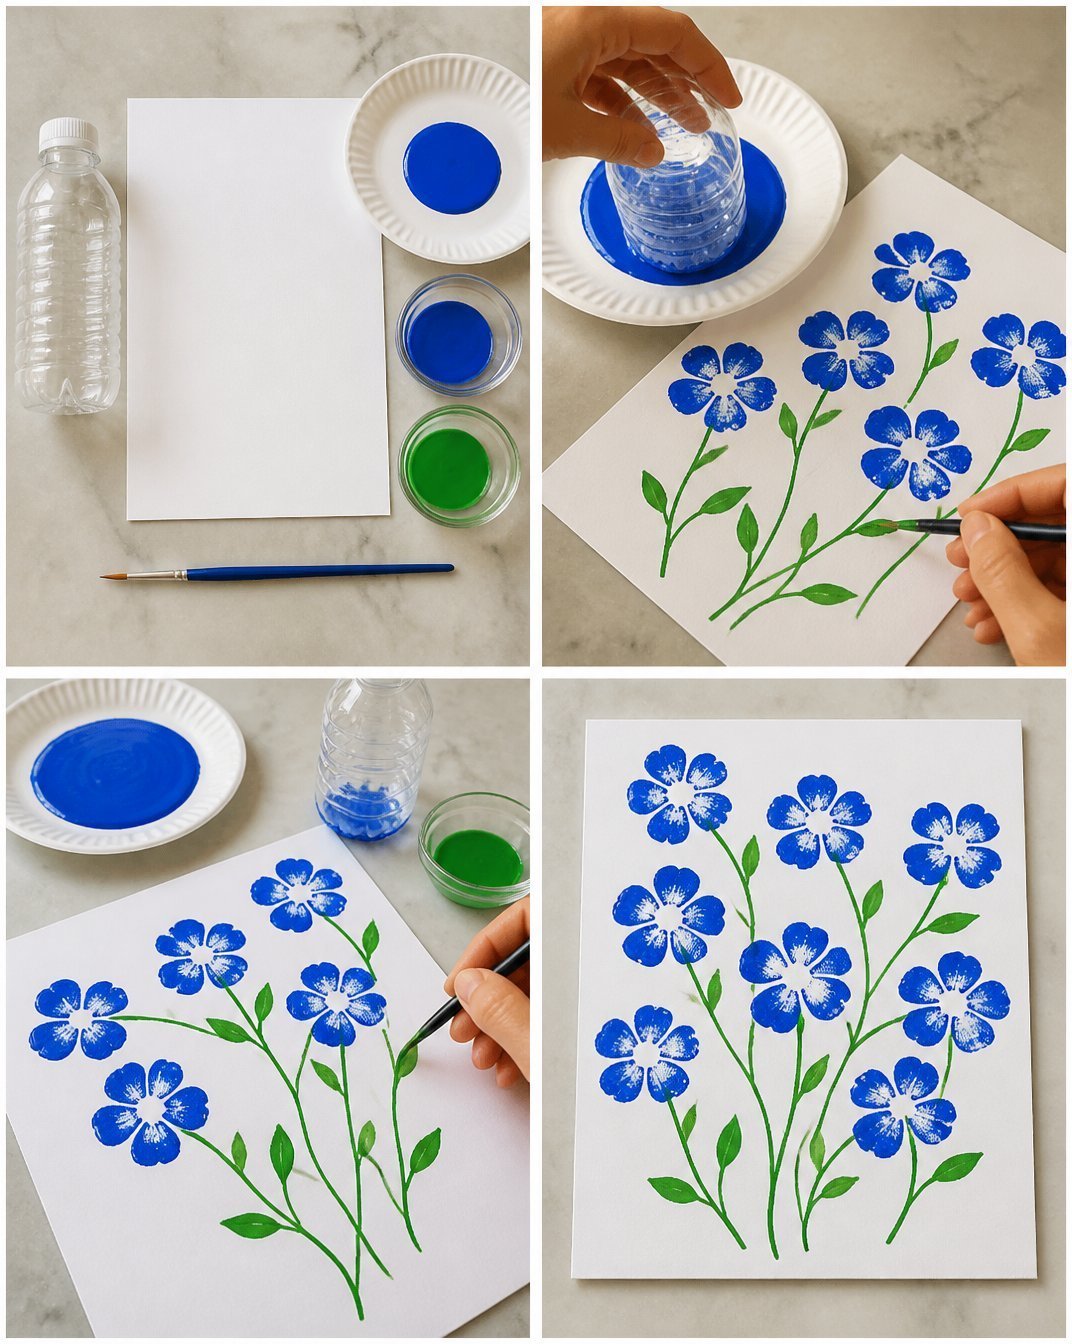
Using scissors, cut the bottoms of the bottles to create petal shapes. You can vary the petal shapes and sizes by adjusting the cuts. For a more natural appearance, make the edges uneven.
Step 3: Paint the Flowers
Now it’s time to add color! Use acrylic paint to coat your flower shapes. You can use one color per flower or create a gradient effect for a more eye-catching result. Let the paint dry, following the manufacturer’s instructions.
Step 4: Assemble the Flowers
Once the flowers are dry, you can assemble them. If you like, use hot glue to attach layers of petals together. This technique can create a fuller flower look.
Step 5: Add Stems
If you want your flowers to be freestanding or in a vase, you can use wire or other stem materials. Simply attach the stems to the bottom of the flower using hot glue. Make sure the stems are secured to support their weight.
Step 6: Final Touches
Feel free to add embellishments like glitter or beads for extra flair. You can also create leaves using green bottle pieces or paint.
Tips for a Cleaner, More Polished Finish
- Surface Preparation: Ensure your plastic is clean before painting to allow the paint to adhere better.
- Even Paint Application: Try to apply your paint evenly for a more professional-looking finish.
- Allow Finishes to Dry: Make sure each coat of paint or glue is fully dried before proceeding to the next step to avoid smudges.
- Choosing Complementary Colors: Think about how the colors of your flowers will work with your existing decor for a cohesive look.
Ways to Customize It
- Choose Your Palette: Experiment with different color schemes to match the season or your decor.
- Add Additional Decorations: Consider using washi tape or fabric scraps to introduce patterns and elegance.
- Vary Sizes: Create flowers of various sizes for an interesting display that draws the eye.
- Seasonal Styling: For holidays, you can change the colors to fit themes think pastels for spring and rich tones for fall.
How to Style and Display It
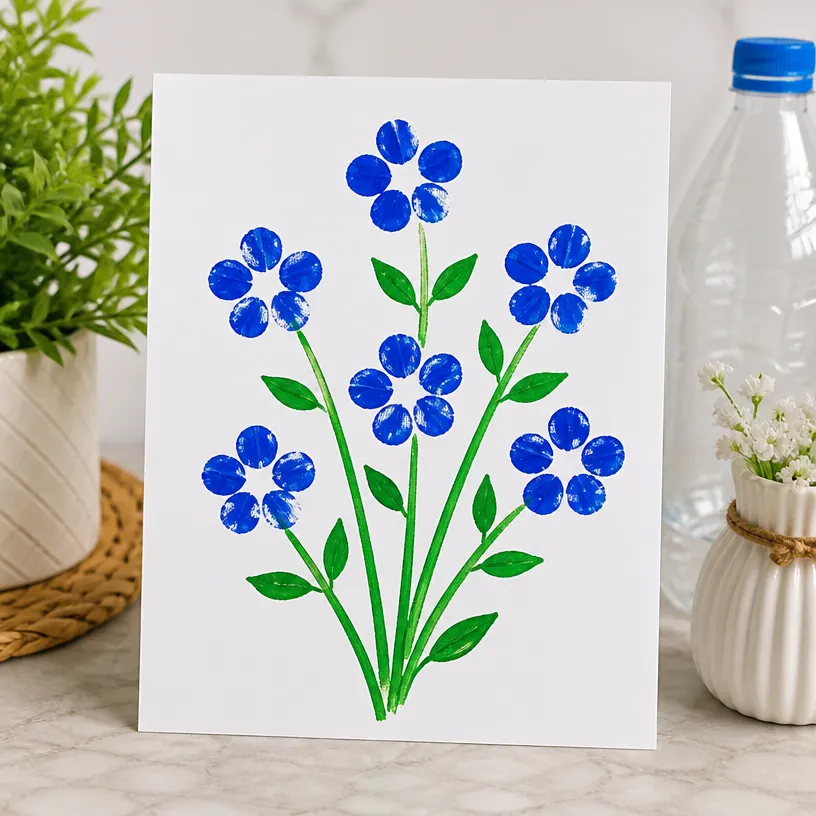
Once your flowers are complete, you can showcase them in numerous ways. Consider displaying them in a simple vase on a shelf or a console table. You might also create a lovely centerpiece for your dining table by grouping different flower arrangements together. Alternatively, hang them up as wall decor for a vibrant touch. Remember to vary the heights of your displays for added visual interest.
Frequently Asked Questions
What types of plastic bottles work best for this project?
Any plastic bottle will work, but those with a wider base, like soda bottles, are often easier to cut and shape.
Can I paint these flowers with spray paint?
Yes, spray paint can provide an even coat, but ensure you use it in a well-ventilated area and follow safety guidelines.
How do I secure the flowers in a vase?
If your stems are not sturdy enough on their own, you can use floral foam or stones in your vase to help stabilize them.
How long will my upcycled flowers last?
As long as they are kept indoors and away from direct sunlight, they should last quite a while. However, they are made from plastic, so be aware of fading over time.
Can I use these flowers outside?
While they can technically be used outdoors, keep in mind that prolonged exposure to the weather may affect their color and stability.
Conclusion
Creating upcycled flower art from plastic bottles not only enhances your home’s aesthetic but also promotes sustainability. You can take inspiration from other creative projects, like DIY Floral Fairy Lights from Upcycled Plastic Bottles, to expand your crafting ideas and make the most of your upcycling journey. Enjoy crafting!
Print
DIY Upcycled Plastic Bottle Flower Art
- Total Time: 30 minutes
- Makes: Varies by number of bottles used
Description
Transform simple plastic bottles into vibrant flower art to enhance your home decor while promoting sustainability.
Materials
- Empty plastic bottles (any size)
- Acrylic paint (various colors)
- Scissors
- Hot glue gun and glue sticks
- Paintbrush
- Wire or sturdy stem materials (optional)
- Decorative embellishments (optional, such as glitter or beads)
Instructions
- Prepare the Bottles: Clean the plastic bottles thoroughly. Remove any labels and rinse out any residue. Let them dry completely.
- Cut the Flowers: Using scissors, cut the bottoms of the bottles to create petal shapes. Adjust the cuts for varying shapes.
- Paint the Flowers: Use acrylic paint to coat your flower shapes. Let the paint dry as instructed.
- Assemble the Flowers: Use hot glue to attach layers of petals together for a fuller flower look.
- Add Stems: Attach wire or stem materials to the bottom of the flower using hot glue.
- Finalize with Touches: Add embellishments like glitter or create leaves using green bottle pieces.
Notes
Consider using different shapes and colors of bottles for a more dynamic look.